Loading ...
Loading ...
Loading ...
18
Vacation Mode
In Vacation mode, the freezer will defrost less often to conserve
energy.
■ To turn on Vacation mode, press the OPTIONS button to
access the Options menu, then press LOCK, under Vacation,
to activate the feature. When the feature is on, the Vacation
icon will appear on the dispenser display screen as shown.
■ To turn off Vacation mode, press the OPTIONS button to
access the Options menu, then press LOCK to turn off the
feature. The Vacation icon will disappear, and the screen will
display the settings as they were before Vacation mode was
turned on.
NOTES:
■ During the first hour after Vacation mode is turned on, opening
and closing the refrigerator door will not affect the setting.
After 1 hour has passed, opening and closing the refrigerator
door will turn off Vacation mode.
■ While in Vacation mode, if Fast Ice is turned on or the Door
Ajar alarm sounds, Vacation mode will be canceled.
Additional Features
Door Ajar Alarm
The Door Ajar Alarm feature sounds an alarm when the refrigerator
door(s) or freezer drawer is open for 5 minutes and cooling is
turned on. The alarm will repeat every 2 minutes. Close all doors
and drawer to turn it off. The feature then is reset and will
reactivate when either door is left open again for 5 minutes.
■ NOTE: To mute the audible alarm while keeping the doors
open, such as while cleaning the inside of the refrigerator,
press any button on the control panel. The alarm sound will be
temporarily turned off, but the Door Ajar icon will still be
displayed on the dispenser control panel.
Disabling Sounds
■ To turn off control and dispenser sounds, press and hold ICE/
WATER and MEASURED FILL at the same time for 3 seconds.
All normal operating tones are disabled. Only alert tones will
be audible.
■ To turn all sounds back on, press and hold ICE/WATER and
MEASURED FILL at the same time for 3 seconds again.
Showroom Mode
This mode is used only when the refrigerator is on display in a
retail store. If you unintentionally turn on Showroom mode, the
word “Showroom” will light up on the display. Exit Showroom
mode by pressing and holding LIGHT and LOCK at the same time
for 3 seconds.
REFRIGERATOR FEATURES
Refrigerator Shelves
The shelves in your refrigerator are adjustable to meet your
individual storage needs.
Storing similar food items together in your refrigerator and
adjusting the shelves to fit different heights of items will make
finding the exact item you want easier. It will also reduce the
amount of time the refrigerator door is open, and save energy.
Shelves and Shelf Frames
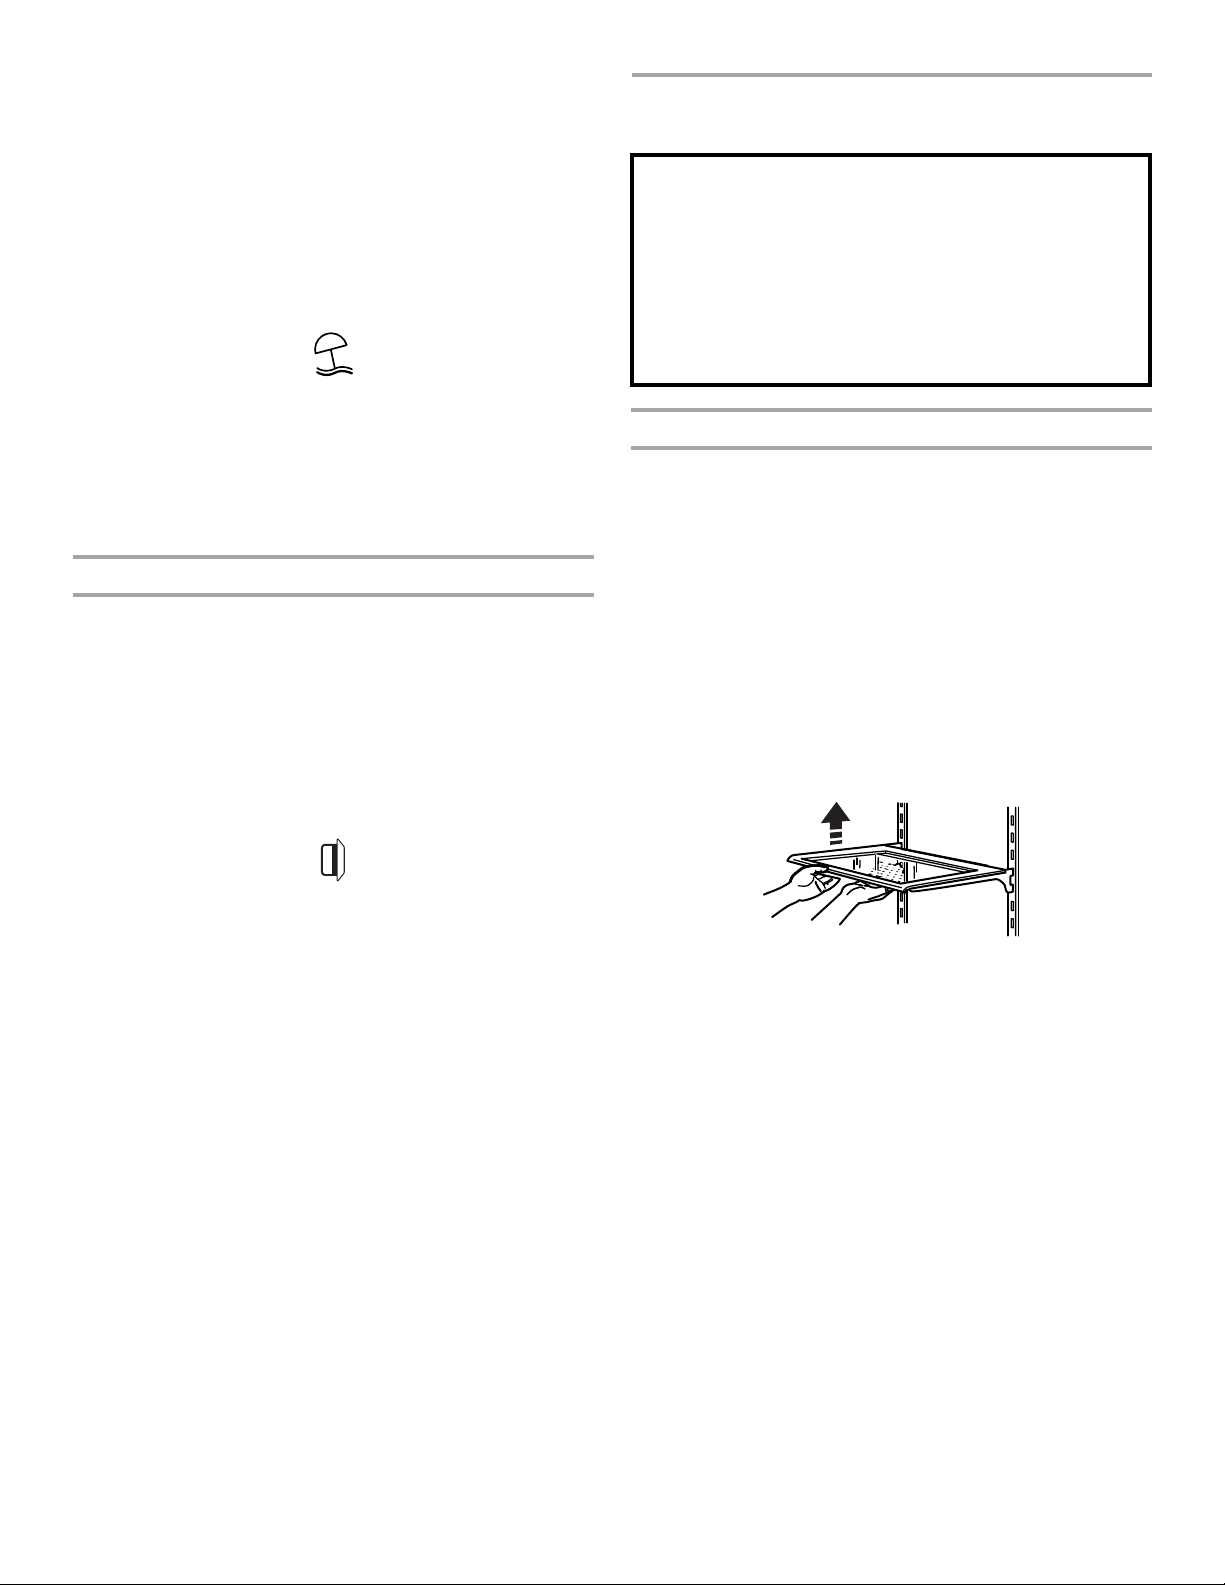
To remove and replace a shelf/shelf frame:
1. Remove the shelf/frame by tilting it up at the front and lifting it
out of the shelf supports.
2. Replace the shelf/frame by guiding the rear shelf hooks into
the shelf supports. Tilt the front of the shelf up until rear shelf
hooks drop into the shelf supports.
3. Lower the front of the shelf and make sure that the shelf is in
position.
Shelves with under-shelf LED lighting (on some models):
■ The hooks on the rear of the shelf must be fully engaged in the
shelf supports to maintain proper electrical flow.
■ No more than two shelves with under-shelf lighting may be
used in the refrigerator at one time.
Tuck Away Shelf (on some models)
To remove and replace a shelf/shelf frame:
1. Remove the shelf/frame by tilting it up at the front and lifting it
out of the shelf supports.
2. Replace the shelf/frame by guiding the rear shelf hooks into
the shelf supports. Tilt the front of the shelf up until rear shelf
hooks drop into the shelf supports.
3. Lower the front of the shelf and make sure that the shelf is in
position.
Important information to know about glass shelves
and covers:
Do not clean glass shelves or covers with warm water when
they are cold. Shelves and covers may break if exposed to
sudden temperature changes or impact, such as bumping.
Tempered glass is designed to shatter into many small,
pebble-size pieces. This is normal. Glass shelves and covers
are heavy. Use both hands when removing them to avoid
dropping.
Loading ...
Loading ...
Loading ...