Loading ...
Loading ...
Loading ...
12
REFRIGERATOR USE
Using the Controls
Your refrigerator has two controls that affect the temperature. The
Temperature control is located at the top front of the refrigerator
compartment and the Airflow control is located on the back wall
of the freezer compartment.
IMPORTANT:
The recommended setting should be correct for normal
household refrigerator use. The
controls are set correctly
when milk or juice is as cold as you like and when ice cream
is firm.
Wait 24 hours for your refrigerator to cool completely before
adding food. If you add food before the refrigerator has cooled
completely, your food may spoil.
NOTE: Adjusting the refrigerator and freezer temperature
controls to a colder than recommended setting will not cool
the compartments any faster.
If the temperature is too warm or too cold in the refrigerator
or freezer, first check the air vents to be sure they are not
blocked before adjusting the controls.
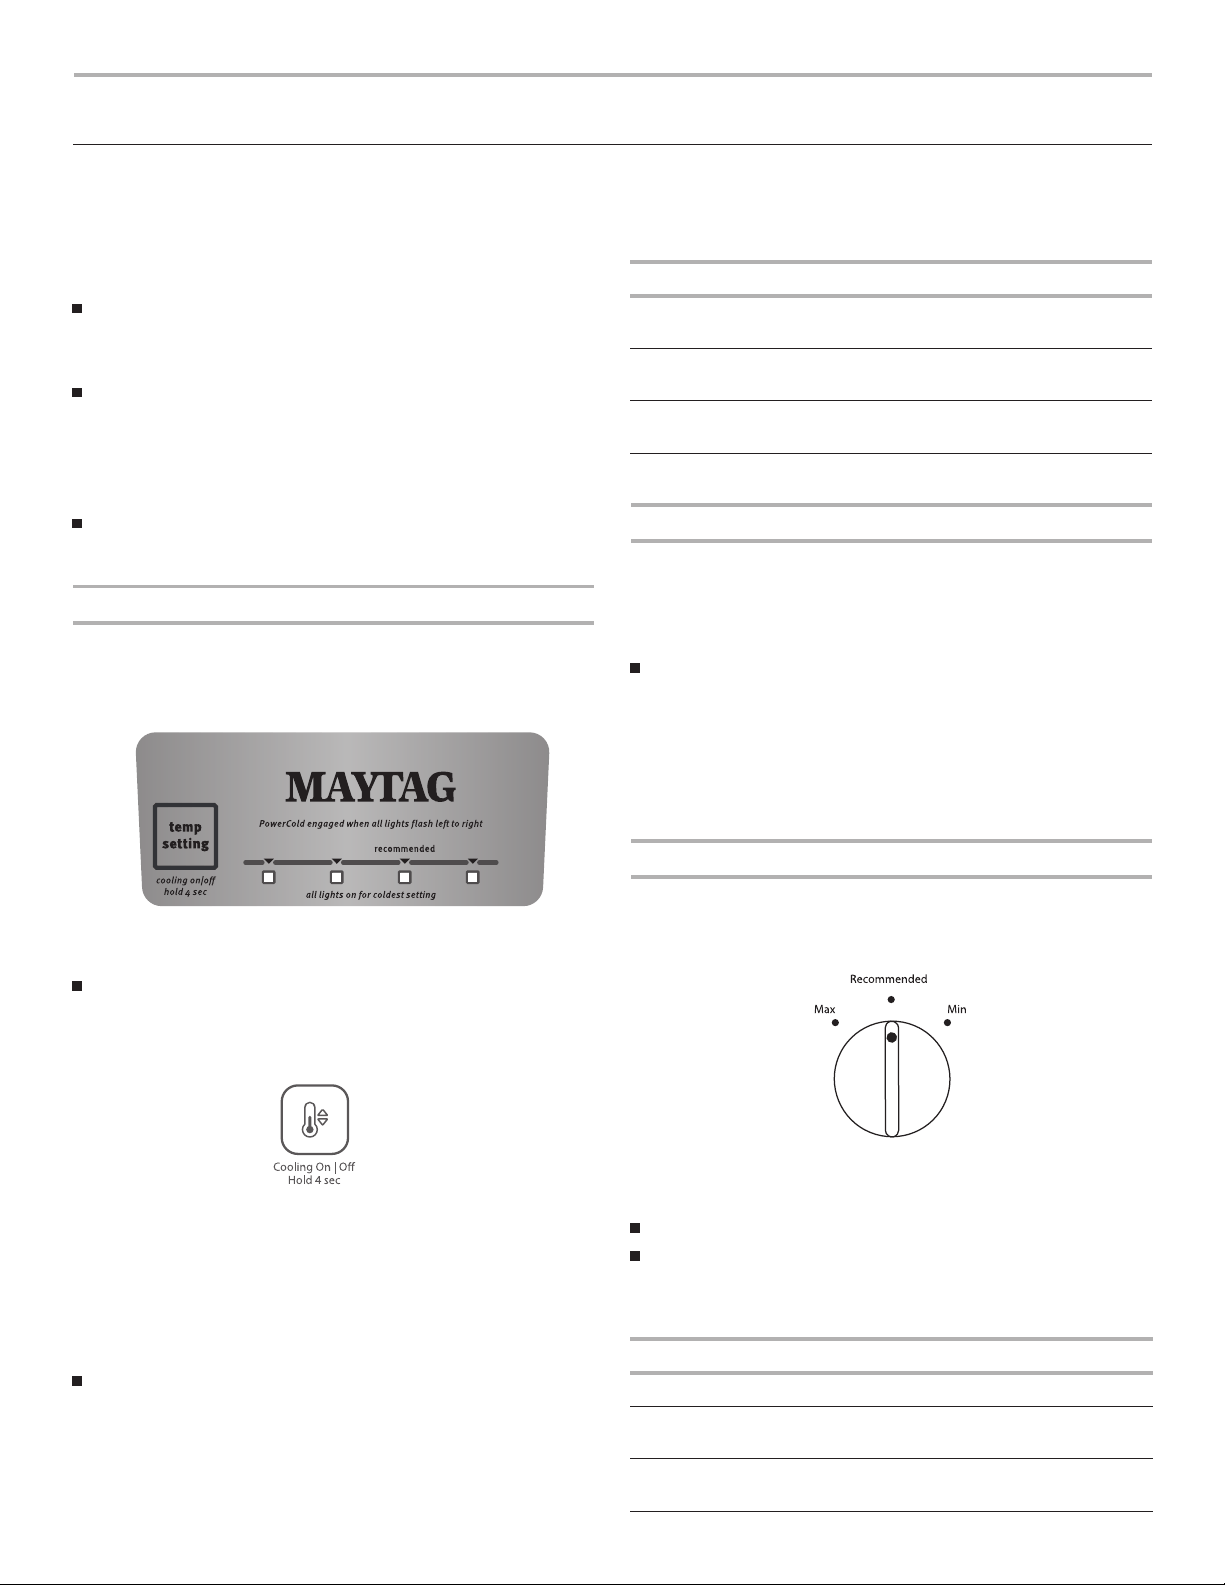
Temperature Control
For your convenience, the temperature control is preset at the
factory. When you first install your refrigerator, make sure the
control is still preset as shown.
Recommended Setting
Cooling Off/On
To turn cooling off, press and hold TEMP SETTING for
4 seconds until all lights turn on for 1 second. To turn cooling
back on, press and hold TEMP SETTING again for 4 seconds.
NOTE: Neither compartment will cool when the control is set to
OFF.
Adjusting the Temperature Control
If you need to adjust the temperature in either the refrigerator or
freezer compartment, use the settings listed in the following chart
as a guide.
NOTE: Except when starting t
he refrigerator, do not adjust the
control more than one setting at a time. Wait 24 hours between
adjustments for the temperature to stabilize.
Press TEMP SETTING to toggle between the four LED lights
which indicate the temperature setting. Reading from left to
right, the LED in the first position is the least cold. The LEDs
indicate increasingly colder settings as you continue to the
right until all four LEDs are illuminated.
NOTE: For the first to fourth setting, only one LED of the four
LEDs will be lit. All four LEDs will be lit when you have
reached the coldest setting.
Additional Feature
PowerCold Feature
The PowerCold feature
sets the freezer and refrigerator to the
lowest temperature settings to assist with periods of high
refrigerator use, full grocery loads, or temporarily warm room
temperatures.
To turn on the PowerCold feature, press TEMP SETTING
continually until all the LED lights are blinking on/off
progressively from left to right. Press TEMP SETTING again to
return to the COLD set point.
NOTE: Depending on the environment conditions, the
PowerCold feature will remain activated up to 24 hours. When
the feature turns off, the temperature will return to the
recommended set point.
Airflow Control
The Airflow control regulates the amount of air flowing between
the freezer and the refrigerator compartments.
When you plug in the refrigerator for the first time, turn the Airflow
control to the Recommended setting.
Adjusting the Airflow Control
If you want to temporarily increase the cold airflow to a specific
compartment, adjust the control.
Max - Increase airflow to the freezer.
Min - Increase airflow to the refrigerator.
IMPORTANT: Once the performance is achieved, return the
Airflow control to the Recommended setting to keep the
refrigerator operating at optimum efficiency.
CONDITION/REASON: ADJUSTMENT:
REFRIGERATOR too warm TEMP SETTING control one
setting higher
FREE
ZER too
warm/
T
oo
little ice
AIRFLOW or TEMP SETTING
control one setting higher
REFRIGERATOR too cold TEMP SETTING control one
setting lower
FREEZER too cold AIRFLOW or TEMP SETTING
control one setting lower
CONDITION/REASON: ADJUSTMENT:
Heavy ice use Max
Hot room temperature Max - t o maintain ice-making
production rate
Large quantity of groceries Min - t o quickly chill food and
beverages
®
®
®
®
Loading ...
Loading ...
Loading ...