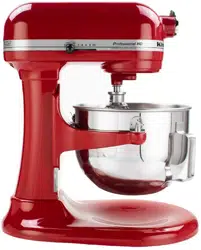
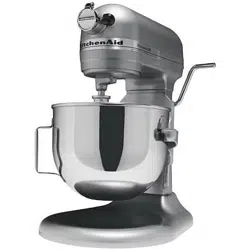
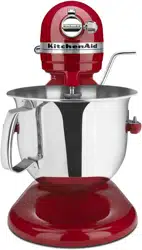
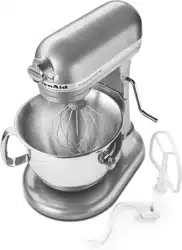
Owner's Guide Stand Mixer
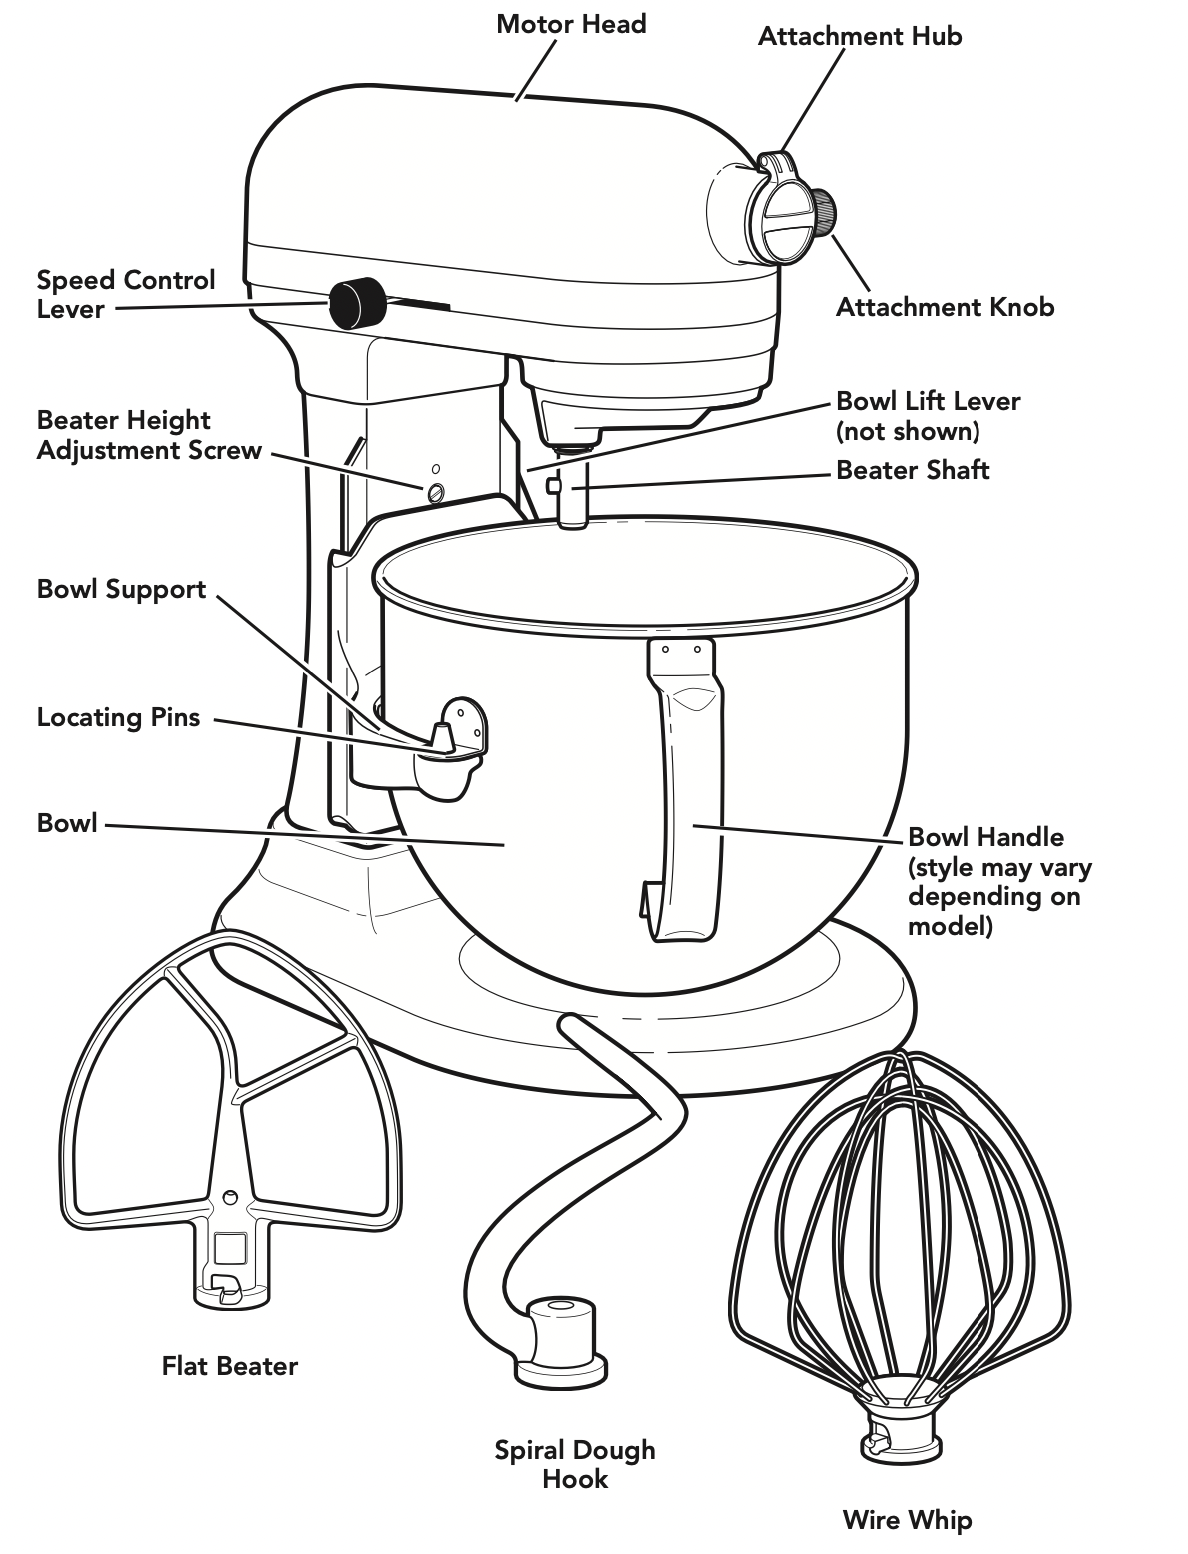
PARTS AND FEATURES
PARTS AND ACCESSORIES
USING THE STAND MIXER
SPEED CONTROL GUIDE - 10 SPEED STAND MIXERS
All speeds have the Soft Start ® feature that automatically starts the Stand Mixer at a lower speed to help avoid ingredient splash-out and “flour puff” at start-up, then quickly increases to the selected speed for optimal performance.

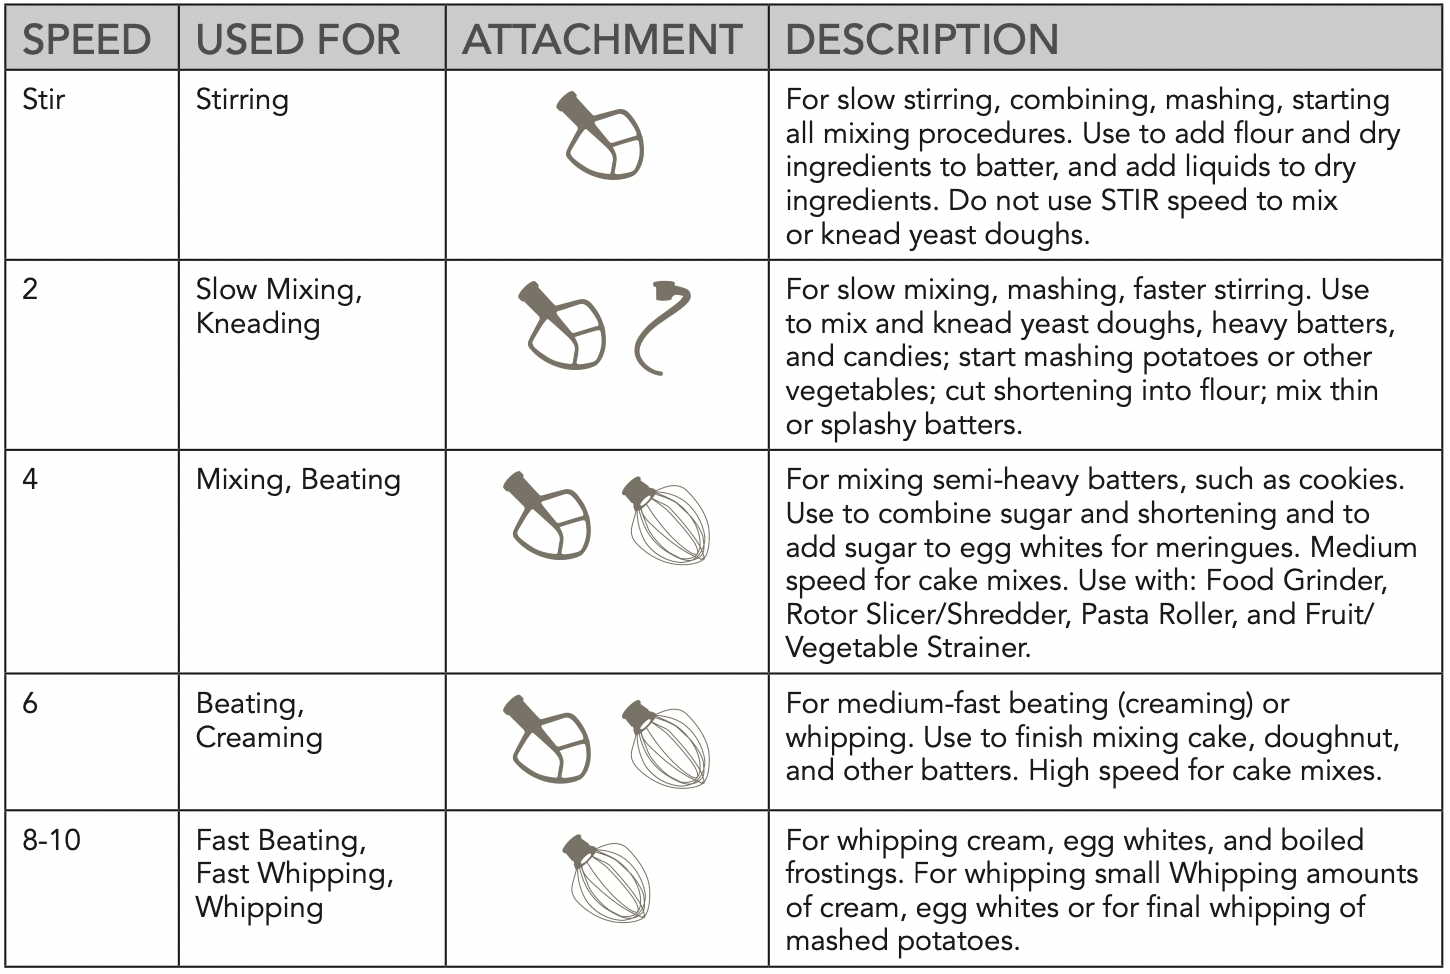
NOTE: Use Speed 2 to mix or knead yeast doughs. Use of any other speed creates high potential for Stand Mixer failure. The PowerKnead™ Spiral Dough Hook efficiently kneads most yeast dough within 4 minutes.
GETTING STARTED WITH YOUR NEW BOWL-LIFT STAND MIXER
FOR DETAILED INFORMATION ON USING THE STAND MIXER
For best performance, please go through these quick steps before using your Stand Mixer.
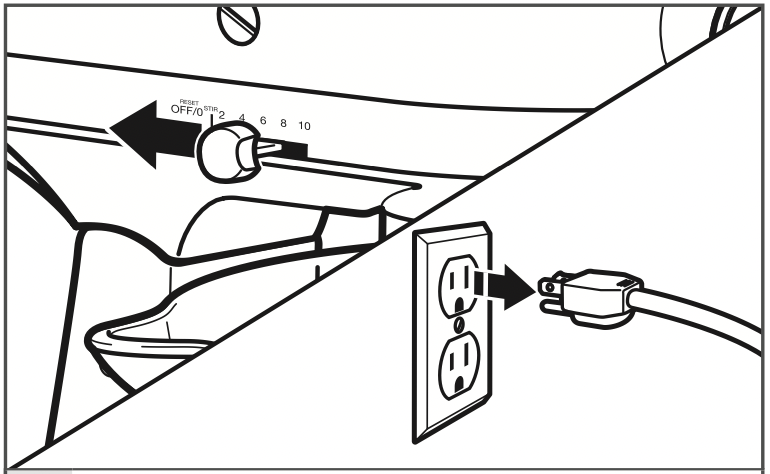
- Make sure Stand Mixer is turned to the OFF position and is unplugged.
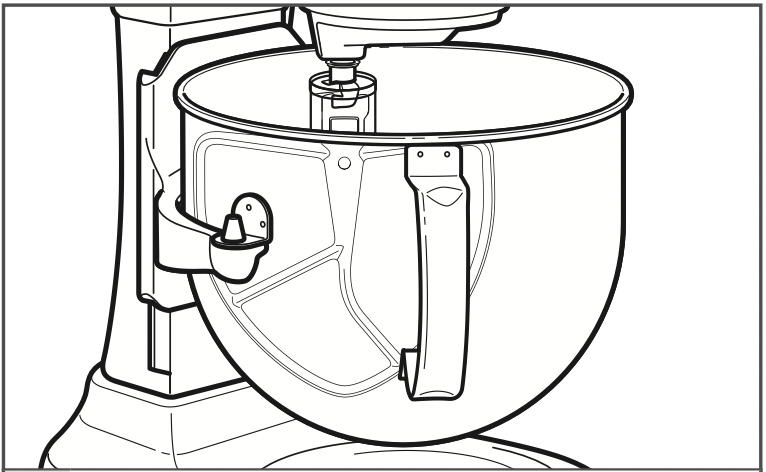
- Attach the Bowl to the Stand Mixer. Fit Bowl Supports over Locating Pins and press down on back of the bowl until Bowl Pin snaps into Spring Latch.
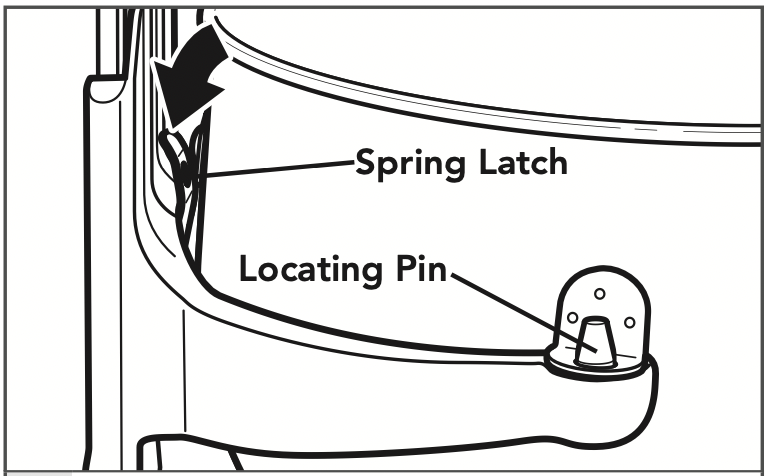
IMPORTANT: If bowl is not securely snapped into place, it will be unstable and wobble during use.
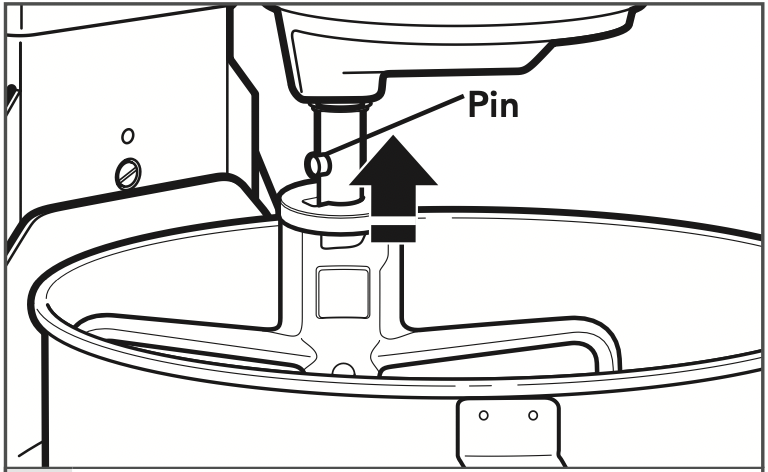
- Attach Flat Beater. Slip Flat Beater onto the Shaft. Turn left, hooking beater over the Pin.
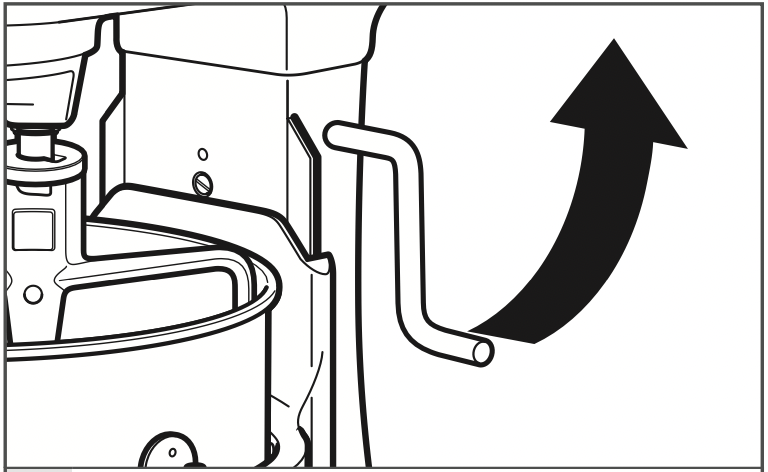
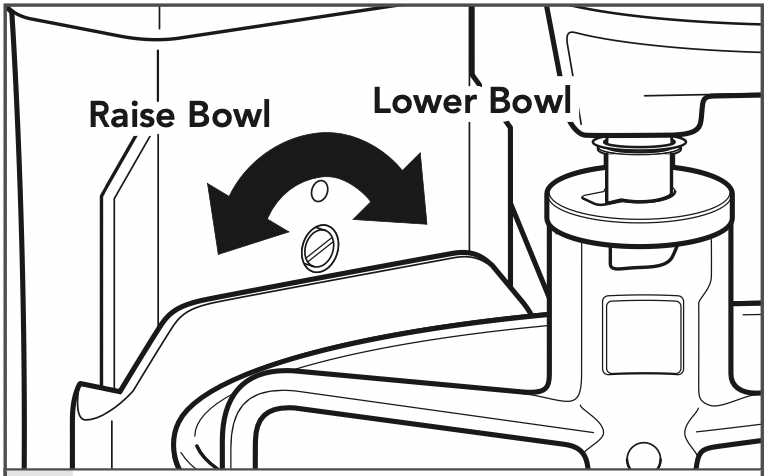
- Raise Bowl to mixing position. Rotate Bowl Lift Lever counterclockwise to the straight up position. The bowl must always be in the raised position when mixing.
WARNING - Electronical Shock Hazard
Plug into a grounded 3 prong outlet.
Do not remove ground prong.
Do not use an adapter.
Do not use an extension cord.
Failure to follow these instructions can result in death, fire, or electrical shock.
IMPORTANT: The Stand Mixer may become warm during use. Under heavy loads with extended mixing time periods, you may not be able to comfortably touch the top of the Stand Mixer. This is normal. The Stand Mixer motor may emit a pungent odor during initial operation. This is common with electric motors.
- Test Beater to Bowl Clearance. Check the proximity of the Flat Beater to the bowl. The beater should just clear the bottom of the bowl but should not touch it. Plug Stand Mixer into a grounded 3 prong outlet. Turn Stand Mixer ON and test each speed making sure the beater does not touch the bowl during operation. If the beater is too far away from the bottom, or is hitting the bowl, proceed to step 6 to make the necessary adjustments.
- Adjusting your Beater to Bowl Clearance. Unplug Stand Mixer. Lower the bowl to the down position. Adjust the Beater Height Adjustment Screw to lower or raise the bowl. Repeat Steps 2-5 with the Wire Whip and Spiral Dough Hook. Your Stand Mixer is now set up and ready for use.
CARE AND CLEANING
The Bowl, Coated Metal Flat Beater, and Coated Metal Spiral Dough Hook may be washed in an automatic dishwasher. Or, clean them thoroughly in hot sudsy water and rinse completely before drying. Do not store beaters on shaft.
NOTE: Always be sure to unplug Stand Mixer before cleaning. Wipe Stand Mixer with a soft, damp cloth. Do not use household/commercial cleaners. Do not immerse in water. Wipe off Beater Shaft frequently, removing any residue that may accumulate.

TIPS FOR GREAT RESULTS
MIXING TIME
Your KitchenAid ® Stand Mixer will mix faster and more thoroughly than most other electric stand mixers. Therefore, the mixing time in most recipes must be adjusted to avoid over beating. With cakes, for example, beating time may be half as long as with other stand mixers.
To help determine the ideal mixing time, observe the batter or dough and mix only until it has the desired appearance described in your recipe, such as “smooth and creamy.” To select the best mixing speeds, use the “Speed Control Guide” section.
MIXER USE
WARNING - Injury Hazard
- Unplug mixer before touching beaters.
- Failure to do so can result in broken bones, cuts, or bruises.
NOTE: Do not scrape bowl while Stand Mixer is operating.
Adding Ingredients
Always add ingredients as close to side of bowl as possible, not directly into moving beater.
Adding Nuts, Raisins, or Candied Fruits
Follow individual recipes for guidelines on including these ingredients. In general, solid materials should be folded in the last few seconds of mixing on STIR Speed. The batter should be thick enough to keep the fruit or nuts from sinking to the bottom of the pan during baking. Sticky fruits should be dusted with flour for better distribution in the batter.
Liquid Mixtures
Mixtures containing large amounts of liquid ingredients should be mixed at lower speeds to avoid splashing. Increase speed only after mixture has thickened.
NOTE: If ingredients in very bottom of bowl are not thoroughly mixed, then the beater is not far enough into the bowl. See the “Using the Stand Mixer” section.
WHIPPING TIPS FOR EGG WHITES
Place room temperature egg whites in clean, dry bowl. Attach Bowl and Wire Whip. To avoid splashing, gradually turn to designated speed and whip to desired stage. See chart below.
|
AMOUNT
|
SPEED |
|
1 egg white
|
GRADUALLY to 10 |
| 2-4 egg whites |
GRADUALLY to 8
|
| 6 or more egg whites |
GRADUALLY to 8
|
Whipping Stages
With your KitchenAid ® Stand Mixer, egg whites whip quickly. So watch to avoid over whipping. This list tells you what to expect.
Frothy
Large, uneven air bubbles.
Begins to Hold Shape
Air bubbles are fine and compact; product is white.
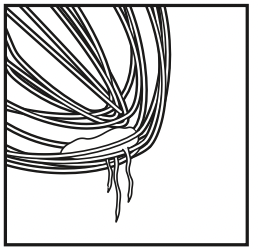
Soft Peak
Tips of peaks fall over when wire whip is removed.
Almost Stiff
Sharp peaks form when Wire Whip is removed, but whites are actually soft.
Stiff but not Dry
Sharp, stiff peaks form when wire whip is removed. Whites are uniform in color and glisten.
Stiff and Dry
Sharp, stiff peaks form when wire whip is removed. Whites are speckled and dull in appearance.
WHIPPING TIPS FOR WHIPPED CREAM
Pour cold whipping cream into chilled bowl. Attach Bowl and Wire Whip. To avoid splashing, gradually turn to designated speed and whip to desired stage. See chart below.
| AMOUNT |
SPEED
|
| 1/4 cup (50 mL) |
GRADUALLY to 10
|
| 1/2 cup (125 mL) |
GRADUALLY to 10
|
| 1 cup (250 mL) |
GRADUALLY to 8
|
| 1 pint (500 mL) |
GRADUALLY to 8
|
Whipping Stages
Watch cream closely during whipping. Because your KitchenAid ® Stand Mixer whips so quickly, there are just a few seconds between whipping stages. Look for these characteristics:
Begins to Thicken
Cream is thick and custard-like.
Holds its Shape
Cream forms soft peaks when Stainless Steel Whip is removed. Can be folded into other ingredients when making desserts and sauces.
Stiff
Cream stands in stiff, sharp peaks when Wire Whip is removed. Use for topping on cakes or desserts, or filling for cream puffs.

BREAD MAKING TIPS
Making bread with a mixer is quite different from making bread by hand. Therefore, it will take some practice before you are completely comfortable with the new process. For your convenience, we offer these tips to help you become accustomed to bread-making the KitchenAid ® brand way.
- Always use the PowerKnead™ Spiral Dough Hook to mix and knead yeast doughs.
- Use Speed 2 to mix or knead yeast dough. Use of any other speed with heavy doughs may cause mixer to stop rotating to limit mixer damage. This is normal operation. If this occurs, turn the speed selector to off, and then turn back on to a lower speed.
- Use a candy or other kitchen thermometer to assure that liquids are at temperature specified in the recipe. Liquids at higher temperature can kill yeast, while liquids at lower temperatures will retard yeast growth.
- Warm all ingredients to room temperature to ensure proper rising of dough. If yeast is to be dissolved in bowl, always warm bowl first by rinsing with warm water to avoid cooling of liquids.
- Allow bread to rise in a warm place, 80°F to 85°F (27 °C to 29 °C), free from draft, unless otherwise specified in recipe.