Loading ...
Loading ...
Loading ...
29
ge.com
Removable Storage Drawer (on some models)
The storage drawer is a good place to store
cookware and bakeware. Do not store plastics
and flammable material in the drawer.
The storage drawer may be removed
for cleaning under the range. Clean the
storage drawer with a damp cloth or
sponge. Never use harsh abrasives or
scouring pads.
To remove storage drawer:
Pull drawer straight out until it stops.
Tilt the front of the drawer up and
free of the range.
To replace storage drawer:
Set the stops on the back of the drawer
over the stops in the range.
Slide drawer evenly and straight back,
so that the rails in the range are
engaged.
The storage drawer may be removed
for cleaning under the range.
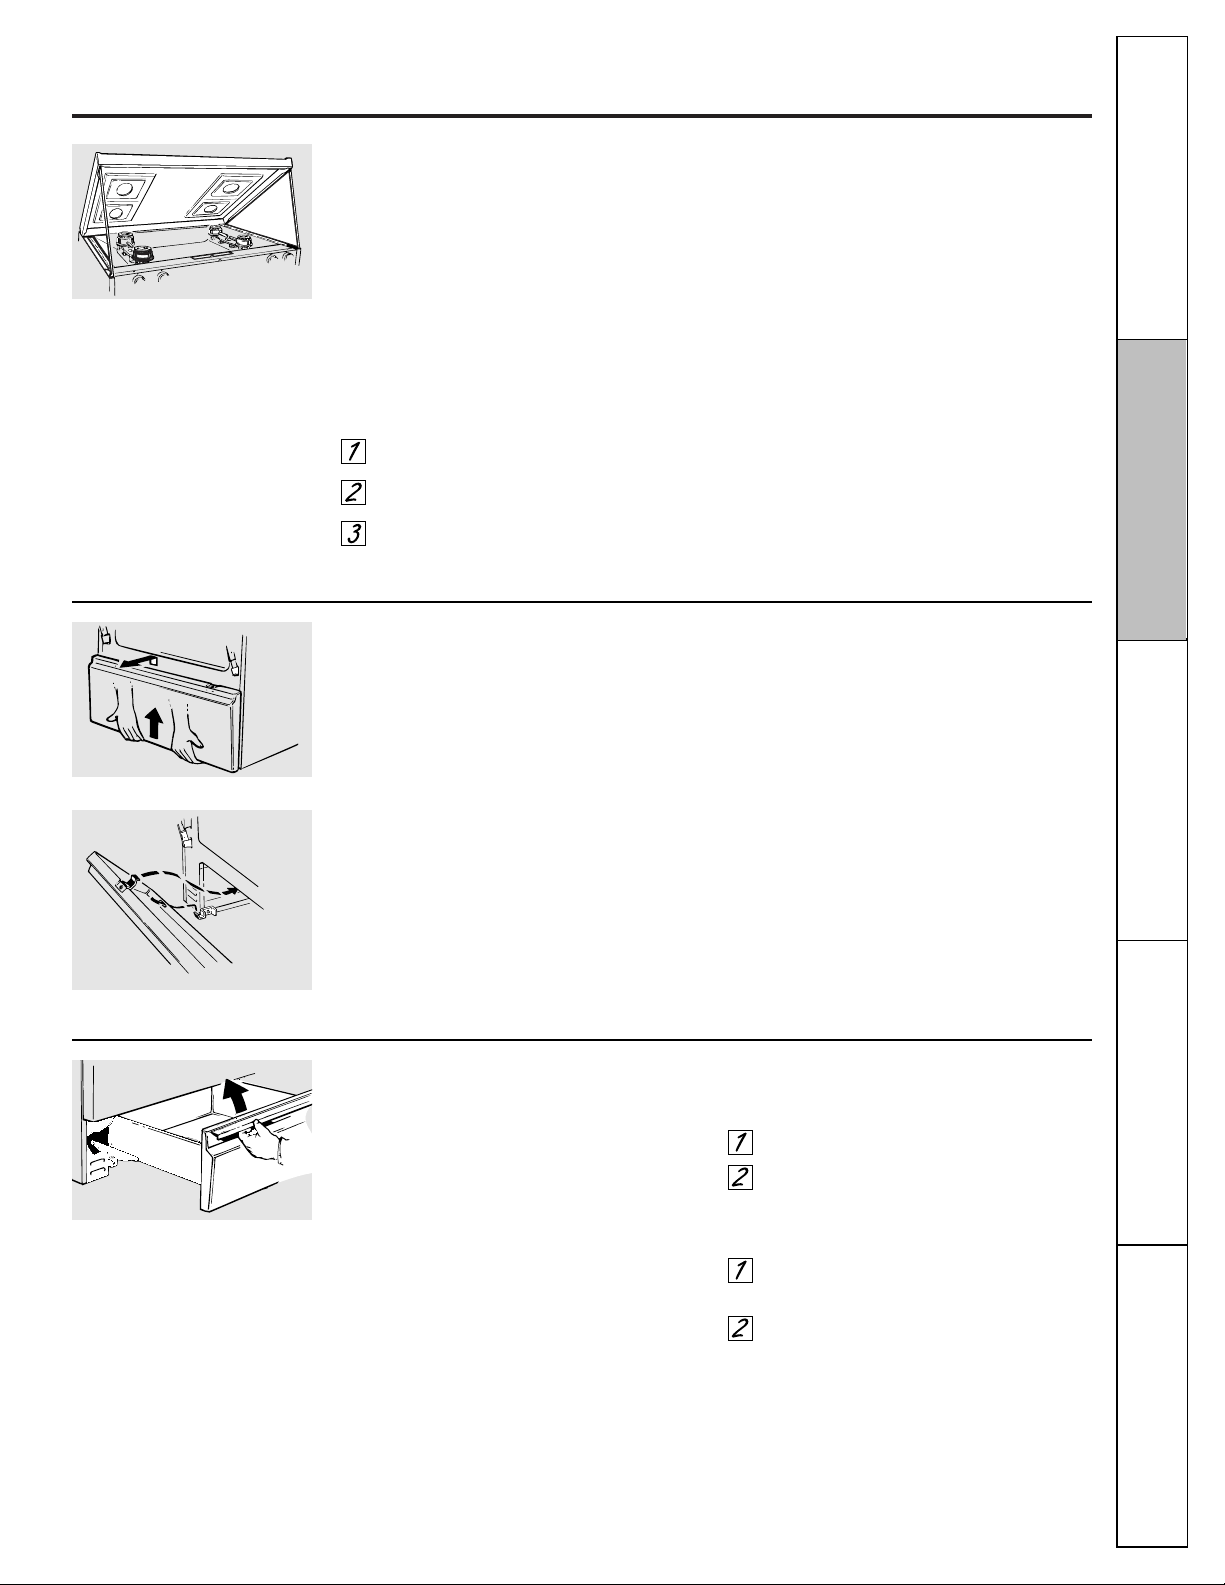
Lift-Up Cooktop (on models with standard twin burners)
Clean the area under the cooktop often.
Built-up soil, especially grease, may catch
on fire.
To make cleaning easier, the cooktop may
be lifted up.
NOTE: Do not lift the cooktop on sealed burner
models. Lifting the cooktop can lead to damage
and improper operation of the range.
To raise the cooktop:
Be sure the burners are turned off.
Remove the grates.
Grasp the two front burner wells and
lift up.
Clean under the cooktop with hot, soapy
water and a clean cloth. If you removed
your surface burners while cleaning,
make sure they are properly seated when
replacing them.
After cleaning, lower the cooktop (be
careful not to pinch your fingers).
Some models have dual support
rods that will hold the cooktop up
while you clean underneath it.
Removable Kick Panel (on some models)
The kick panel may be removed for
cleaning under the range.
To remove:
Lift up the bottom of the panel slightly to
disengage the panel from the tabs at the
base of the range. Pull the bottom of the
panel forward until the spring clips are
released at the top of the panel.
To replace:
Insert the two slots at the bottom of the
panel onto the two tabs at the base of the
range, and push the top of the panel
forward to engage the spring clips.
Consumer Support
Installation Instructions
Troubleshooting Tips
Operating InstructionsSafety Instructions
Loading ...
Loading ...
Loading ...