Loading ...
Loading ...
Loading ...
Using the Ovens
Stainless Steel Range
17
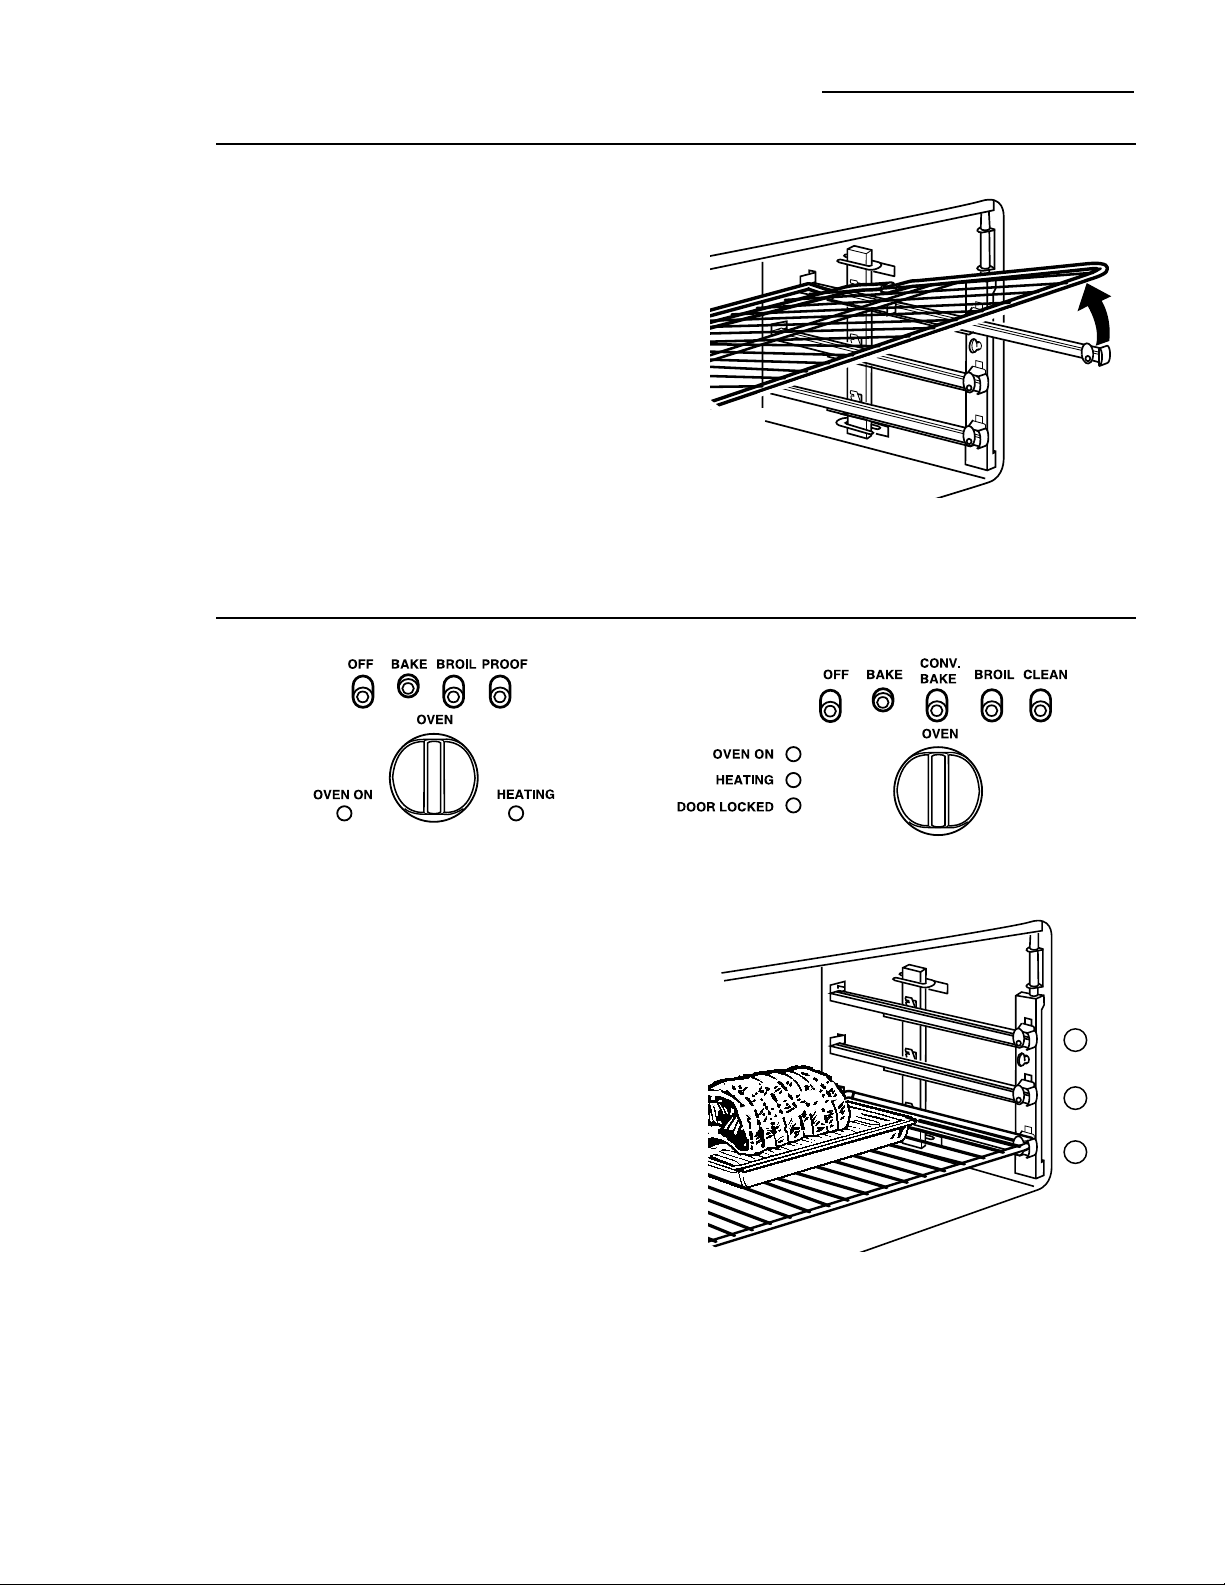
The oven has 3 shelf positions.
Oven
shelves
To avoid possible burns, place the shelves in the
correct position before you turn the oven on.
The correct shelf position depends on the kind
of food and the browning desired.
The shelves have stop-locks, so that when
placed correctly on the supports, they will stop
before coming completely out, and will not tilt.
When placing and removing cookware, pull the
shelf out to the bump on the shelf support.
To remove a shelf, pull it toward you, tilt the
front end up and pull it out.
To replace, place the end of the shelf (stop-
locks) on the support, tilt up the front and
push the shelf in.
How to set
the ovens for
baking or
roasting
1
Push in the BAKE selector button on the side of
the control panel above the oven you wish to use.
2 Using the thermostat dial, set the desired
temperature.
• The OVEN ON light turns on and remains on
until the OFF selector button has been
pushed or the thermostat dial has been
turned to the OFF position.
• The HEATING light turns on. Once the
HEATING light initially cycles off, the oven is
preheated.
3 Check the food for doneness at the minimum
time on the recipe. Cook longer if necessary.
4 Push in the OFF selector button on the side
of the control panel above the oven you are
using when baking is finished.
NOTE: When roasting, check the weight of the
meat. Place the meat fat side up, or for poultry,
breast side up, on the roasting grid in a shallow
pan. The melting fat will baste the meat. Select a
pan as close to the size of the meat as possible.
(The broiler pan with grid is a good pan for this.)
12″ oven control
(48″ ranges only)
27″ oven control
When roasting, use the A or B shelf position.
C
B
A
Loading ...
Loading ...
Loading ...