Loading ...
Loading ...
Loading ...
About the control on the refrigerator.
Control Settings
The temperature control maintains the temperature in both the fresh food and freezer compartments.
Setting
1
is the warmest setting and
9
is the coldest. Moving the control to
OFF
stops cooling in both
areas—fresh food and freezer—but does not shut off power to the refrigerator.
After changing the control, allow 12 hours for the refrigerator to reach the temperature you have set. Control setting will
vary based on personal preferences, usage and operating conditions and may require more than one adjustment.
Control settings will vary based on personal preferences, usage and operating conditions, and may require
more than one adjustment.
The temperature control on your refrigerator regulates the
temperature in the fresh food and freezer compartments.
Initially set the control at 5.
If you want colder or warmer temperatures, move the dial
one number at a time. Adjust the control one increment at
a time, and allow 12 hours after each adjustment for the
refrigerator to reach the temperature you set.
6
7
5
4
3
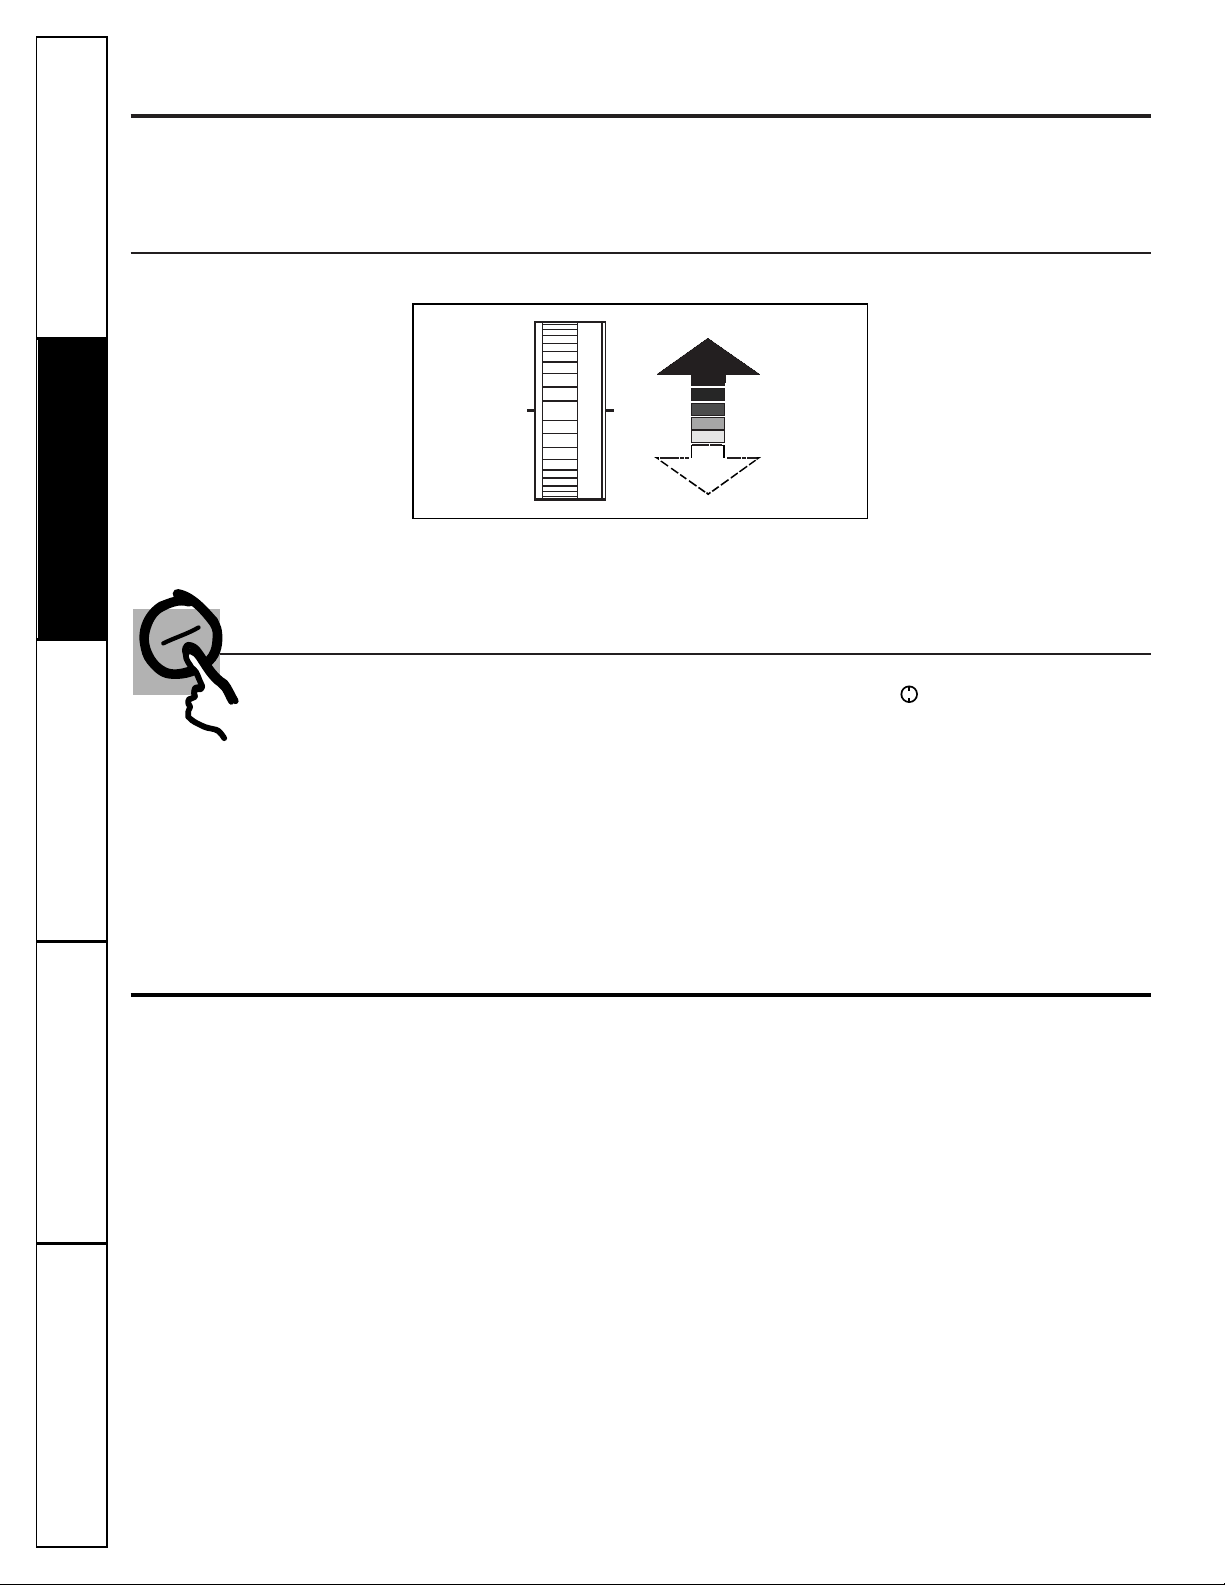
About the storage drawers.
Fruit and Vegetable Drawers
One or more storage drawers provide space to store
fruits, vegetables and meats.
Models with a single full-width drawer have a divider
to separate meats and vegetables. The divider can be
removed if a single large storage space is needed.
The drawer will stop before coming all the way out
of the refrigerator to help prevent contents from
spilling onto the floor. It can be removed easily
by lifting up slightly and pulling past the “stop”
position.
To replace the drawer and the cover above it, the
door must be fully opened. In some installations the
refrigerator may have to be moved away from the
wall for the door to be fully opened.
4
Consumer Support Troubleshooting Tips
Operating Instructions
Safety InstructionsInstallation InstructionsTroubleshooting Tips Installation Instructions Safety Instructions
Operating Instructions
Troubleshooting Tips Installation Instructions Safety Instructions
Operating Instructions
Loading ...
Loading ...
Loading ...