Loading ...
Loading ...
Loading ...
14
EN
Getting Started
Installing and Removing the Batteries
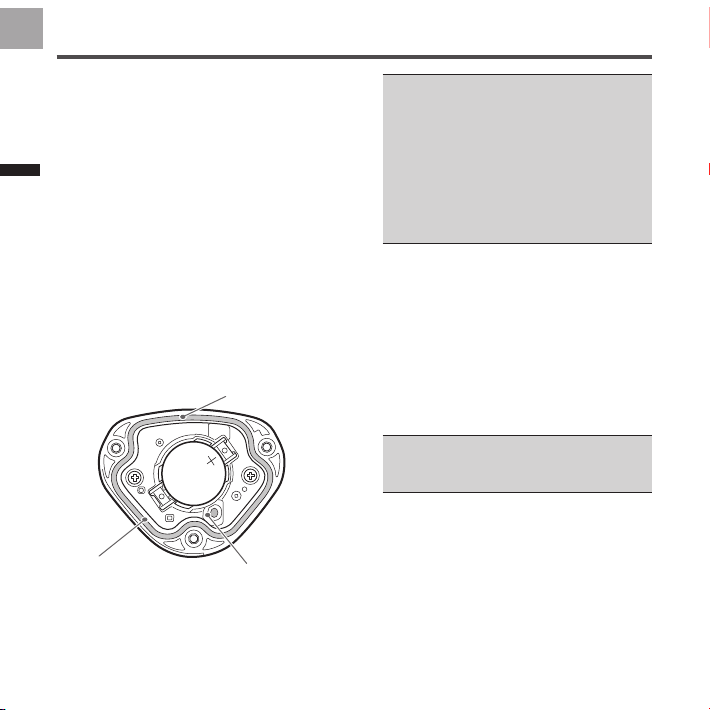
4. Check the LED display.
The transmitter starts when the
batteries are installed. The LEDs of the
transmitters light as follows depending
on the actual sensor mode.
• When it is in pedaling monitor
mode:
The LEDs light green for 10
seconds
• When it is in dual power meter
mode:
The LEDs light orange for 10
seconds
• When it is in single power meter
mode:
The LEDs blink orange for 10
seconds
• If the LEDs do not light for more
than 5 seconds after installing the
batteries, remove the batteries
once, and after more than 1 minute,
install them again. If the LEDs still
do not light, the battery may be
almost empty. Replace the battery
with a new one. Dispose of useless
batteries as instructed by the local
government.
5. Install the right transmitter
cover and tighten the screws
to x it in place.
While tightening the screws, do not
use excessive force or over-tighten
them. The plastic cover can crack if
you do so. Use a tool that can measure
the torque to tighten the screws.
• Tightening torque: 30 cN·m
• Install the transmitter cover and
screw the screws in rmly to ensure
water resistant performance.
Push switch
LED
Water-proof
packing
Loading ...
Loading ...
Loading ...