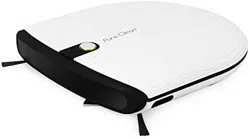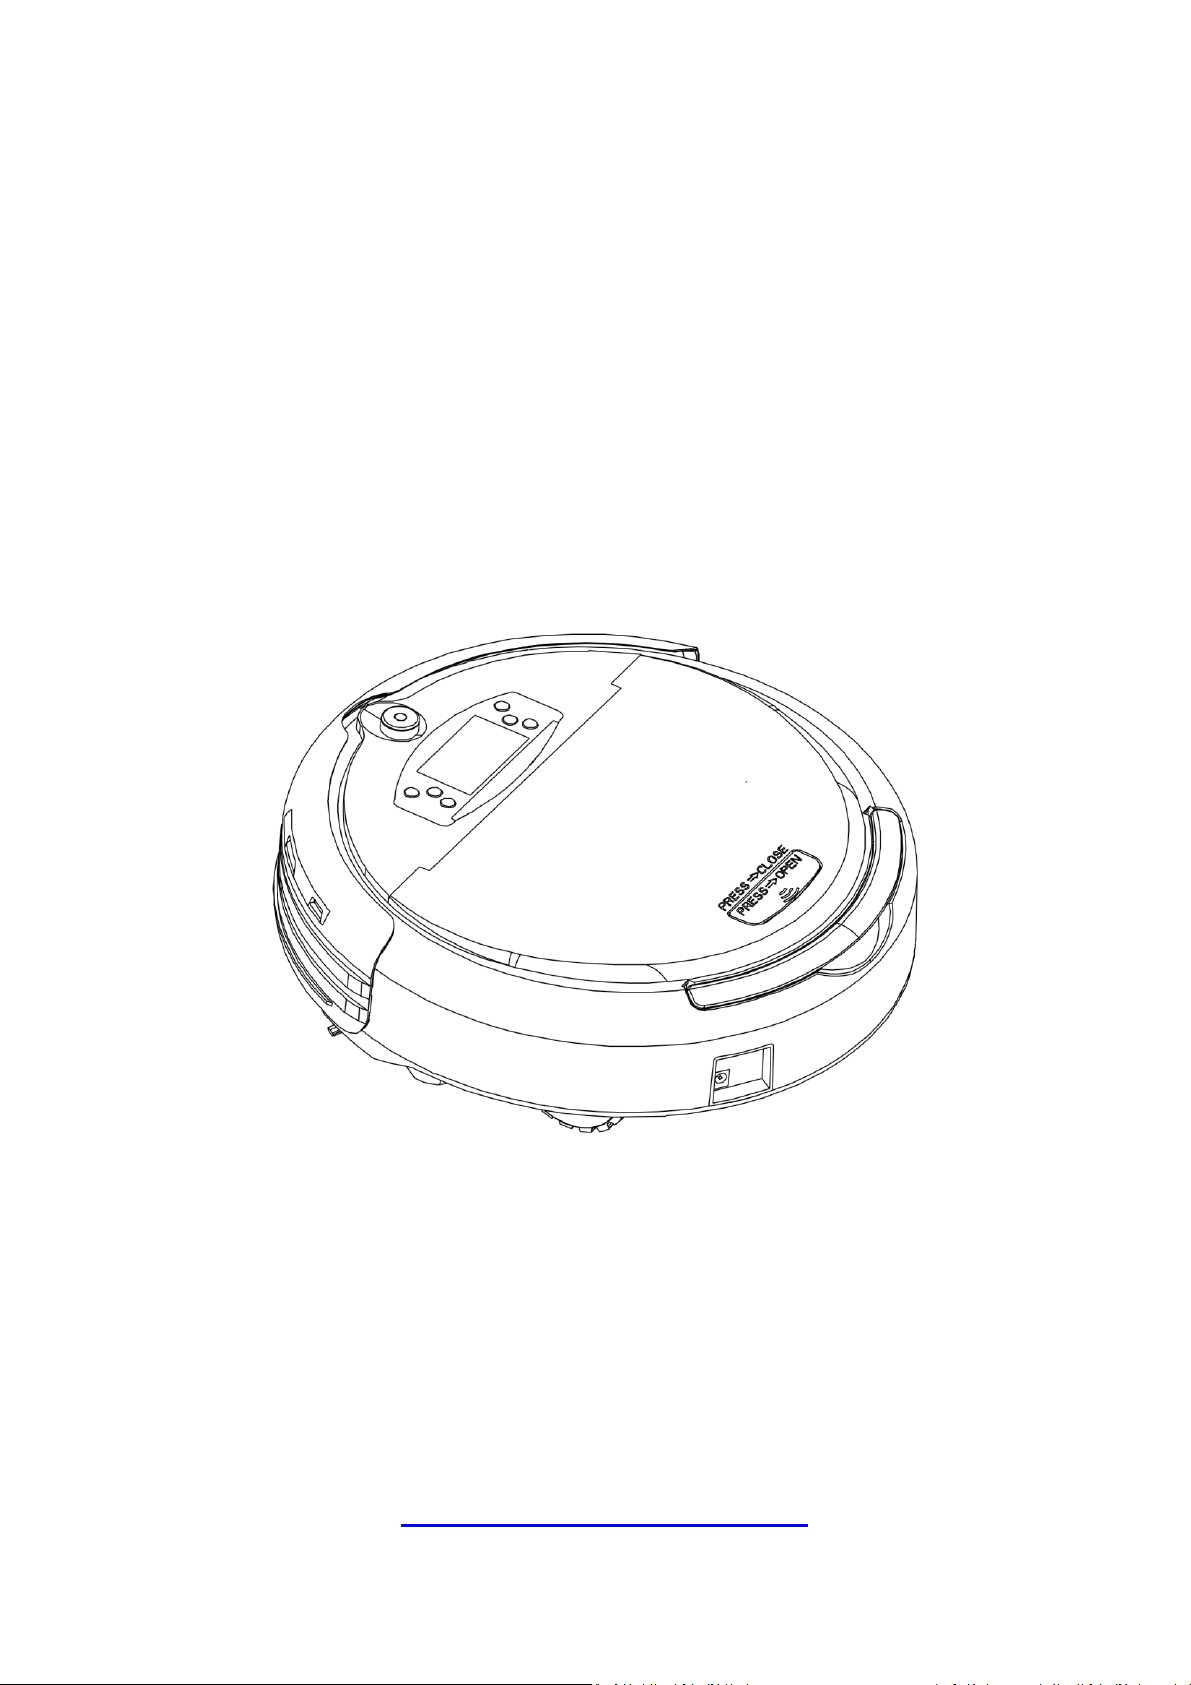
Components of the cleaner:
Robot Adaptor Charging Dock
Cleaning brush Manual
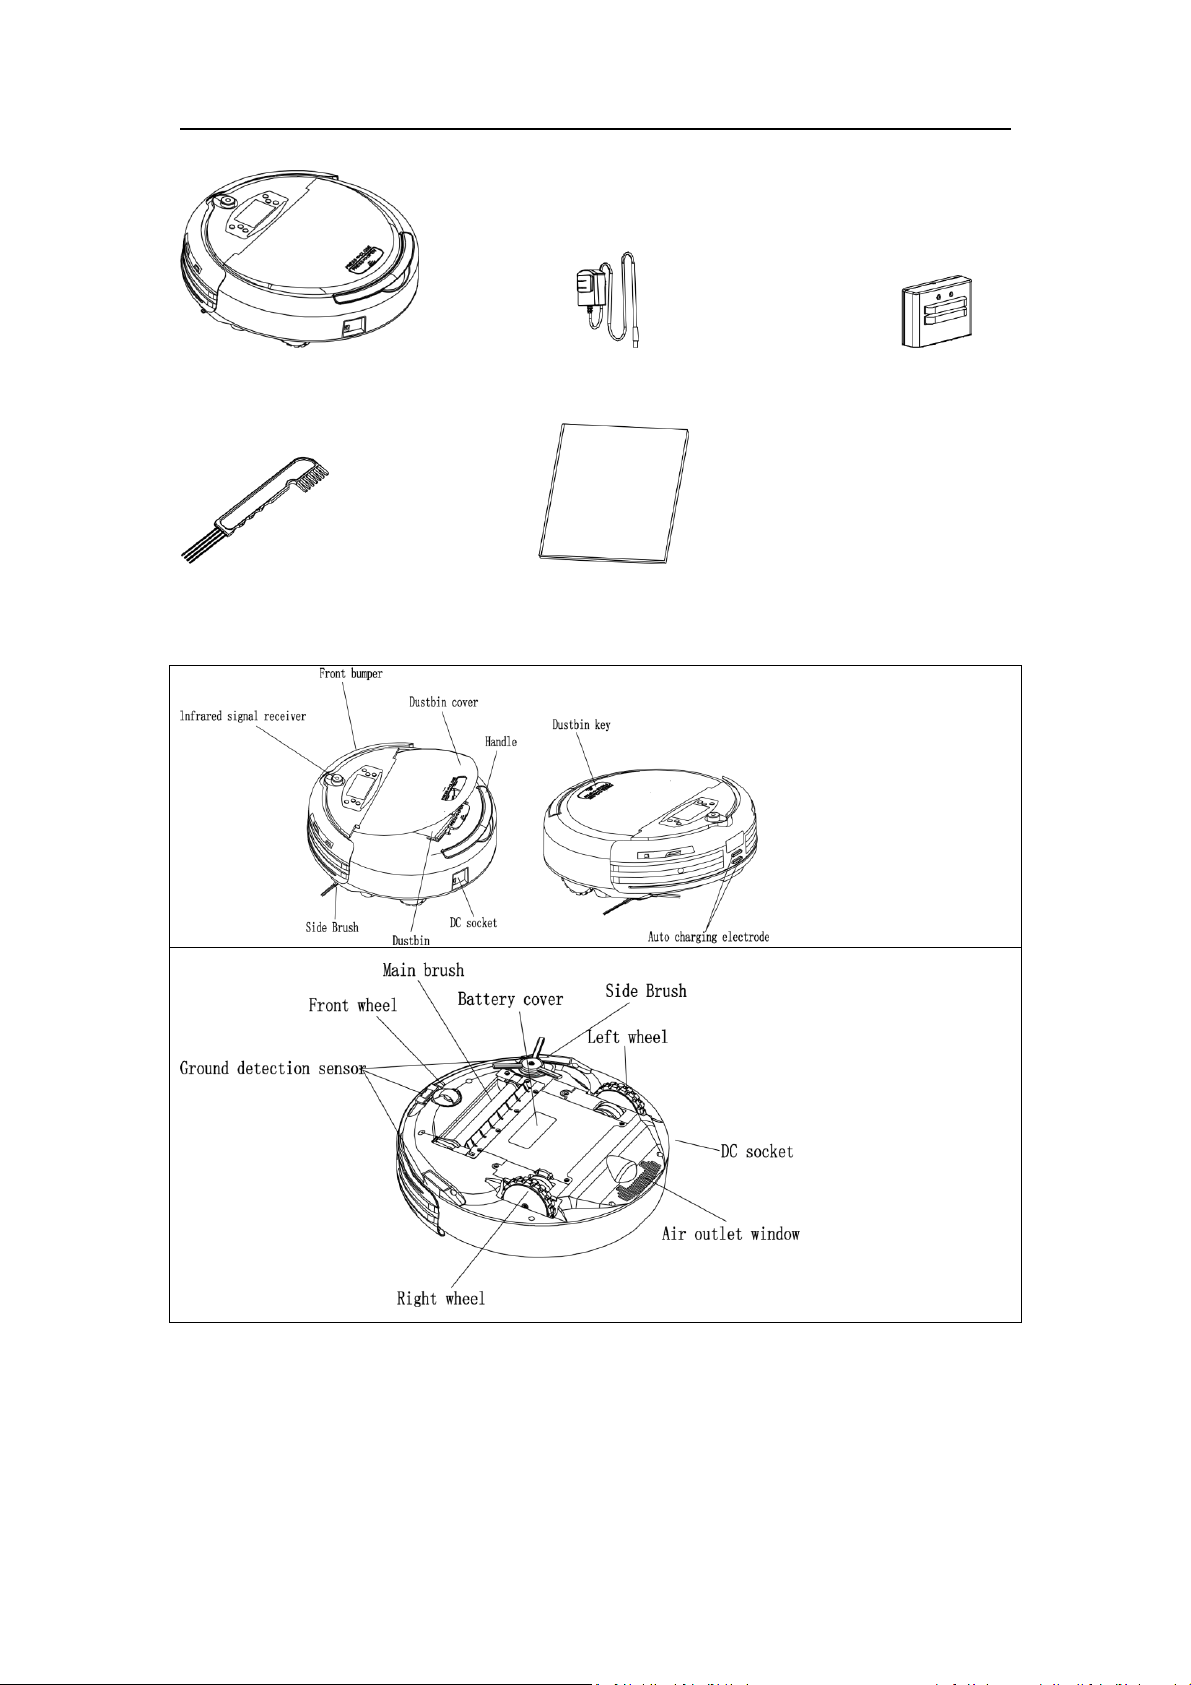
Parts:
1. Power LED
2. Signal transmitting
3. Charging positive electrode
4. Charging negative electrode
5. Power DC socket
FIRST USE
Install the Docking Station
1. Install the Docking Station on flat ground firmly and against a vertical wall (fixed on the wall
with the Docking Station sticker).
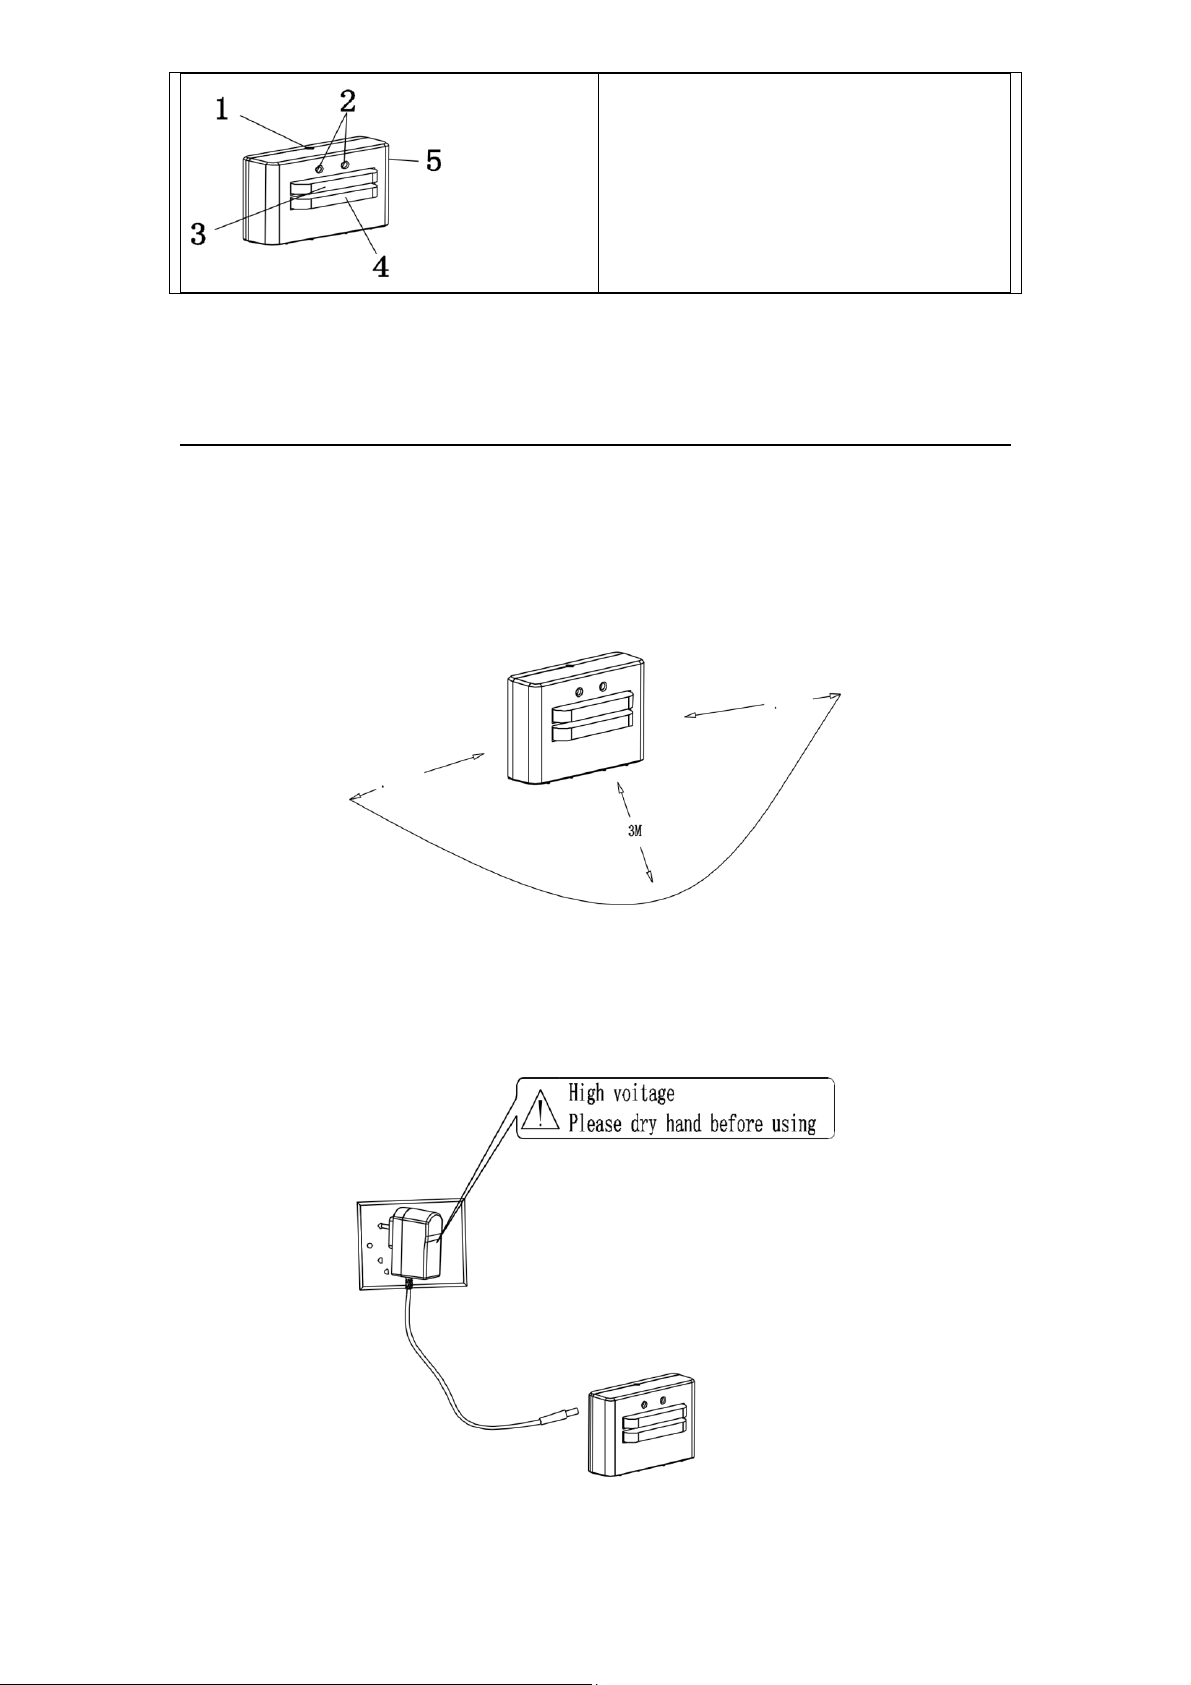
2. Obstacles or hollow areas should be at least 3m away from the front of the Docking Station
and at least 1m away to the right and left (refer to Figure 1).
3. The Cleaner cannot seek the Docking Station for charging if the infrared signal-transmitting
window of the recharger is covered.
4. Connect the output terminal of the adaptor to the DC socket of the Docking Station
5. Place the power cord of the adaptor along the wall, or it may interfere with the Cleaner's
brush or wheels.
First Charge
*IMPORTANT*
Before putting your robot on the charger for the first time – check if the battery is completely
depleted by running the robot. (Make sure the hard power switch on the side is set to the on
position)
Once you have verified the battery is depleted allow the robot to charge undisturbed 5-6
hours before using.
Once fully charged – Completely drain the battery through the first use before allowing the
robot to recharge.
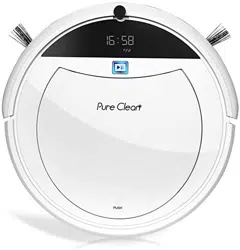
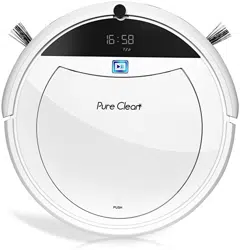
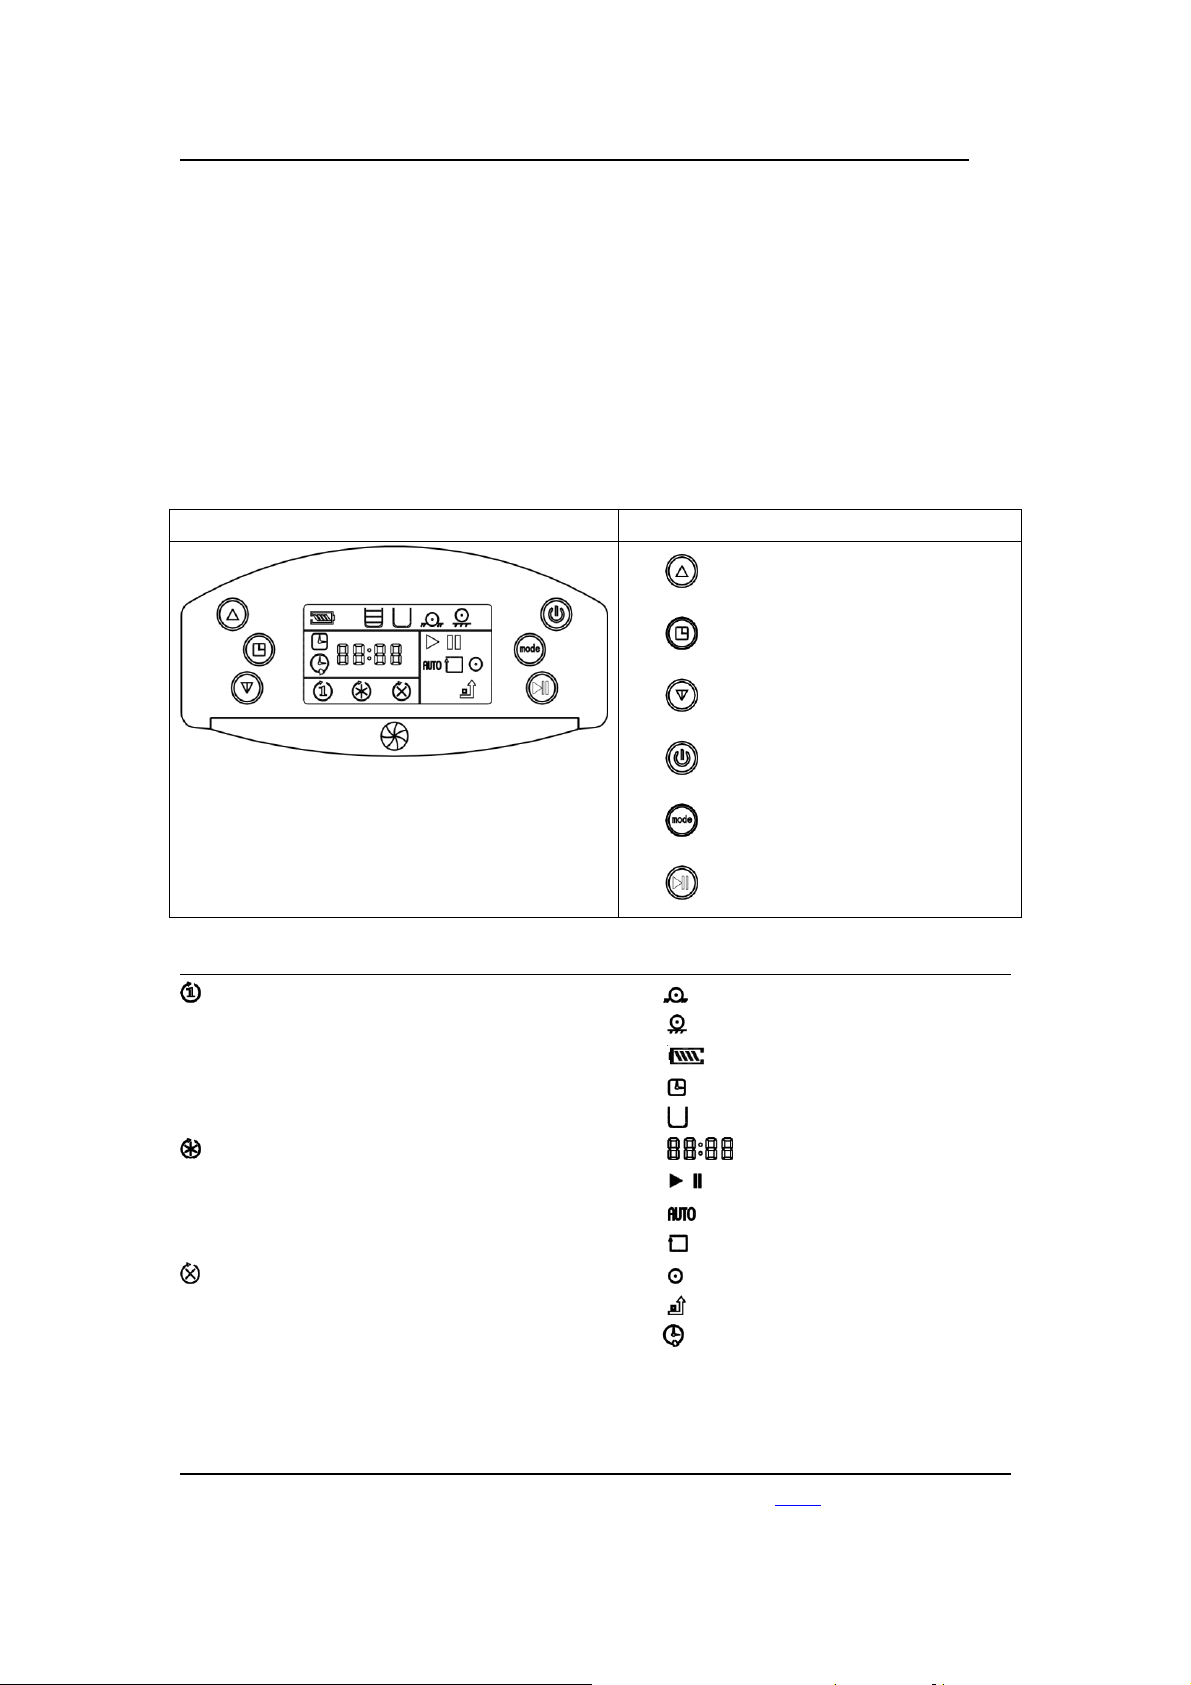
Display Interface
Buttons
“+”
Current/preset time setting
“-”
Power switch
Cleaning mode
Start/pause
Icons Explained
Set one-time cleaning
Preset the cleaning time for a single day.
After finishing this cleaning cycle, the preset
cleaning time will be cancelled.
Continued preset cleaning time
The robot will start cleaning at the preset
time every day
Weekly Schedule
Set cleaning to specific days of the week
Machine trapped
Wheel overhanging
Power showing
Current time
Dustbin is not full
Time
Start/pause
Auto cleaning
Wall following cleaning
Spot cleaning
Auto charging
Indicates cleaning is scheduled
Set Current Time:
(Recommended – go to
“
Purecleanhome.com
”
and watch the video instead)
Note: The robot is in military time and has no 12 hour mode
Turn on the robot and short press “ ” about 1 second to enter the time setting status
Press “ ” or “ ” to set the numbers
Press ” ” to save the hour setting and go to the minute setting.
Press ” ” to save the minutes setting and move to the preset cleaning time.
-This is the time you would like the robot to activate by itself.
Set Cleaning Frequency Mode:
Press “ ” to cycle through the modes
“ ” one-time cleaning at the scheduled time
“ ” Cleane every day at the scheduled time
“ ” Follow the weekly schedule to skip days
Set the length of the cleaning time
-Setting longer than a standard battery charge can cause the robot to clean multiple times in one
day.
1. Long press “ ” for 3 seconds; and wait for the LCD will flicker “--:--“
2. Press “ ” and “ ” to choose hours
3. Confirm the setting with the “ ” then select the minute
Set a weekly activation schedule
Press “ ” to choose the ” icon then long press the “ ” to enter the week day selector
The screen will show “-1:23”
First – set the current day using “ ”
“0” means Sunday, “1” means Monday, ”2” means Tuesday, ”3” means Wednesday, “4” means
Thursday, “5” means Friday, and ”6” means Saturday.
After setting the current day, press “ ”; to continue
Now you will turn off the days you do not want cleaning to occur by pressing “ ” then “ ” to
confirm your selection and move to the next day

Note about the power button
The power switch will reset all the robot settings save the current time when pressed.
Make sure to leave the robot power on while on the charger (or if backed off the charger) if you
want any schedule settings to activate.
Error Messages:
“1111” fan alarm
“2222” main brush alarm
“3333” wheels alarm
“4444” trapped (small area)
“5555” left wheel overhang
“6666” right wheel overhang
“7777” both wheels overhang
“8888” dustbin is full
“9999” DC socket alarm
Battery Troubleshooting:
If you notice short run time (Under 30 min) - Let’s try the steps below to verify the battery is
working properly.
1) Check that the unit's hard power switch is flipped to the on position.
-This is a separate from the main power switch located on the top of the unit.
2) Allow the unit to fully drain power. Run the bot until the start button no longer works to
activate the robot.
3) Check that the dock is plugged into a working power outlet and that the lights on the dock are
flashing
4) Touch the charging leads on the bot to the dock and watch for the robot to respond showing
that it is charging.
5) Allow the robot to sit on the charger for 6 hours minimum
(ignore the charging indicators)
6) Once the robot has sit on the charger 6 hours - activate the bot and observe the working time
-The average run time should last from 50 min to 120 min before the robot battery is depleted
Notes about battery troubleshooting:
If you see the robot still has a short run time - Test the start button to check if the battery is truly
depleted.
If the robot starts up and continues to clean without an additional charge. Battery may not be the
cause of the short run time. Try following the cleaning steps and other troubleshooting methods.
If you try the bot after the short run time - and it requires an additional charge to run again - the
battery may be defective.
You can submit a parts request on our website www.pyleusa.com for a replacement battery.
Other Troubleshooting:
NO.
Problem
Solution
1
The robot backs off
the charger by itself.
This is normal.
The robot will back off the charger after receiving a full charge.
This prevents overcharging and helps to extend the lifetime of
the battery.
2
My robot keeps
getting stuck!
1) Check for and clear the room for any obstacles like loose
wires, thick carpets or low hanging drapes that can
hinder the robot’s performance.
2) Follow the cleaning procedures to ensure none of the
parts have gotten jammed full of debris.
3
The brushes don’t
spin or my robot is
turning funny
directions.
Follow the cleaning procedures outlined.
4
My robot is not
returning to the
charging dock
1) Check for and clear the room for any obstacles like loose
wires, thick carpets or low hanging drapes that can keep
the robot from finding the dock.
2) Make sure the charging dock is positioned correctly as
outlined.
Safety Precautions:
Caution
No one can disassemble, maintain or change
this product except the maintenance technicians
designated by our company, or it may cause fire,
electric shock or personal injury.
Don’t use any other charger but the one
equipped for the robot, or it may cause
product damage, electric shock or fire due to
high voltage.
Don’t touch the appliance's high-voltage power
cord with your wet hand, or it may cause
electric shock.
Robot is not designed for thick shag carpets.
Don’t twist your clothes or any part of your
body (head, finger, etc.) into the brush or wheel
Don’t approach the robot with cigarettes,
lighters, matches and other sources of heat or
of the robot, or it may cause personal injury.
with combustible materials such as gasoline.
Attention
The cleaner will require regular cleaning and
maintenance for proper function. For best
results, check the wheels, brushes and moving
parts are clear from dust and hair. You can find
a video tutorial for how to clean online!
Store your unit on the charging base while in
regular use to ensure the battery is fully
charged.
Charge using a standard outlet only. Product
may not be used with any type of power
converter. Use of other power converters will
immediately void the warranty.
Check the room for objects that will hinder
cleaning before activating your robot – Low
hanging power cords and clutter can cause the
robot to get stuck.
Always charge and remove the battery from
your robot and accessories before long-term
storage or transportation.
Don’t stand or sit or put weight on the cleaner,
or it may cause damage to the cleaner or
personal injury.
Don’t make the cleaner take in water and other
liquids.
Don’t use the cleaner on small tables,
chairs or other small spaces.
Not designed for outdoor use or charging.
Always disconnect your robot from the dock
before cleaning or maintaining it.
Used battery packs should be placed in a sealed plastic bag and disposed of safely according to
local environmental regulations. Before every use, check the battery pack for any sign of damage
or leakage. Do not charge damaged or leaking battery packs.
Do not crush or dismantle battery packs. Do not heat or place the battery pack near any heat
source. Do not incinerate the battery pack. Do not short-circuit the
battery pack. Do not immerse the battery pack in any liquid.
Other Questions
1. How long can the robot work after it is fully charged?
Answer: It depends on the ground conditions. Normally, the robot can keep working for 70
minutes on wooden, tile, and other flat floor surfaces, and 50 minutes on short carpet. (This time
is also affected by the cleaning mode that you preset.)
2. How long can the rechargeable battery be used?
Answer: The built-in battery can be recycled at least 500 times. If there is no loss of battery
capacity, it can be used more than 500 times.
3. How large of an area can the robot clean after it is fully charged
Answer: About 120 to 150 square meters for one charging cycle (in quick sweeping mode)
4. Can the robot work alone while no one monitors it?
Answer: Yes, but you should let others know that the robot is working. Some people find robots
very scary.
5. Why is the robot releasing dirt while cleaning?

Answer: 1. Check the dustbin to see whether there is too much dirt in it. Clear the dustbin. (If
there is too much dirt on the floor, there is no alarm even if there is a lot of dirt in the dustbin. 2.
Check the main brush to see if there is too much hair and dust on it.
6. Why isn’t the robot working automatically when it is at the preset cleaning time?
Answer: 1. Check whether the robot is in standby status. 2. Once the robot is in “cancel cleaning
time” status, the robot will not work automatically, while if it is in “one-time cleaning” status, the
automatically cleaning action should be performed.
7. What device is built in to keep the robot away from barriers?
Answer: The robot contains a photosensitive element that perceives ground conditions more
than eight centimeters high to keep the robot from failing.
8. Can the robot clean the bottom of furniture?
Answer: The robot is designed with a flat spot shape. It can go under a table, bed, and sofa for
cleaning so long as there is a height clearance of more than 10 centimeters.
9. Why isn’t the robot charging when it’s in the dock and the indicator in the dock is not on?
Answer: 1. Check whether the battery at the bottom is installed correctly. If the screw on the
battery cover is loose, tighten it. 2. Check the socket to make sure the power is on. 3. Contact our
after-sales service department technical assistant if the problem continues.
10. Why does the robot occasionally slow down or move backward?
Answer: If the robot senses that there is too much dirt in a certain place, it will automatically
slow down and take a fan-shaped or spiral-shaped route.
11. Will the robot harm children or damage the furniture while cleaning?
Answer: No, a PVC rubber bumper in front of the robot will help it change direction when
meeting furniture or children.
12. Will the robot harm pets?
Answer: There is little noise when the robot is working, so it will not disturb pets. It is suggested
that you observe your pet’s reaction when first using the robot.
13. How does the robot work in cleaning carpet?
Answer: The robot can clean short-piled carpet effectively, especially carpet with a pile of less
than 2 centimeters. Help the robot turn over the edge under the carpet.
14. Should the robot be kept on the docking station and in charging status even if it isn’t being
used?
Answer: Yes. The robot will turn into small current input mode automatically after it is fully
charged.
15. How do I keep the main brush from being intertwined by wire?
Answer: Remove wire from the floor before cleaning.

16. How do I cancel the preset cleaning time since I will not be home for a few days or longer?
Answer: You can cancel the preset cleaning time function by turning off the robot manually.
17. What should I do if the robot takes in water?
Answer: Turn off the robot immediately. 1. Take out the dustbin, clean it, and dry it. 2. Clean the
filter and dry it. 3. Take out the main brush and clean it. Use a dry, soft cloth to clean the main
brush and interior of the robot. 4. Dry all items for 12 hours. Make sure the PCB is dry before you
resume cleaning.
18. How can the robot be used to effectively clean a room?
Answer: Put the robot and docking station in the same room to shorten the time spent searching
for the docking. If you need to clean all the rooms in your house, put the docking station in the
middle room to make sure the robot can search the docking in the shortest time.
19. Is it difficult to clean the corner since robot is round in shape?
Answer: The robot can automatically identify the wall. In “auto” mode and “wall following” mode,
the robot can clean the corner effectively with its side brushes. The angled intersection of two
walls may not get cleaned, so you may need to sweep out the dust manually.
20. What does the robot do when it meets barriers?
Answer: Usually, the robot will return automatically and resume its movement in another
direction.
21. Is there any danger if we touch the electrode of the robot or docking station?
Answer: No. The electrode’s maximum DC output is 20V, which is safe voltage.
ISSUES? QUESTIONS? NEED HELP?
Don’t fret! Reach out to customer support at
www.PyleUSA.com
Technical Specifications:
No.
Model
PUCRC45
1
Rated Voltage
14.4V
2
Battery
Rechargeable battery (the charging time is
about 4-6 hours)
3
Working Hours
45-90minutes (1500mAh)

4
Rated Power
<35W
5
Operating Temperature Range
-10℃ ~ 45℃
6
Operating Humidity Range
≦85RH
7
Input Voltage/Current
20V / 900mA
8
Wireless Remote
Infrared 38KHZ
9
Specification
φ320 x 90mm (including the wheel height)
10
Weight
3kg
11
Battery Capacity
1500mAh
Technical Specifications of Docking Station
No.
Models
Parameters
Remark
1
Specification
L X W X H: 115x93x50mm
2
Weight
0.2kg
3
Rated Voltage
20v
4
Operating Temperature
Range
-10℃ ~ 45℃
5
Operating Humidity
Range
≦85RH
The “CE” marking states that the product is compliant with European Directives 2006/95/EC Low
Voltage Directive and 2004/108/EC EMC Directive.
It is possible to request a full copy of the Declaration of Compliance to the Distributor.
This product complies with the rules of the RoHS Directive (2002/95/CE).
This product complies with the rules of the Eup Directive (2009/125/CE).