Loading ...
Loading ...
Loading ...
29
USING YOUR REFRIGERATOR
Selection Button
• When “MEAT” is selected, the temperature of the
Glide‘N’Serve can be kept around 34°F(1°C). This
feature helps keep meat or fish fresh for a longer
time. The Glide‘N’Serve temperature can be main-
tained under recommended temperature setting
Freezer : 0°F (-18°C), Referigerator: 37°F (3°C).
• When “DELI” is selected, the temperature of the
Glide‘N’Serve can be kept around 38°F (3°C).This
feature helps keep food fresh for a longer time.
The Glide‘N’Serve temperature can be maintained
under recommended temperature setting Freezer:
0°F (-18°C), Referigerator : 37°F (3°C).
• When “PRODUCE” is selected, the temperature of
the Glide‘N’Serve can be kept around 41°F(5°C). This
feature helps keep food fresh for along time. The
Glide‘N’Serve temperature canbe maintained under
recommended temperature setting Freezer :
0°F (-18°C), Referigerator : 37°F (3°C).
Glide‘N’Serve (In some models).
The Glide‘N’Serve provides storage space with avariable
temperature control that keeps thecompartment colder
than refrigerator. This drawer can be used for large party
trays, deliitems, or beverages.
MEATMEAT
DELI
PRODUCE
TEMP. SELECTORTEMP. SELECTORTEMP. SELECTOR
LOW
HIGHLOW HIGHLOW
MEAT
DELI
PRODUCE
TEMP. SELECTOR
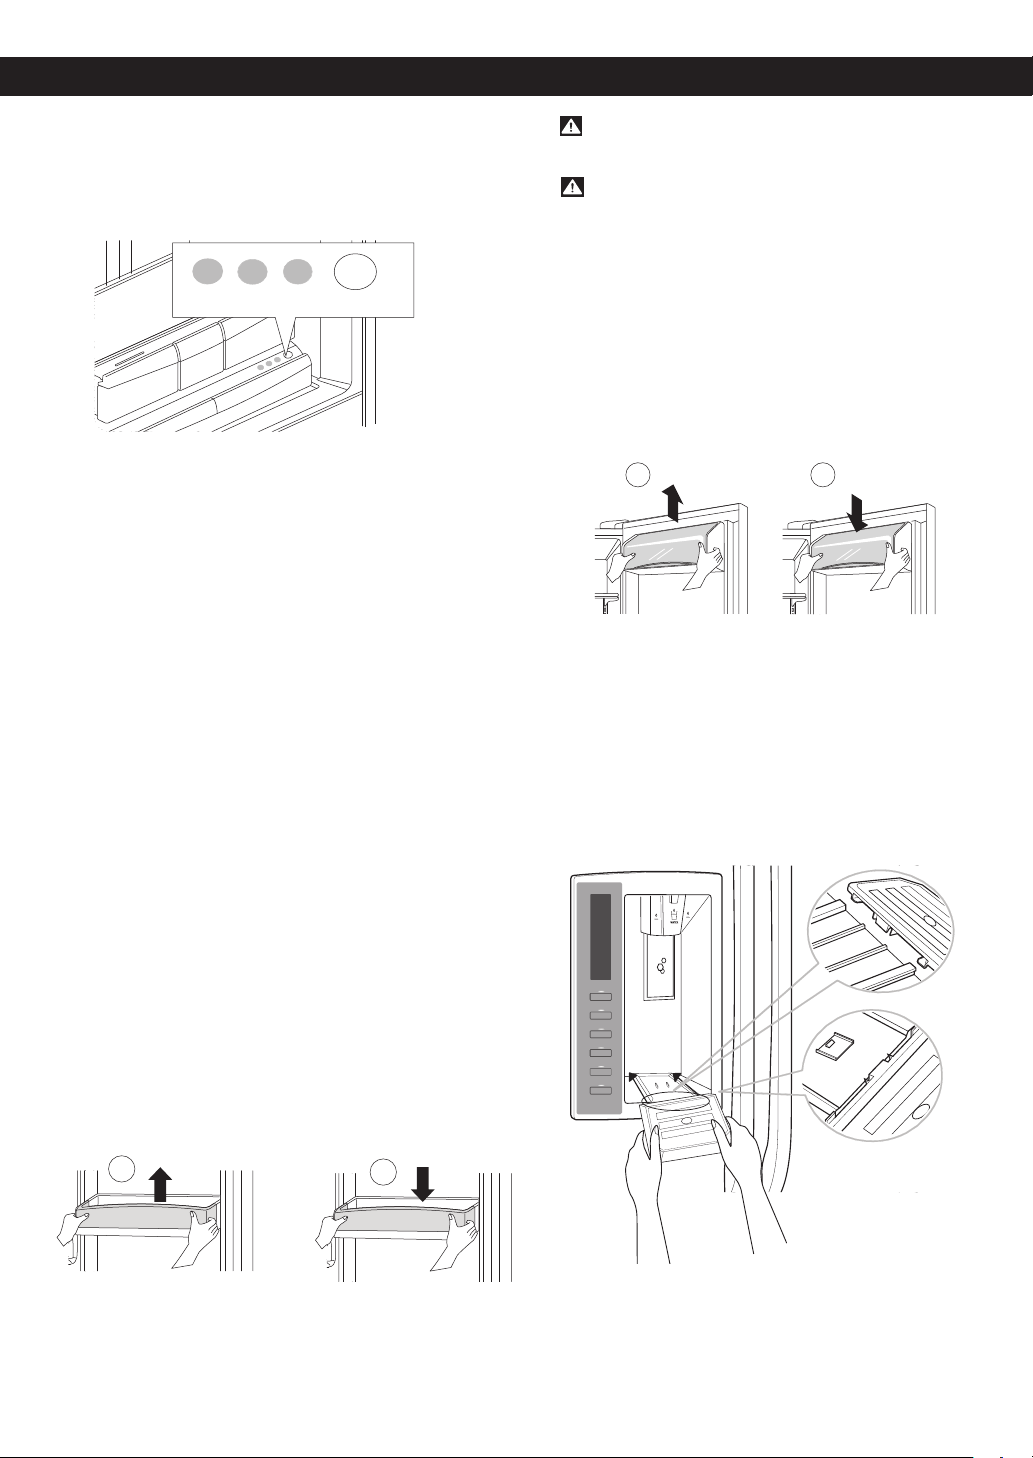
DOOR RACKS
The door racks are removable for easy cleaning and
adjusting.
• To remove the rack, simply lift the rack up and pull
straight out (1).
• To replace the rack, slide it in above the desired
support button and push down until it stops (2).
WARNING: Somebody can be hurt if door racks
are not firmly assembled.
CAUTION: DO NOT allow children to play with
baskets. Sharp corners on baskets could cause
injury.
NOTE: DO NOT adjust a rack that is loaded with food.
1
2
1 2
DAIRY COMPARTMENT (in some models)
• To remove the dairy compartment, simply lift it and
pull straight out (1).
• To replace the dairy compartment, slide it in above the
desired location and push down until it stops (2).
The dispenser drip tray has no self-draining
function. It should be cleaned regularly.
Remove the cover by pressing and pulling the
tray. Dry it with a cloth. To reinstall the tray,
slightly tilt the front of the tray and snap the
ribs into the holes.
DISPENSER DRIP TRAY (in some models)
Loading ...
Loading ...
Loading ...