Loading ...
Loading ...
Loading ...
7
ENGLISH
Connecting the power supply
WARNING ►Please use extra caution when connecting the power cord as
incorrect or faulty connections may result in fire and/or electrical shock.
• Only use the power cord that came with the projector. If it is damaged, contact
your dealer to newly get correct one.
• Only plug the power cord into an outlet rated for use with the power cord's
specified voltage range.
• Never
modify the power cord. Never attempt to defeat the ground connection of
the three-pronged plug.
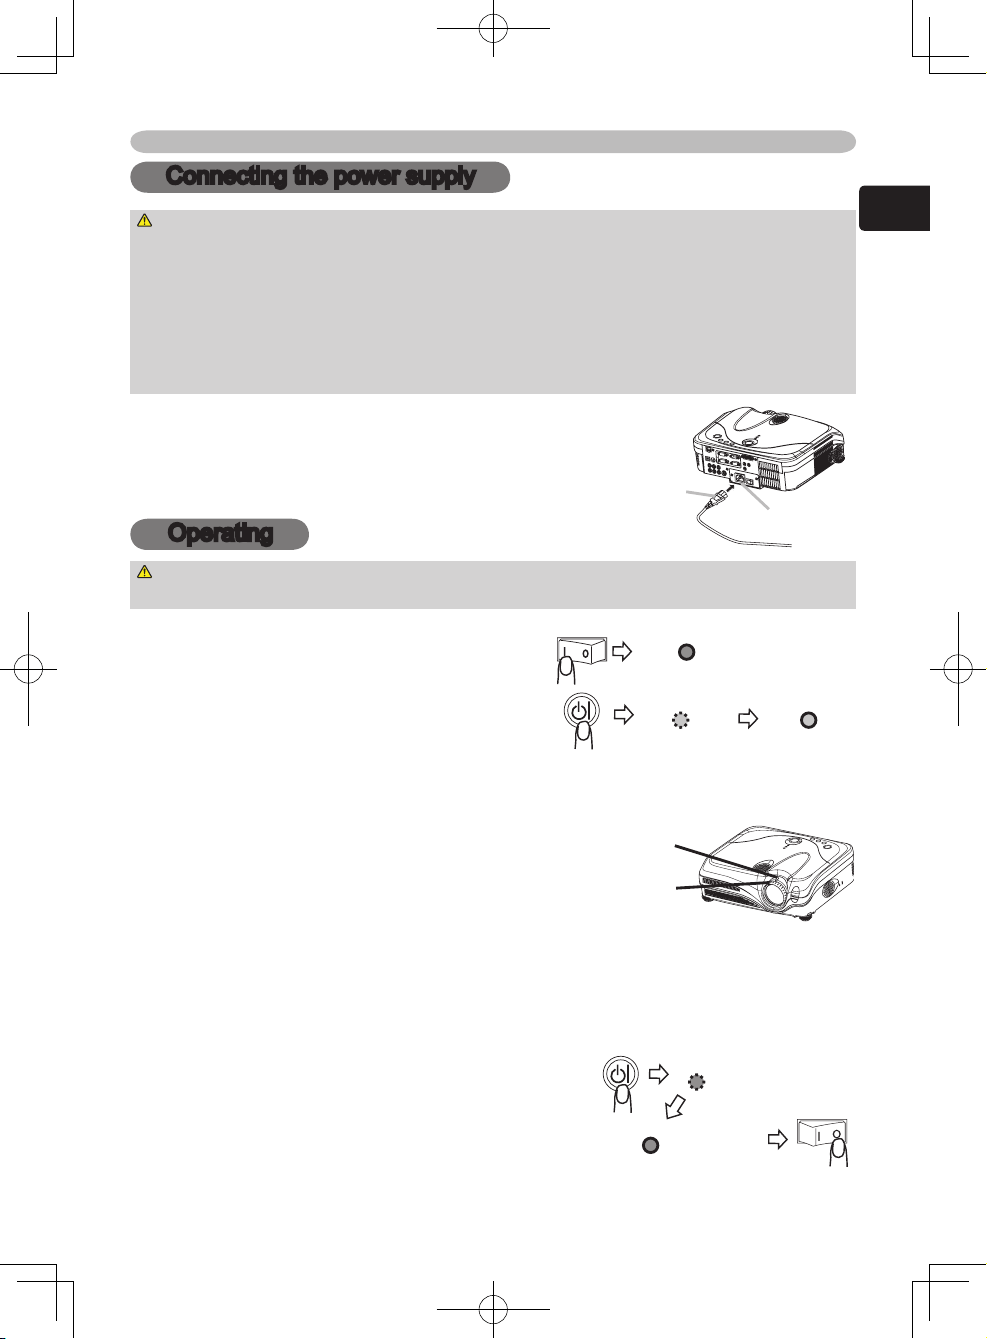
1.
Connect the connector of the power cord
to the AC inlet of the projector.
2.
Firmly plug the power cord's plug into
the outlet.
AC inlet
Connector of
the power cord
Connecting the power supply / Operating
Operating
WARNING ►When the power is on, a strong light is emitted. Do not look
into the lens or vents of the projector.
Turning on the power
1.
Set the power switch to the ON position.
2.
Press the STANDBY/ON (projector or
remote control) button.
Displaying
1.
To select an input signal, use the button of INPUT (projector), or the buttons
of RGB, VIDEO or ONE TOUCH (remote control).
2.
To change the aspect ratio, use the button
ASPECT (remote control).
3.
To adjust the zoom and focus, use the
zoom knob and the focus ring.
Turning off the power
1.
Press the STANDBY/ON (projector or remote control) button.
The message "Power off?" will appear on the screen for approximately 5 seconds.
2.
Press the STANDBY/ON (projector or remote control) button again while the
message is visible.
The projector lamp will go of
f, and the POWER
indicator will begin blinking orange. Then the
POWER indicator will stop blinking and light to
solid orange when the lamp cooling is complete.
3.
Make sure that the power indicator lights to solid orange, set the power switch to
the OFF position. The POWER indicator will go off.
POWER
(Blinking orange)
POWER
(Solid orange)
POWER POWER
(Blinking green) (Solid green)
POWER
(Solid orange)
Zoom knob
Focus ring
Loading ...
Loading ...
Loading ...