Loading ...
Loading ...
Loading ...
8 Philips · Screeneo S4
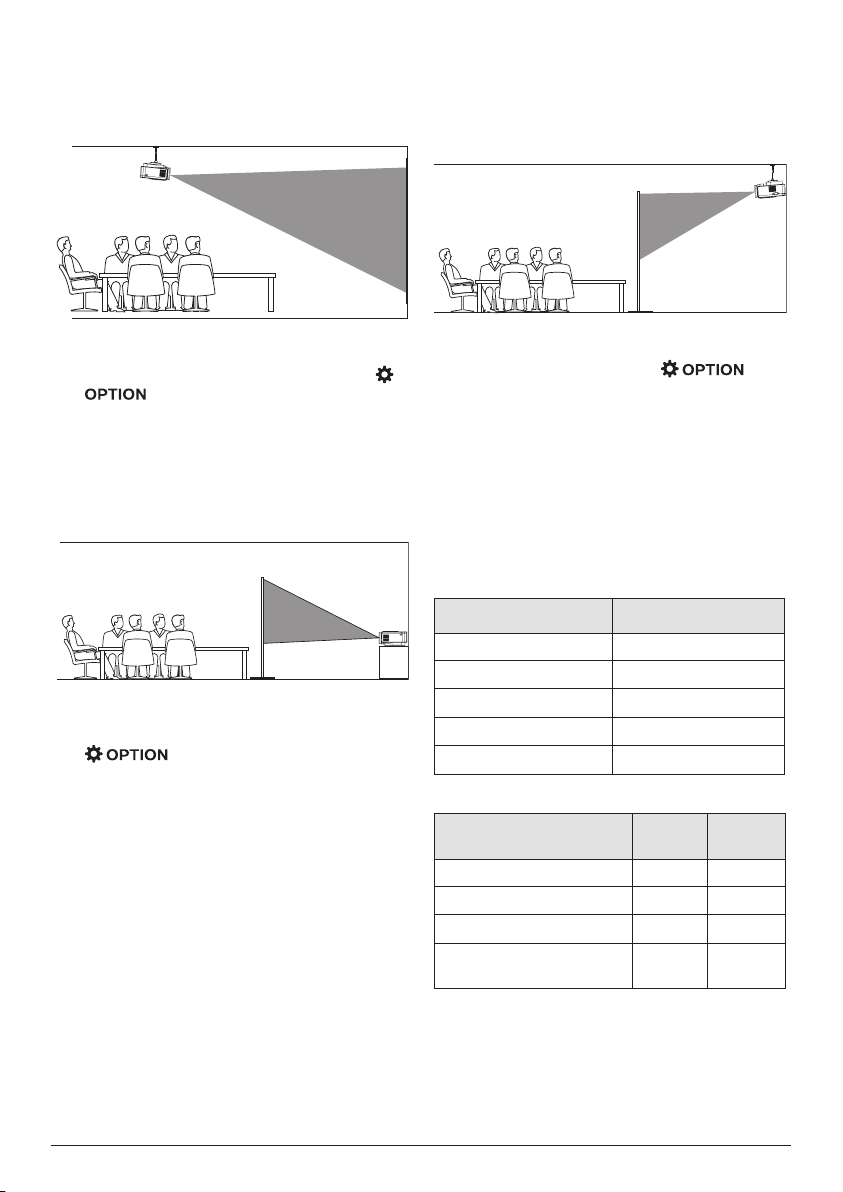
Front ceiling
1 Mount the projector on the ceiling with
upside up in front of the projection screen.
A projector mount is required to mount the
projector on ceiling.
2 To adjust projection to the correct position,
enable the Ceiling option and disable the
Rear option for projection mode (press
, and go to Image - Ceiling and
Rear).
Rear table
1 Place the projector on a table behind the
projection screen. A special rear projection
screen is required.
2 To adjust projection to the correct position,
Enable the Rear option and disable the
Ceiling option for projection mode (press
, and go to Image - Ceiling and
Rear).
Rear ceiling
1 Mount the projector on ceiling with upside
up behind the projection screen. To mount
the projector on ceiling behind the screen,
a projector mount and a special rear
projection screen is required.
2 To adjust projection to the correct position,
enable both the Ceiling and Rear options
for projection mode (press , and
go to Image - Ceiling and Rear).
Change screen size
The projection screen size (or size of images) is
determined by the distance between the lens
of the projector and the projection surface.
• The minimum and maximum projection
distance is 30 cm and 450 cm.
• Note the relationship between screen sizes
(diagonal sizes) and projection distances.
Screen size Projection distance
19” 50 cm
38” 100 cm
75” 200 cm
113” 300 cm
151” 400 cm
Recommended sizes
Environment Screen
size
Distance
Daylight living room 64” 177 cm
Evening living room 100” 185 cm
Home theatre (dark) 160” 293 cm
Maximum recommended
size
190” 350 cm
Loading ...
Loading ...
Loading ...