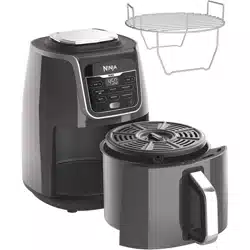
Ninja AF161 Air Fryer Max XL
Product's Documents
Below are documents related to this product, you can read online or download:
- Owner's manual - (English) Read Online | Download pdf
Read all instructions before using your Ninja® Air Fryer Max XL.
When using electrical appliance, basic safety precautions should always be followed, including the following:
Take care to avoid coming into contact with a hot surface.
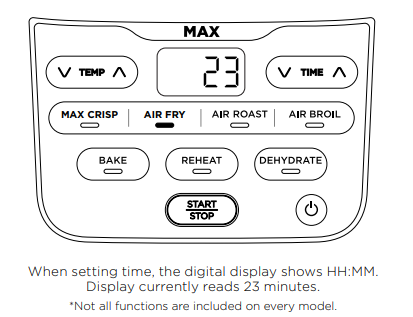
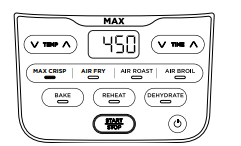
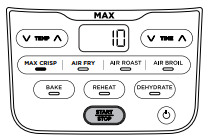
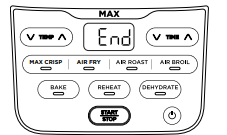
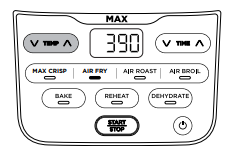
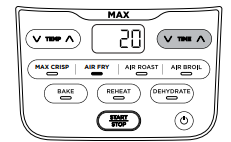
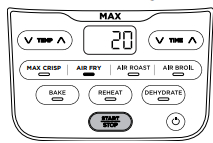
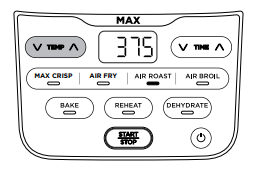
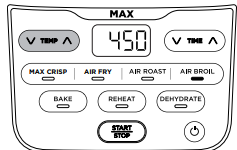
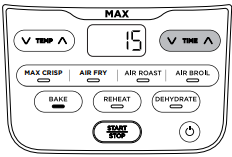
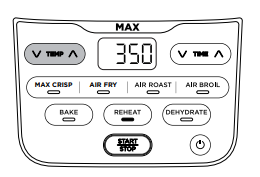
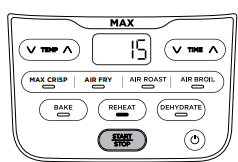
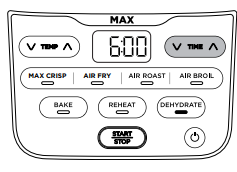
FUNCTION BUTTONS
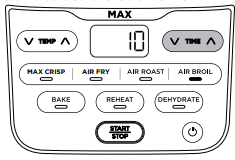
OPERATING BUTTONS
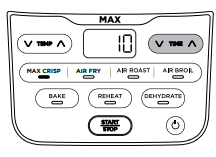
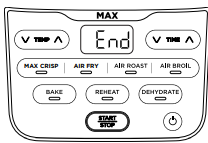
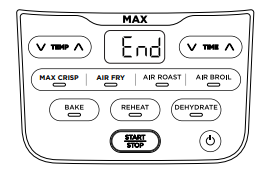
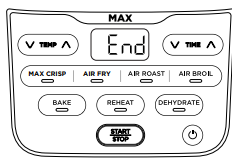
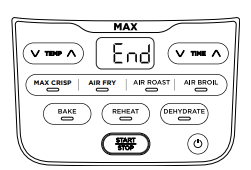
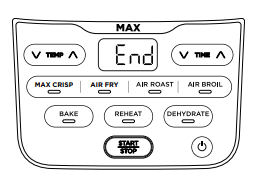
NOTE: After 10 minutes with no interaction with the control panel, the unit will enter standby mode. The Power button will be dimly lit.
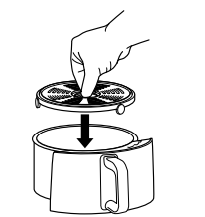
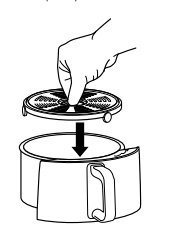
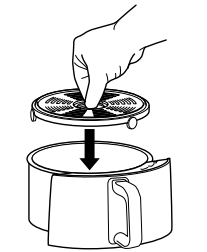
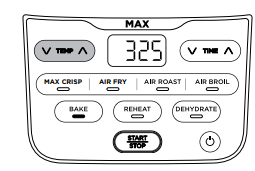
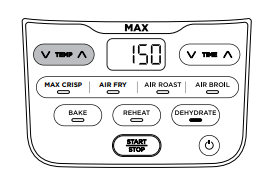
USING THE COOKING FUNCTIONS: To turn on the unit, first plug the power cord into a wall outlet. Press the power button 
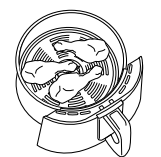
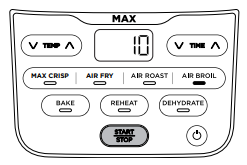
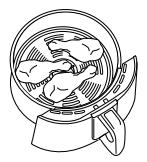
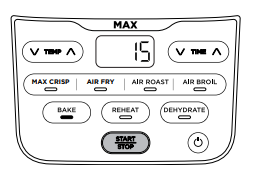
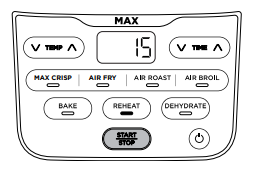
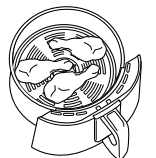
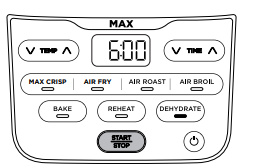
Air Fry
Air Roast


NOTE: The Air Broil function and broil rack are not included on all models.
Air Broil

Bake
Reheat


Dehydrate
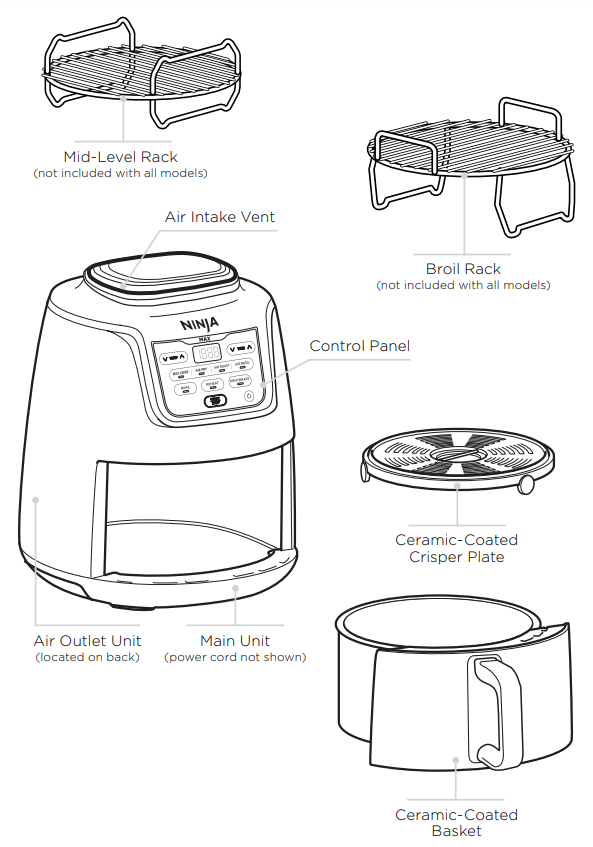
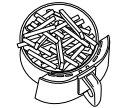
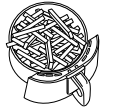
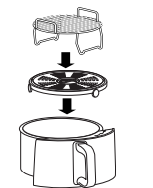
 NOTE: You can increase your air fryer’s dehydrating capacity with the mid-level rack. If the rack is not included with your model, it is available for purchase
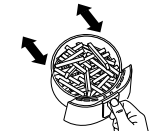
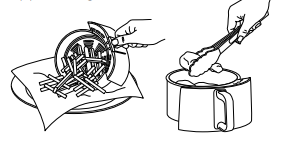
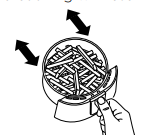
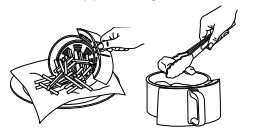
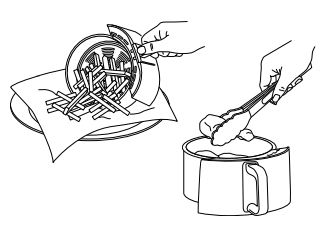
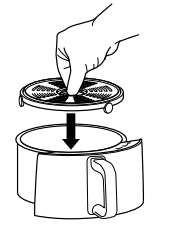
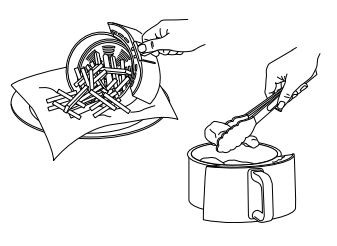
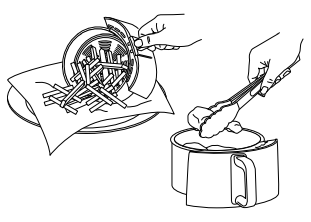
Cleaning Your Air Fryer Max XL: The unit should be cleaned thoroughly after every use.
Reference file: Ninja AF161 Air Fryer Max XL
Series: AF160