Loading ...
Loading ...
Loading ...
20
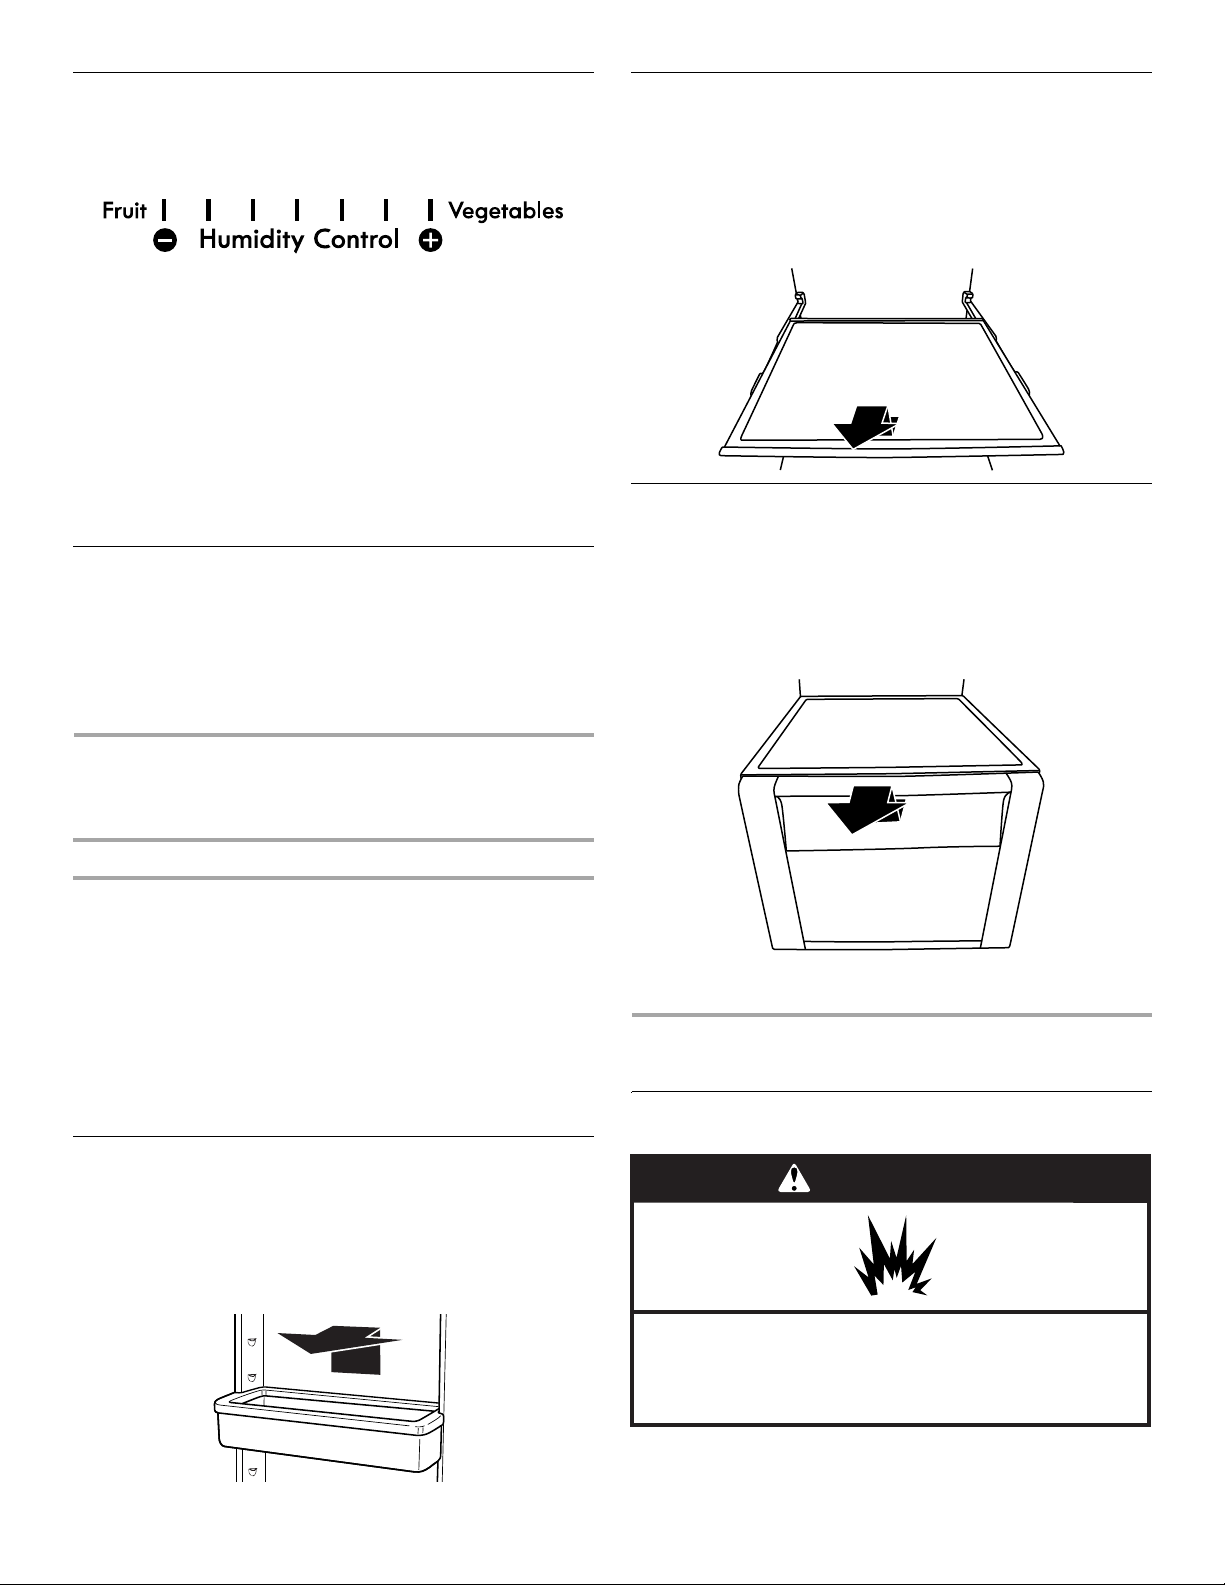
Crisper Humidity Control
(on some models)
You can control the amount of humidity in the moisturesealed crisper.
Adjust the control to any setting between FRUIT [-] and VEGETABLES [+].
FRUIT [-] (open) lets moist air out of the crisper for best storage of fruits
and vegetables with skins.
■ Fruit: Wash, let dry and store in refrigerator in plastic bag or
crisper. Do not wash or hull berries until they are ready to use. Sort
and keep berries in original container in crisper, or store in a
loosely closed paper bag on a refrigerator shelf.
■ Vegetables with skins: Place in plastic bag or plastic container
and store in crisper.
VEGETABLES [+] (closed) keeps moist air in the crisper for best storage of
fresh, leafy vegetables.
■ Leafy vegetables: Wash in cold water, drain and trim or tear off
bruised and discolored areas. Place in plastic bag or plastic
container and store in crisper.
Utility Bin
(on some models - Accessory)
The utility bin can be placed anywhere inside the refrigerator or freezer. It
can be used to hold various small items such as kids’ snacks, or for extra
ice storage.
NOTE: For long-term storage, place eggs in a covered container or in their
original carton on an interior shelf.
FREEZER FEATURES
Your model may have some or all of these features.
Frozen Food Storage Guide
Storage times will vary according to the quality and type of food, the type
of packaging or wrap used (should be airtight and moistureproof), and
the storage temperature. Ice crystals inside a sealed package are normal.
This simply means that moisture in the food and air inside the package
have condensed, creating ice crystals.
Put no more unfrozen food into the freezer than will freeze within 24 hours
(no more than 2 to 3 lbs of food per cubic foot [907 to 1,350 g per 28 L] of
freezer space). Leave enough space in the freezer for air to circulate
around packages. Be certain to leave enough room for the door to close
tightly.
For more information on preparing food for freezing, check a freezer
guide or reliable cookbook.
Freezer Door Bins
(on some models)
To Remove and Replace the Bins:
1. Remove the bin by lifting it and pulling it straight out.
2. Replace the bin by sliding it in above the desired supports and pushing
it down until it stops.
Freezer Shelf
(number of shelves varies by model)
To Remove and Replace a Shelf:
1. Pull the shelf forward to the stop. Tilt the front of the shelf up and lift it
slightly as you pull the shelf from the frame.
2. Replace the shelf by guiding it back into the slots on the frame and
pushing the shelf in past the stop.
Freezer Bin
(on some models)
The freezer bin can be used to store bags of frozen fruits and vegetables
that may slide off freezer shelves.
To Remove and Replace the Freezer Bin:
1. Remove the bin by sliding it out to the stop. Lift the front to slide the
bin out the rest of the way.
2. Replace the bin by positioning it on the rails. Lift the bin front slightly
while pushing it in fully past the stops.
REFRIGERATOR CARE
Cleaning
Both the refrigerator and freezer sections defrost automatically. However,
clean both compartments about once a month to avoid buildup of odors.
Wipe up spills immediately.
WARNING
Explosion Hazard
Use nonflammable cleaner.
Failure to do so can result in death, explosion, or fire.
Loading ...
Loading ...
Loading ...