Loading ...
Loading ...
Loading ...
4|Page
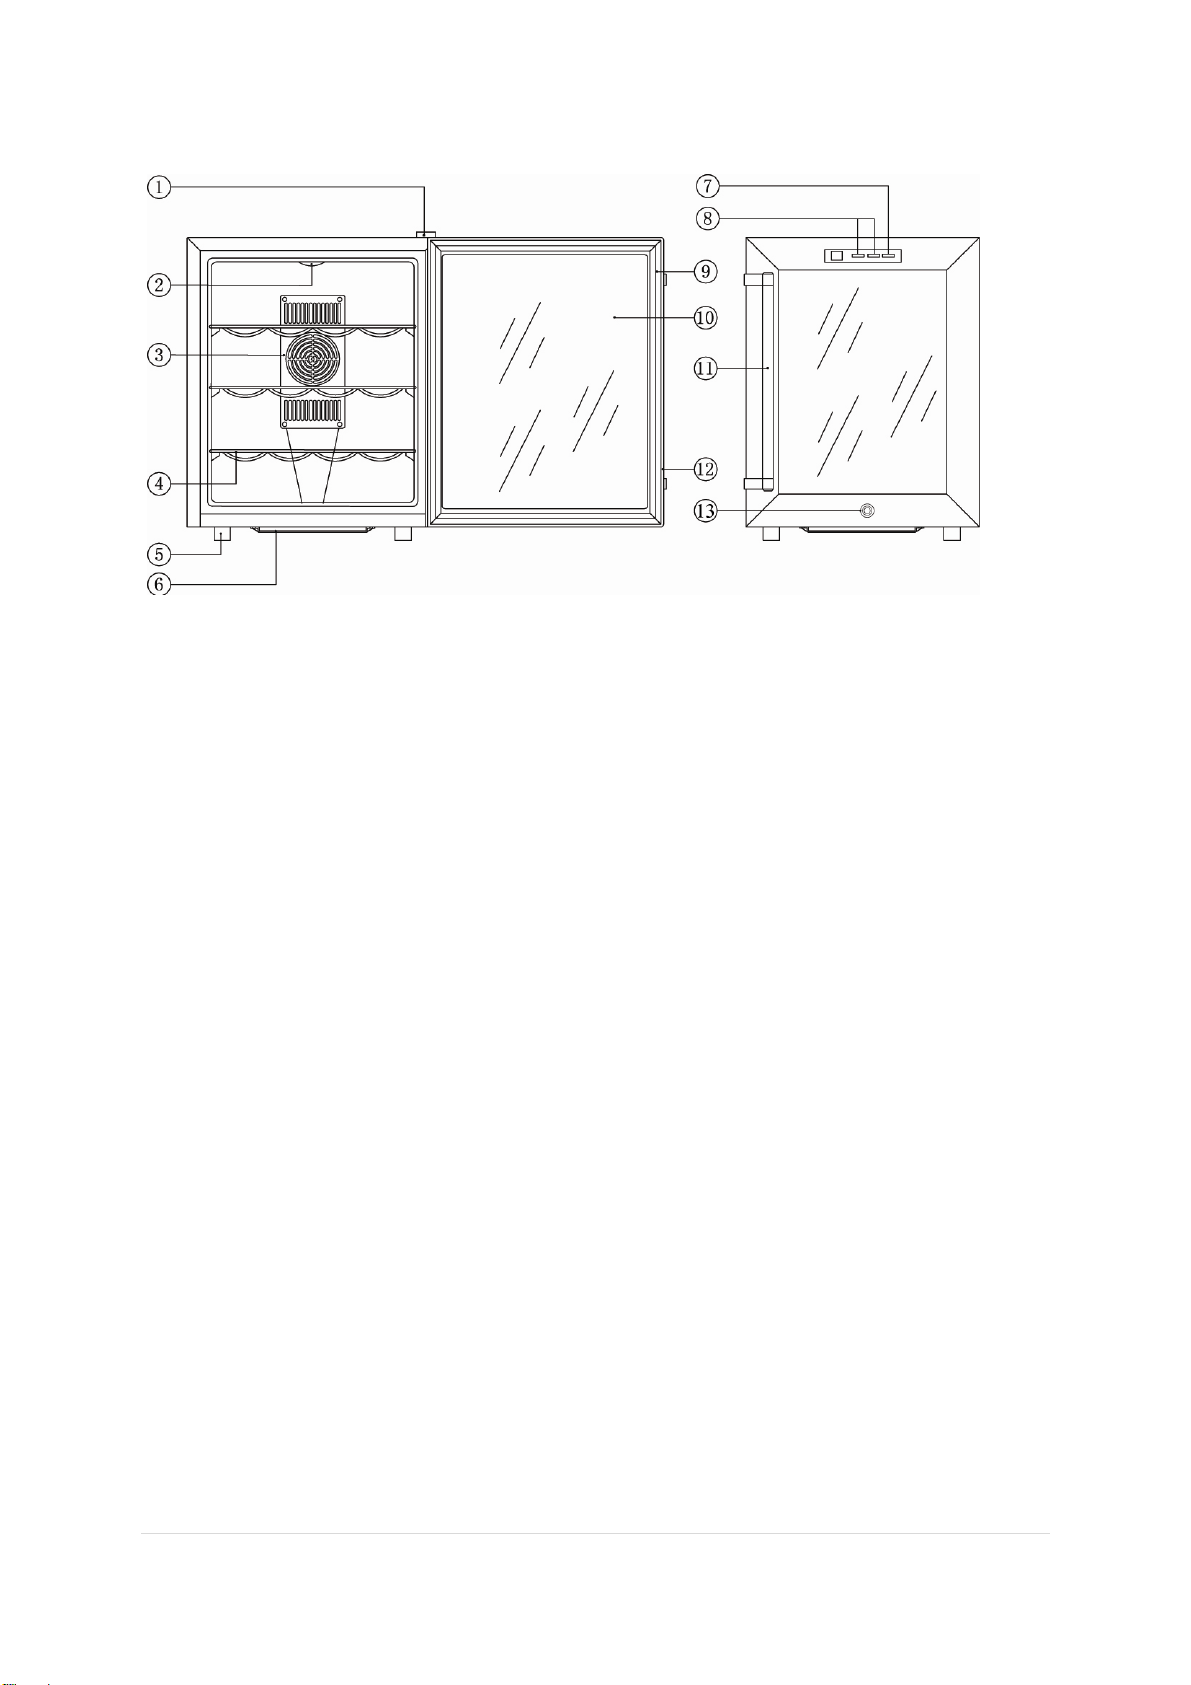
1. Parts and Features
1 HINGE COVER 7 LIGHT SWITCH
2 LIGHT 8 TEMPERATURE CONTROL PANEL
3 FAN MASK 9 MAGNETIC DOOR SEAL
4 SHELF 10 GLASS
5 FOOT 11 DOOR HANDLE
6 WATER BOX 12 DOOR FRAME
13 LOCK
Note: Your specific model of SNO wine cooler may differ slightly from the diagram
above but its operation is essentially the same.
2. Installation
1. Remove all packaging.
2. Set up the wine cooler on a level surface.Make sure the cooler has at least 6"
of clearance at the back and 6" of clearance on each side.
3. Clean the interior surface with warm water and a soft cloth.
4. Insert power cord into a power socket. Make sure the power socket is
grounded 110v ~AC / 60 Hz socket.
5. Fill the wine cooler with your choice of wine bottles. Allow up to 24 hours of
operation for the bottles to reach the desired temperature.
Handle Installation
Your wine cooler comes with a towel bar style handle. To install the handle, you will
need a Phillips head screwdriver.
Look at the left side of the door frame, facing onwards. There are two small holes in
the frame. Take the handle and hold it up to the door frame so that the holes in the
handle line up with the holes in door frame. While holding the handle with one hand,
insert a screw through the top hole and screw it into the top hole in the door frame.
Then insert a screw in the bottom hole in the handle and screw it into the bottom
Loading ...
Loading ...
Loading ...