Loading ...
Loading ...
Loading ...
9
NOTE: When making the countertop, radius the corner of the cutout (1/4”
radius is typical). This will prevent cracking of the countertop. Follow
manufacturer’s instructions regarding minimum corner radius and
reinforcement of corners.
Step #4
Installing the Cooktop
Attach the cooktop carriers by the screws as shown in Fig.8.
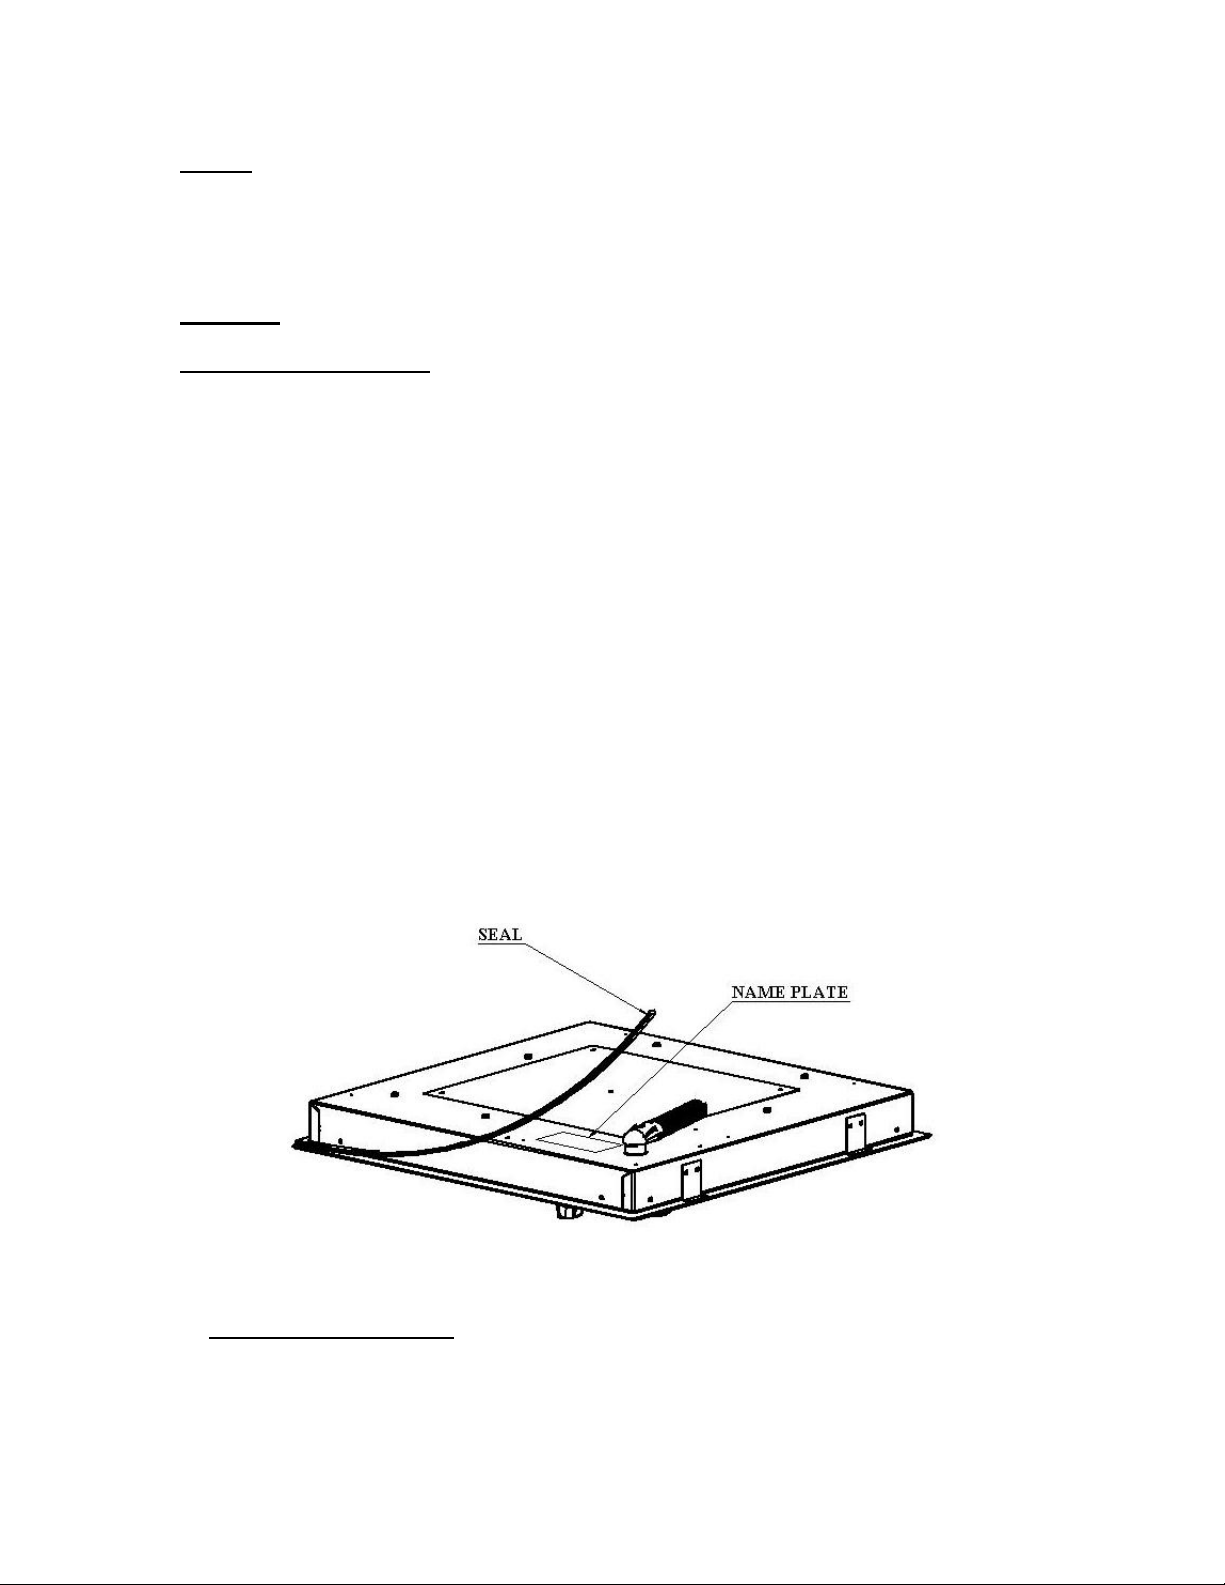
After this, stick on the self-adhesive sealant as described below. The
special seal prevents liquid from infiltrating into the cabinet. Additionally the
cooktop should be bedded to the countertop using a soft bedding
compound that will prevent damage if later removal for service is
necessary. The mounted special seal prevents this damage. Strictly
comply with the following instructions in order to correctly apply this seal:
● Detach the seals from their backing, checking that the transparent
protection still adheres to the seal itself.
● Turn the cooktop over and correctly position the seal under the edge
of the cooktop itself so that the outer side of the seal perfectly
matches the outer peripheral edge of the cooktop (refer to Fig. 5).
The ends of the strips must fit together without overlapping.
● Fix the seal to the cooktop evenly and securely, pressing it in place
with the fingers.
To install TK15 models: For wider cutouts, use the stainless steel frame
supplied with your TK15 cooktop. Lay a thin bead of bedding compound along
the edge of the cutout, and then lay the frame over this, pressing down to
Fig. 5
Loading ...
Loading ...
Loading ...