Loading ...
Loading ...
Loading ...
64
OPTION menu
Item Description
SERVICE
(continued)
AUTO ADJUST
Using the ▲/▼ buttons to select one of the mode. When the
DISABLE is selected, the automatic adjustment feature is disabled.
FINE
ó
FAST
ó
DISABLE
FINE: Finer tuning including H.SIZE adjustment.
FAST: Faster tuning, setting H.SIZE to prearranged data for the
input signal.
•
Depending on conditions, such as input image, signal cable to the
projector, environment around the projector, etc., the automatic adjustment
may not work correctly. In such a case, please choose DISABLE to
disable the automatic adjustment, and make adjustment manually.
GHOST
Adjust the settings using the ▲/▼ buttons to eliminate ghosting.
FILTER MESSAGE
Use the ▲/▼ button to set the timer for notifying by the message
when to replace the lter unit
100h
ó
·········
ó
5000h
ó
OFF
After choosing an item except OFF, the message “REMINDER ***
HRS PASSED ....” will appear after the timer reaches the interval
time set by this feature (
113).
When the OFF is chosen, the message will not appear. Utilize this
feature to keep the air lter clean, setting the suitable time according
to your environment of this projector.
• Please take care of the lter unit periodically, even if there is
no message. If the air lter becomes to be blocked by dust or
other matter, the internal temperature will rise, which could cause
malfunction, or reduce the lifetime of the projector.
• Please be careful with the operating environment of the projector
and the condition of the lter unit.
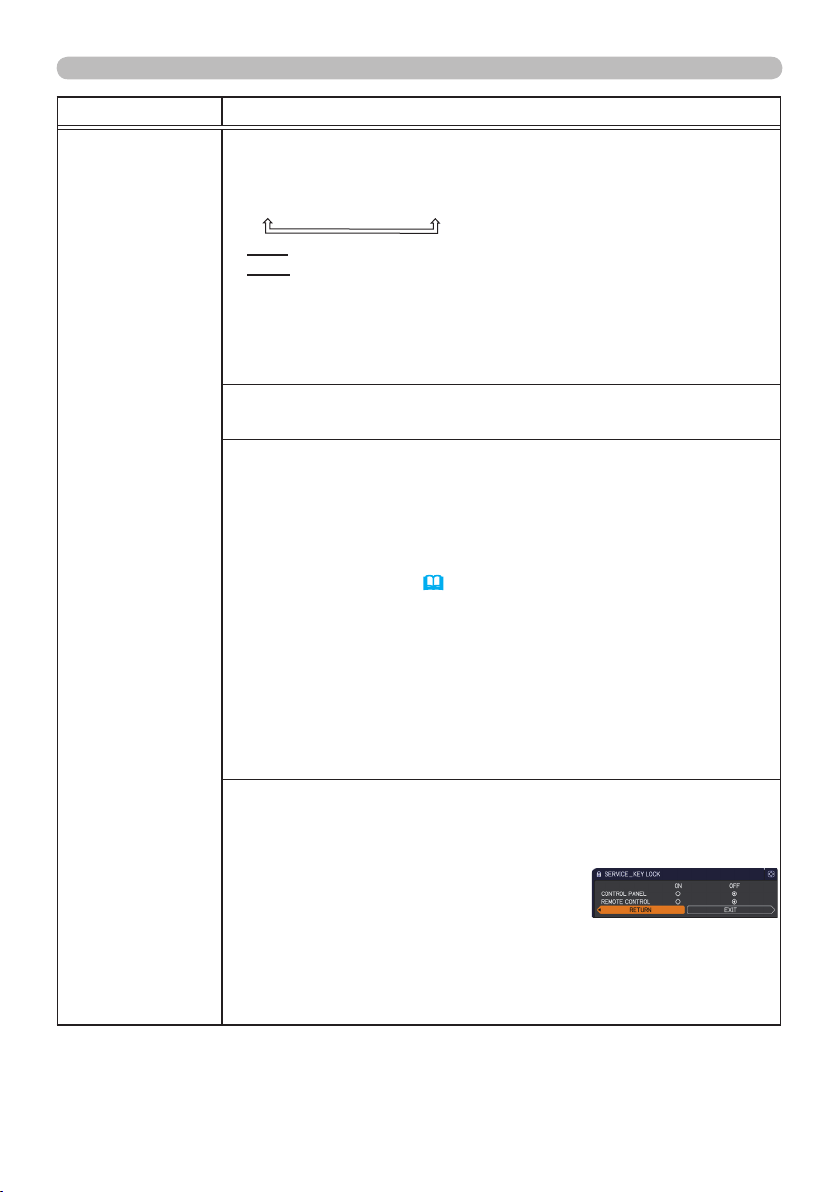
KEY LOCK
(1) Use the ▲/▼ buttons to choose the operations control.
CONTROL PANEL
ó
REMOTE CONTROL
(2)
Use the ◄/► buttons to select ON or OFF.
ON
ó
OFF
Selecting ON in Step 2 locks the buttons except STANDBY/ON on
the operations control selected in Step 1. Selecting OFF releases
the locked buttons on the operations control selected in Step 1.
• Please use this function to prevent tampering or accidental
operation.
(continued on next page)
Loading ...
Loading ...
Loading ...