Loading ...
Loading ...
Loading ...
EN
16
5. CLEANING AND MAINTENANCE
Important – Before carrying out any cleaning or maintenance procedure, the plug must be disconnected
from the power supply socket.
5.1 CLEANING THE OUTSIDE OF THE APPLIANCE
• Regular, thorough cleaning will keep your appliance looking good.
• Clean the exterior of the appliance with soap and water only, then dry thoroughly with a soft cloth.
• The plastic parts should just be wiped with a damp cloth.
• Do not scrape with pointed objects, or use solvents or products containing abrasive substances because
they damage the surfaces.
• For reasons of safety, never spray the washing machine with jets of water.
5.2 CLEANING THE DRUM
• Remove any rust marks from the drum using a stainless steel cleaner, or very fine sandpaper for particu-
larly stubborn cases.
• For descaling the washing machine use only brand-name descalers which contain an anti-corrosion a-
gent for washing machines.
• Always follow the producer's instructions with regard to use and dosages.
• After descaling or removing rust from the drum, carry out a few rinse cycles to remove all acid
residues which might damage the appliance. Never use cleaners which contain solvents. There is
the risk of the formation of vapours which might catch fire and explode.
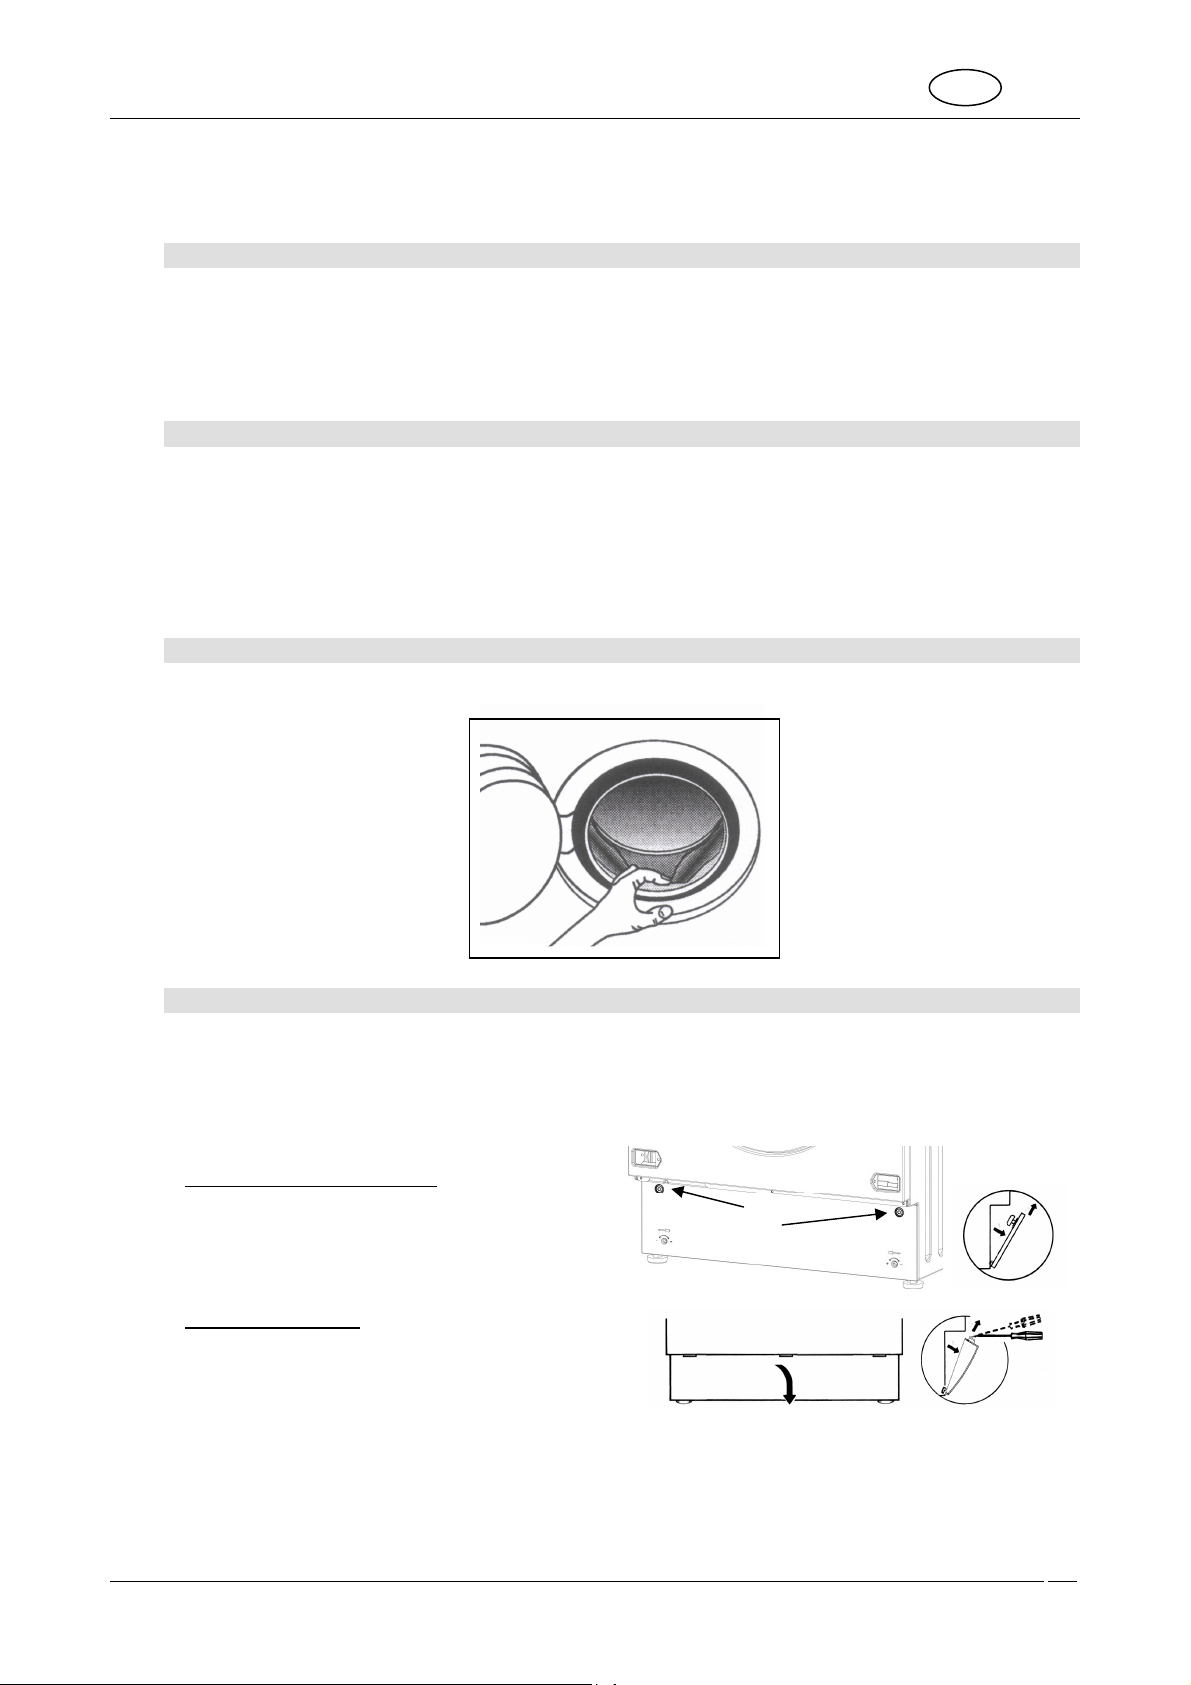
5.3 CLEANING THE DOOR GASKET
Check regularly that there are no paper clips, buttons, nails or pins in the folds of the door gasket.
5.4 CLEANING THE DRAIN PUMP
The drain pump only needs cleaning if it has been blocked by buttons, brooches or similar objects and the water is
not being pumped out.
In this case, proceed as described below.
1. Remove the mains plug to disconnect the appliance from the electricity supply.
2. Depending on the model, proceed as follows:
Built-in/totally concealed model – use a small screw-
driver as a lever to remove the plugs shown here,
turn the plinth downwards and access the pump.
Free-Standing Model –
Insert a small screwdriver
through the slits in the front of the plinth, then apply
upward leverage with the screwdriver to release the
top of the plinth from the cabinet.
Tilt the plinth forward slightly and pull it upward to re-
move it completely.
Loading ...
Loading ...
Loading ...