Loading ...
Loading ...
Loading ...
4
Energy Save
To conserve energy, the Clock will automatically turn off when
the microwave oven goes into Standby mode. Touch OPTIONS/
CLOCK to reach the Clock and Energy Save submenu, and follow
the prompts to turn on Clock.
Language (on some models)
Language of the display text may be changed. Touch the
OPTIONS/CLOCK to reach the Language submenu and follow the
prompts to set language to English or French.
Calibrate Temp
The actual convection cooking temperature may be calibrated
higher or lower than the displayed temperature. For example,
if you want the microwave oven to be a bit hotter, you may try
setting the calibration to +10°. Touch OPTIONS/CLOCK to reach
the Calibration submenu. The current setting will appear in the
display with a checkmark next to it. Use number keypads to select
temperature variations in degrees Fahrenheit: 1 = ±0° (reset to
default), 2 = +5° (+2.8°C), 3 = +10° (+5.6°C), 4 = +15° (+8.3°C),
5 = +20° (+11.1°C), 6 = -5° (-2.8°C), 7 = -10° (-5.6°C), -8 = -15°
(-8.3°C) and 9 = -20° (-11.1°C).
NOTE: The microwave oven will remember the setting after a
power failure.
Standby Mode
When no functions are working (12-hour clock is displayed or if the
clock has not been set), oven will switch to Standby Power mode
and dim the LCD brightness after 5 minutes. Touch any keypad or
open/close the door, display will return to the normal brightness.
Features
CLEANRELEASE
®
Cavity Coating (on some models)
The durable, nonstick coating resists soil buildup by making
cleaning easier. See the “Microwave Oven Care” section.
6th SENSE™ System
A sensor in the microwave oven detects moisture released from
food as it heats, and adjusts the cooking time accordingly.
Convection Element and Fan
The convection element and fan are embedded in the wall of the
microwave oven cavity, behind the metal screen.
Cooking Rack
Use the rectangular cooking rack only for 2-level cooking. To avoid
damage to the microwave oven, always remove rack after 2-level
cooking. To avoid damage to the microwave oven due to soil
buildup, clean rack supports often.
Turntable
Turntable may be turned off for manual cooking only. This is helpful
when cooking with plates that are bigger than the turntable, or
when cooking with plates that are side by side. Turntable cannot be
turned off during preset or sensor (on some models) functions.
Accessories
Convection Rack
Use the short convection rack for convection cycles (baking or
roasting). Place cookware directly on rack for bake and for some
roast functions. Some roast functions require that the food be
placed directly on the rack. Use a microwave-safe, ovenproof dish
or pan under the rack to catch the drippings.
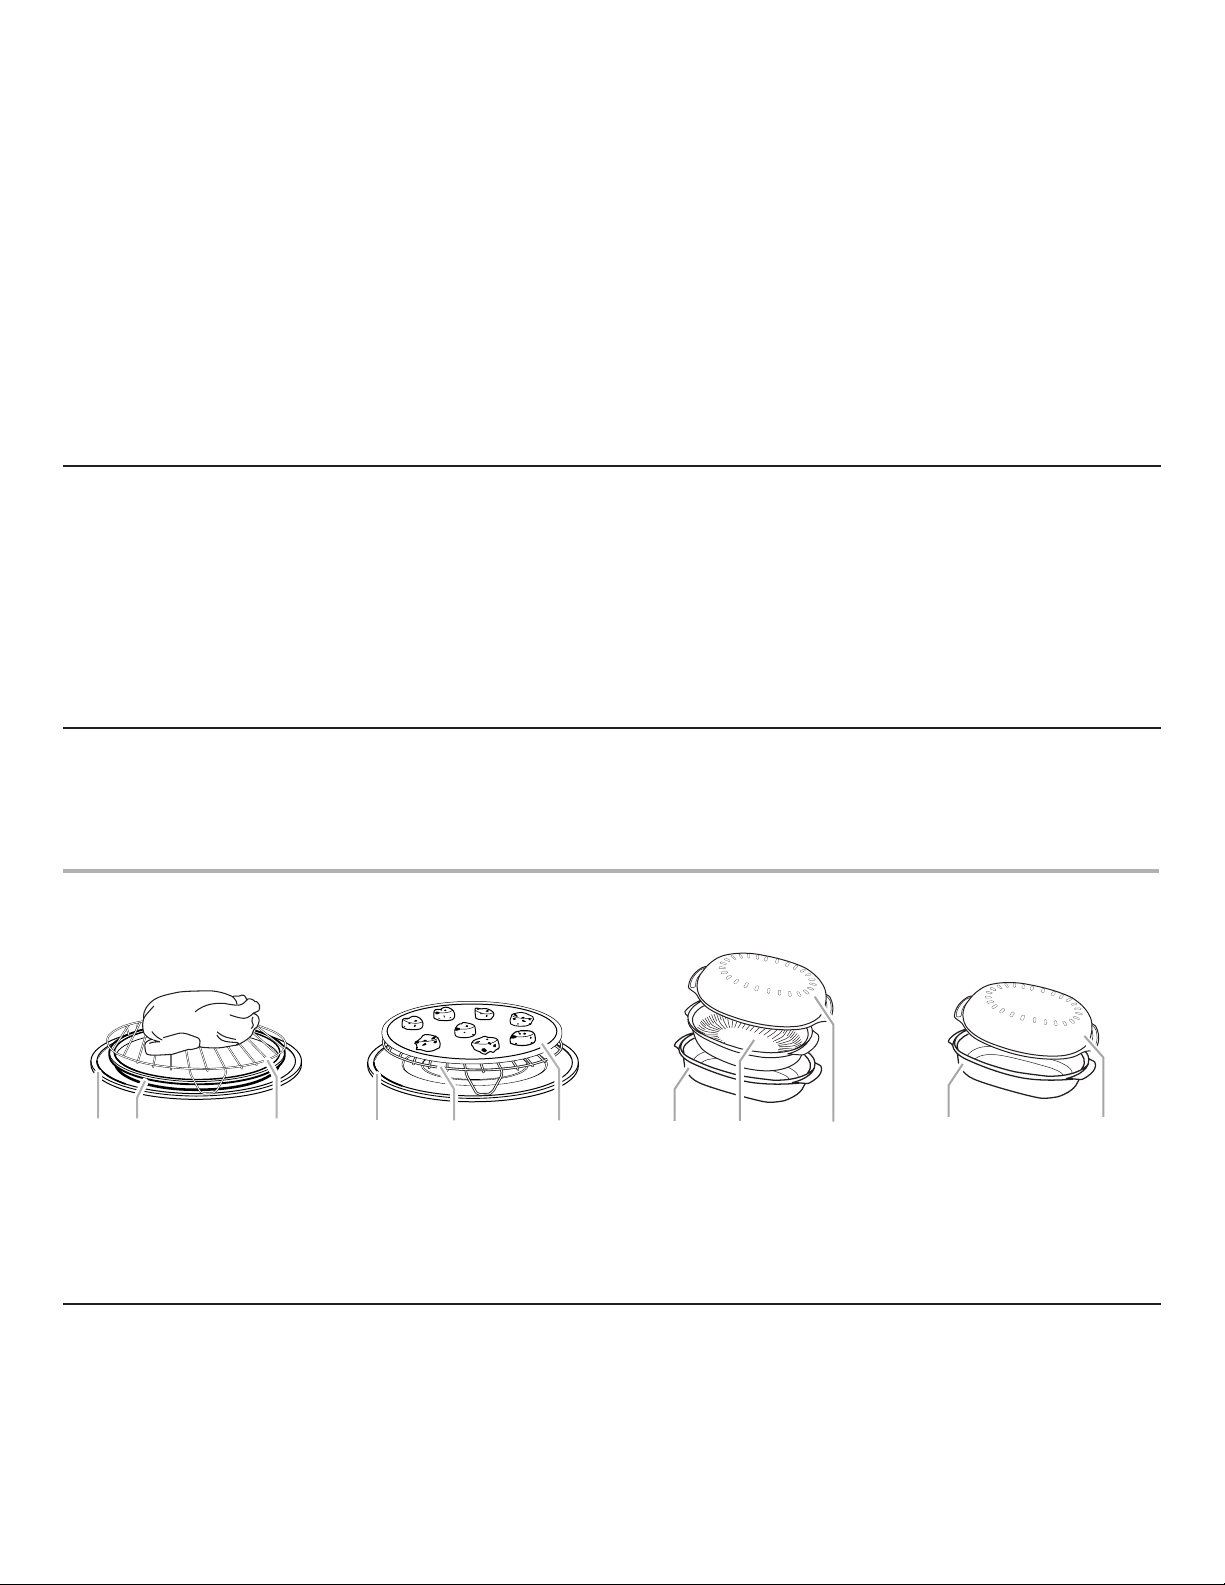
Accessory Configurations
Roasting Baking Steaming Simmering
Steamer Vessel
Use the steamer vessel base, insert, and lid for steaming, or use
just the base and lid for simmering.
Cookware and Dinnerware
Microwave-Safe
■ Browning dish (Follow manufacturer recommendations.)
■ Ceramic glass, glass
■ China, earthenware (Follow manufacturer recommendations.)
■ Melamine (Follow manufacturer recommendations.)
■ Paper towels, paper plates, napkins (Use non-recycled paper.)
■ Plastic wraps, bags, covers, dinnerware, containers (Follow
manufacturer recommendations.)
■ Pottery and clay (Follow manufacturer recommendations.)
■ Silicone bakeware (Follow manufacturer recommendations.)
■ Wax paper
A. Turntable
B. Pan (not provided)
C. Convection rack
D. Cookie sheet (not provided)
E. Steamer base
F. Steamer insert
G. Steamer lid
A B C
A C D
E F G
E G
Loading ...
Loading ...
Loading ...