Charging the battery
Charge de la batterie
Carga de la batería
Battery eject lever
Levier d’éjection de
la batterie
Palanca de
expulsión de la
batería
Power/Charge lamp
Témoin d’alimentation/de charge
Indicador luminoso de alimentación/carga
USB connection support cable
(supplied)
Câble prenant en charge la
connexion USB (fourni)
Cable de soporte de conexión
USB (suministrado)
Jack cover
Cache de la prise
Cubierta de la toma
Inserting the memory card
Insertion de la carte mémoire
Inserción de la tarjeta de memoria
Turning the power on
Mise sous tension
Encender la alimentación
90 degrees (max.)
90 degrés (maximum)
90 grados (máx.)
Multi-selector
Sélecteur
multidirectionnel
Selector múltiple
Menu on :
/
/
/
Menu off : DISP/
Menu activé :
/
/
/
Menu désactivé : DISP/
Menú activado :
/
/
/
Menú desactivado : DISP/
Multi-selector
Sélecteur multidirectionnel
Selector múltiple
Zoom lever
Manette de zoom
Palanca de zoom
(Movie)
(Film)
(Película)
Power/Charge lamp
Témoin d’alimentation/de
charge
Indicador luminoso de
alimentación/carga
(Photo)
(Photo)
(Foto)
(Play)
(Lecture)
(Reproducir)
MENU
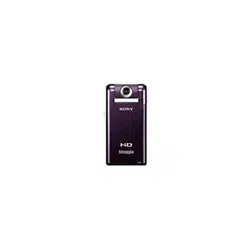
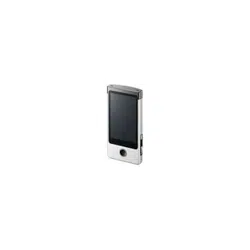
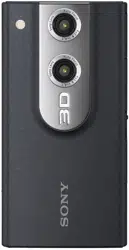
Identifying parts
Identification des pièces
Identificación de las partes
English
Checking the accessories supplied
Rechargeable battery pack NP-BK1 (1)
A/V connecting cable (Sony Corporation 1-823-156-) (1)
USB connection support cable (Sony Corporation 1-836-378-) (1)
Wrist strap (1)
Lens Cap (1)
CD-ROM (1)
“PMB” (software, including “PMB Help”)
bloggie Handbook (PDF)
Instruction Manual
Important Notice
Specifications
Effective Pixel: Approx. 5.0 Megapixels (still images), Approx. 2.0 Megapixels
(1080 30P)
Optical zoom
Format
Still: JPEG Exif ver 2.21, DCF compliant
Movie: MPEG-4 AVC/H.264 compliant (.MP4)
Power
Rechargeable Battery Pack NP-BK1, 3.6V
Power Consumption 1.9 W [1280 × 720 30P]
Operating Temperature
0°C - 40°C (32°F - 104°F)
Getting further detailed information from the “bloggie
Handbook” on the supplied CD-ROM
Sufficient information on the basic operations is described below. If you want
further detailed information, however, refer to the “bloggie Handbook” on
supplied CD-ROM. The “bloggie Handbook” is a user guide designed to be read
on a computer screen.
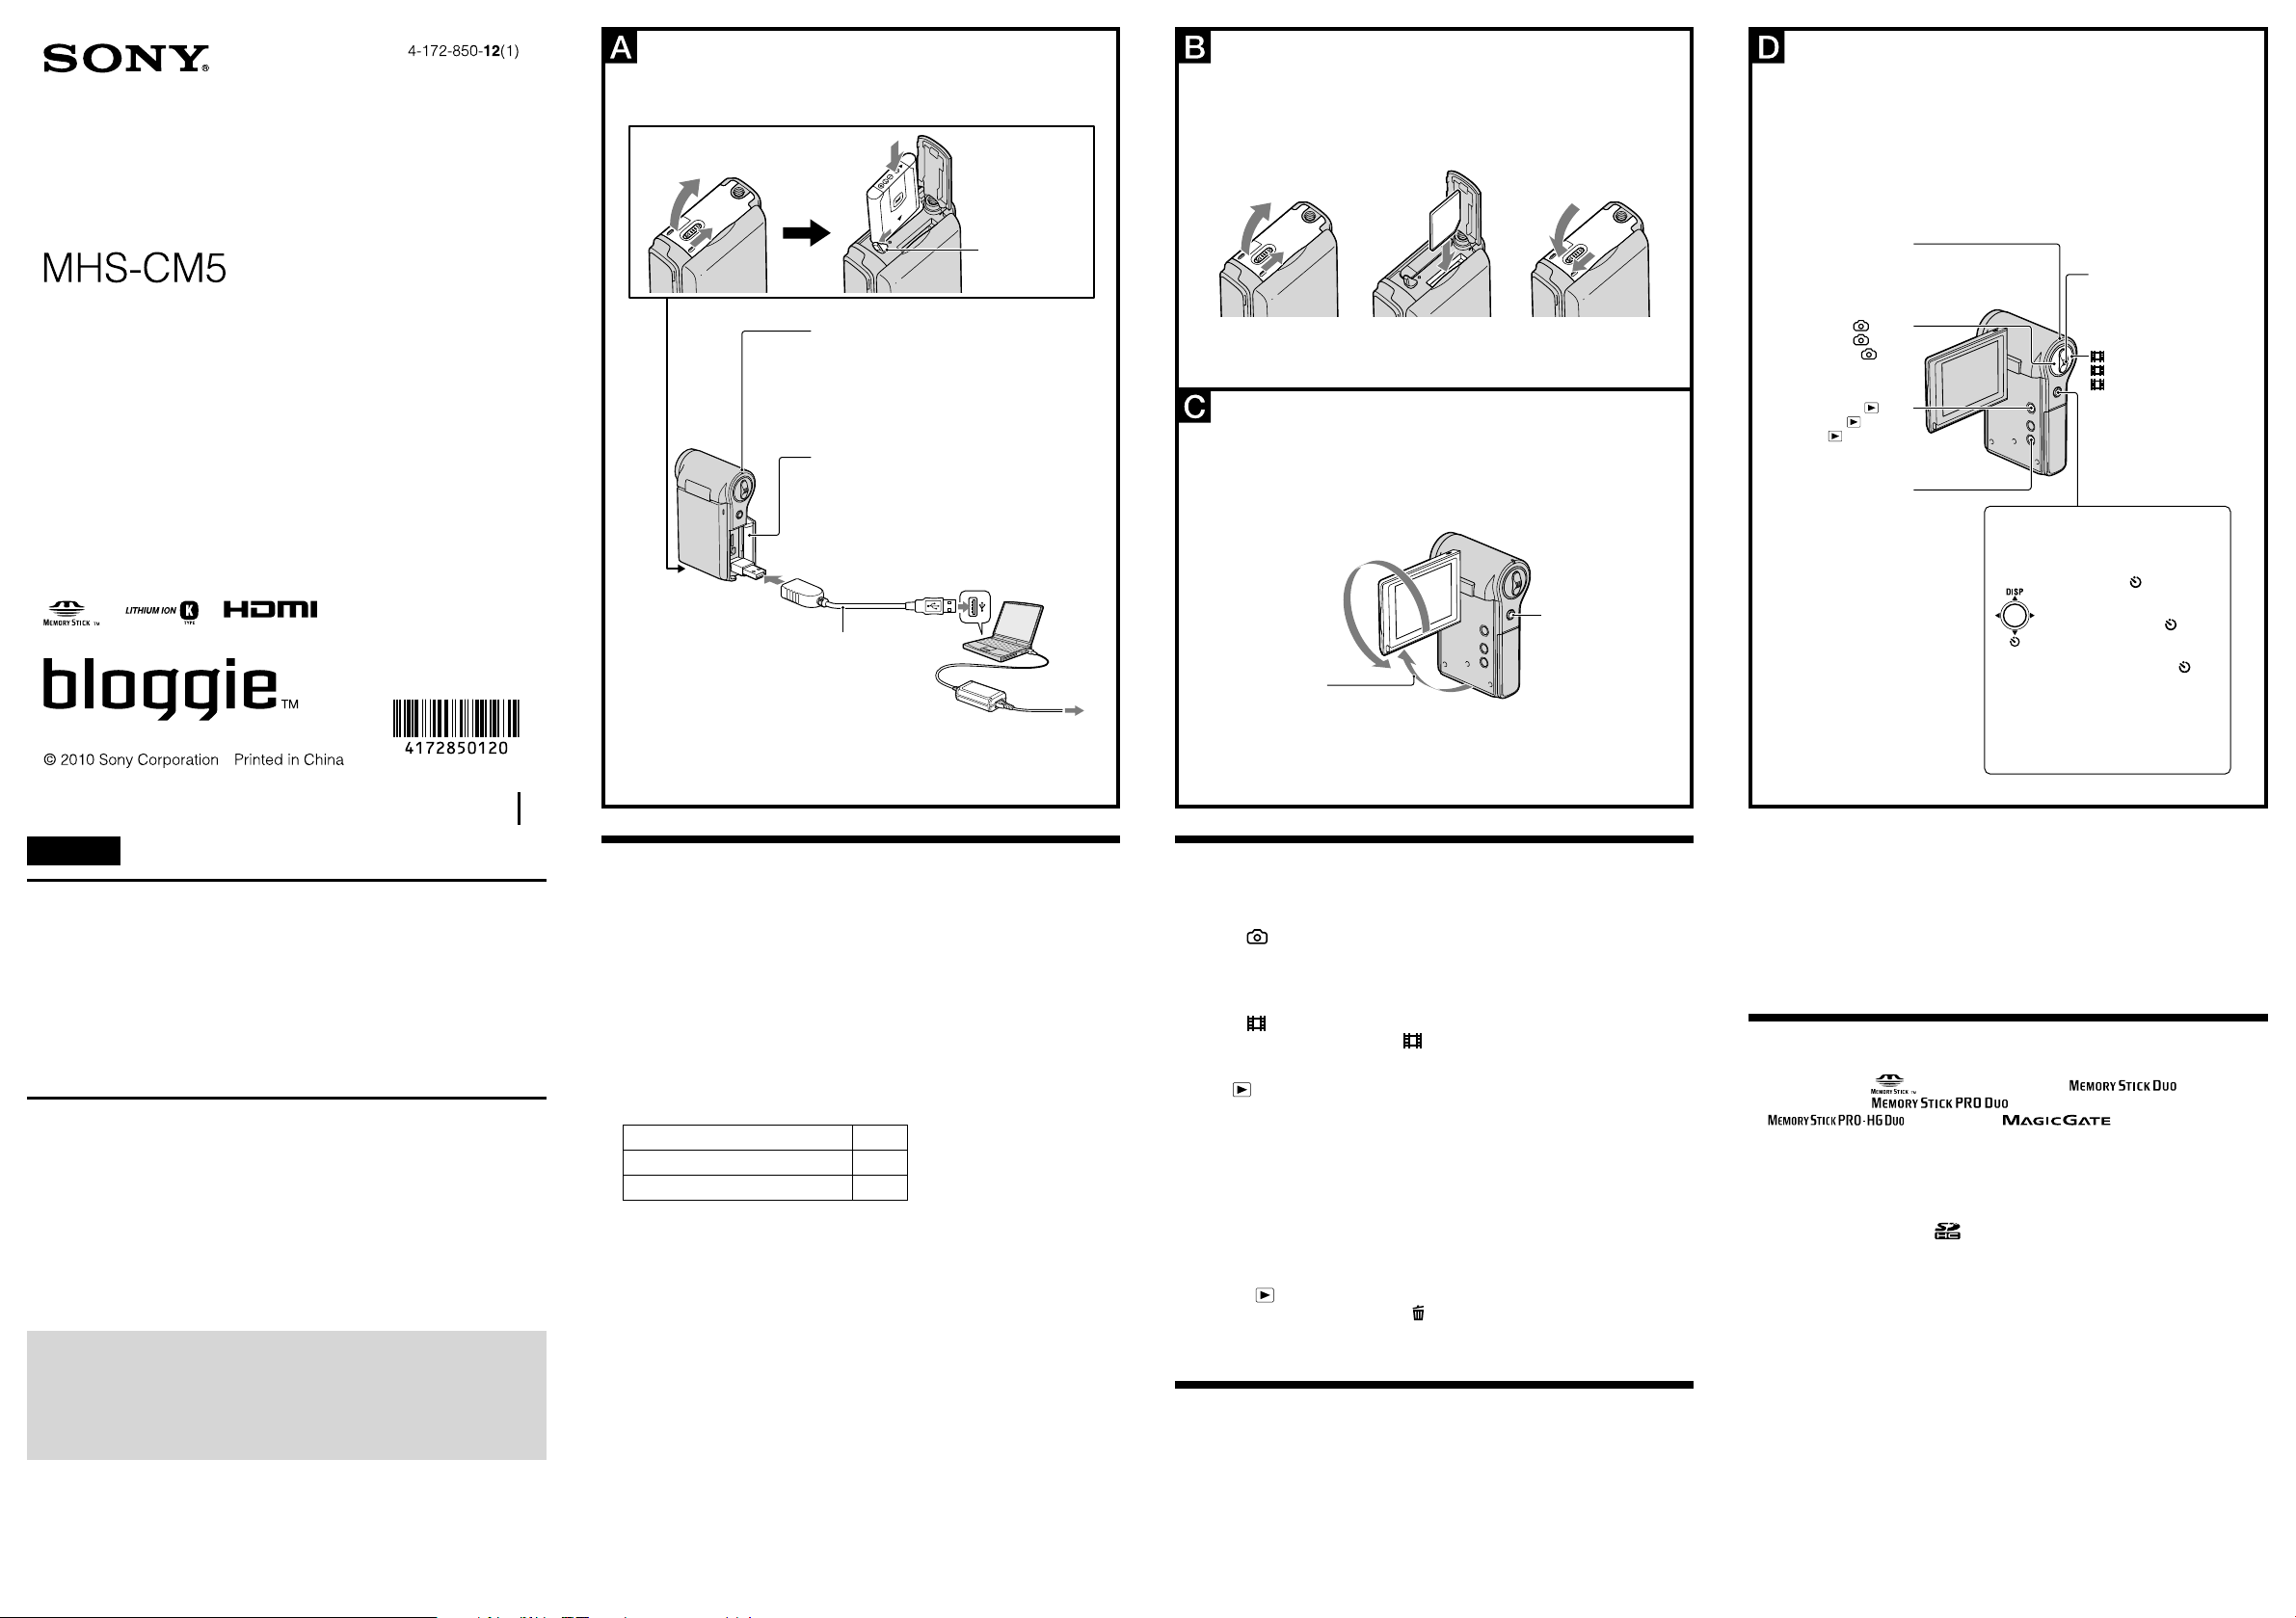
Getting started
1 Charging the battery pack (See illustration
).
Open the battery/memory card cover.
Press and hold the battery eject lever and insert the battery pack, then close
the cover.
Open the jack cover, and connect the camera to the computer with the USB
connection support cable.
The Power/Charge lamp lights up in orange while charging the battery, and
turns off when charging is finished.
The time required to charge the battery fully is approx. 300 minutes.
We recommend that you connect the AC Adaptor to the computer before you
start charging the battery pack.
Approximate recording/playback time (min.)
Continuous recording time 105
Typical recording time 50
Playback time 150
The image size: [1280 × 720 30P]
Continuous recording time shows the time a fully charged battery is capable of running
continuously. The time that you can record a movie continuously is about 29 minutes.
Typical recording time shows the time a fully charged battery is capable of running when
you repeat recording start/stop, turning the power on/off and zooming.
Recording and playing back condition:
When using the camera at 25°C (77°F).
The battery is fully charged.
Do not use a deformed or damaged battery pack.
2 Inserting the memory card (sold separately) (See illustration
).
Open the battery/memory card cover.
Insert the memory card (sold separately) all the way in as shown in the
illustration until it clicks.
Close the battery/memory card cover.
3 Turning the camera on/setting the language and clock (See
illustration
).
Open the LCD screen to turn the camera on.
The Power/Charge lamp lights up in green.
Set the language and clock using the multi-selector.
Basic Operations
Shooting images (See illustration
).
When shooting still images:
Press the (Photo) button.
The shortest shooting distance is approximately 10 cm (4 inches) (W), 100 cm
(3 ft 3 3/8 inches) (T) (from the lens).
When shooting movies:
Press the (Movie) button.
To stop shooting movies, press the (Movie) button again.
Viewing images (See illustration
).
Press
(Play) button.
Index screen appears.
Select the image you want to play back with the multi-selector tilt to
/
/
/
.
Press the multi-selector to display a still image.
When playing back movies:
Press the multi-selector to play back a movie.
Tilt to
to fast forward,
to rewind. (Press the multi-selector to return to
normal playback.)
Tilt to
to display the volume control screen, then adjust the volume with
/
.
Deleting images (See illustration
).
Press the
(Play) button and select an image you want to delete.
Press the MENU button and select
(Delete) with
/
.
Select [This Image] with
/
and press the multi-selector.
Select [OK] with the multi-selector tilted to
, and press the multi-selector.
Enjoying with your computer
Operating the “PMB Portable”
This camera has an application “PMB Portable”. You can use this application to
upload images easily to a blog or other media service.
For details on “PMB Portable”, see the “PMB Portable” help.
Turn the power of the camera on, then connect the camera and a computer with
a USB connection support cable. And then Autoplay Wizard appears. Click [×]
to close the AutoPlay Wizard for any unnecessary drives.
If the desired AutoPlay Wizard does not appear, click [Computer] (in Windows
XP, [My Computer])
[PMBPORTABLE], then double-click [PMBP_Win.exe].
Click [PMB Portable] (in Windows XP, [PMB Portable]
[OK]).
The Language Selection screen appears.
After selecting the desired language, the Region Selection screen appears.
Select the appropriate [Region] and [Country/Area], and then click [OK]. The
User Agreement screen appears.
Read the agreement carefully. If you accept the terms of the agreement, click
[I Agree]. “PMB Portable” starts up.
Trademarks
“bloggie” is a trademark of Sony Corporation.
“Memory Stick”, “ ”, “ Memory Stick Duo”, “ ”, “Memory
Stick PRO Duo”, “ ”, “Memory Stick PRO-HG Duo”,
“ ”, “MagicGate”, “ ”, “MagicGate Memory
Stick” and “MagicGate Memory Stick Duo” are trademarks or registered
trademarks of Sony Corporation.
Microsoft, Windows, Windows Media, Windows Vista, and DirectX are either
registered trademarks or trademarks of Microsoft Corporation in the United
States and/or other countries.
SDHC logo is a trademark.
HDMI, the HDMI logo and High-Definition Multimedia Interface are trademarks
or registered trademarks of HDMI Licencing LLC.
In addition, system and product names used in this manual are, in general,
trademarks or registered trademarks of their respective developers or
manufacturers. However, the
or
marks are not used in all cases in this
manual.
Mobile HD Snap Camera/Instruction Manual
Appareil photo numérique Snap HD mobile/Mode
d’emploi
Cámara fotográfica digital HD (Alta Definición)
compacta/Manual de instrucciones
Français
Vérification des accessoires fournis
Batterie rechargeable NP-BK1 (1)
Câble de raccordement A/V (Sony Corporation 1-823-156-) (1)
Câble prenant en charge la connexion USB (Sony Corporation 1-836-378-) (1)
Dragonne (1)
Bouchon d’objectif (1)
CD-ROM (1)
« PMB » (logiciel, qui comporte « Aide PMB »)
Guide pratique de bloggie (PDF)
Mode d’emploi
Avis important
Spécifications
Pixels efficaces: environ 5,0 millions de pixels (images fixes), environ 2,0 millions
de pixels (1080 30P)
Zoom optique
Format
Images fixes : JPEG Exif Version 2.21, compatible DCF
Film : compatible MPEG-4 AVC/H.264 (.MP4)
Alimentation
Batterie rechargeable NP-BK1, 3,6 V
Consommation 1,9 W [1280 × 720 30P]
Température de fonctionnement
0° C à 40° C (32° F à 104° F)
Pour obtenir des informations complémentaires plus détaillées
sur le « Guide pratique de bloggie » dans le CD-ROM fourni
Les informations suffisantes pour les opérations de base sont décrites ci-dessous.
Cependant, si vous souhaitez des informations complémentaires plus détaillées,
reportez-vous au « Guide pratique de bloggie » sur le CD-ROM fourni. Le
« Guide pratique de bloggie » est un guide de l’utilisateur conçu pour être lu sur
un écran d’ordinateur.
Préparation
1 Charge de la batterie (voir illustration
).
Ouvrez le cache de la batterie/de la carte mémoire.
Maintenez le levier d’éjection de la batterie enfoncé et insérez la batterie, puis
fermez le cache.
Ouvrez le cache de la prise et raccordez l’appareil photo à l’ordinateur avec le
câble prenant en charge la connexion USB.
Le témoin d’alimentation/de charge s’allume en orange pendant la charge de la
batterie et s’éteint lorsque la charge est terminée.
La durée de la charge complète d’une batterie est d’environ 300 minutes.
Nous vous recommandons de raccorder l’adaptateur secteur à l’ordinateur avant
de commencer à charger la batterie.
Durée d’enregistrement/de lecture approximative (minutes)
Durée d’enregistrement en continu 105
Durée d’enregistrement typique 50
Durée de lecture 150
Taille d’image : [1280 × 720 30P]
La durée d’enregistrement en continu affiche la durée pendant laquelle une batterie
complètement chargée peut fonctionner en continu. La durée pendant laquelle vous
pouvez enregistrer un film en continu est d’environ 29 minutes.
La durée d’enregistrement typique affiche la durée pendant laquelle une batterie
complètement chargée peut fonctionner lorsque vous répétez les opérations de démarrage/
arrêt de l’enregistrement, de mise sous tension et de zoom.
Condition d’enregistrement et de lecture :
Lorsque l’appareil photo est utilisé à une température de 25 °C (77 °F).
La batterie est complètement chargée.
N’utilisez pas une batterie déformée ou endommagée.
2 Insertion de la carte mémoire (vendue séparément) (voir illustration
).
Ouvrez le cache de la batterie/de la carte mémoire.
Insérez la carte mémoire (vendue séparément) à fond, comme indiqué dans
l’illustration, jusqu’à ce qu’elle émette un déclic.
Fermez le cache de la batterie/de la carte mémoire.
3 Mise sous tension de l’appareil photo/réglage de la langue et de
l’horloge (voir illustration
).
Ouvrez l’écran LCD pour mettre l’appareil photo sous tension.
Le témoin d’alimentation/de charge s’allume en vert.
Réglez la langue et l’horloge à l’aide du sélecteur multidirectionnel.
Opérations de base
Prise de vue (voir illustration
).
Lors d’une prise de vue d’images fixes :
Appuyez sur la touche (Photo).
La distance de prise de vue la plus courte est d’environ 10 cm (4 pouces) (W),
100 cm (3 pieds 3 3/8 pouces) (T) (depuis l’objectif).
Lors d’une prise de vue de films :
Appuyez sur la touche (Film).
Pour arrêter la prise de vue de films, appuyez de nouveau sur la touche (Film).
Visualisation d’images (voir illustration
).
Appuyez sur la touche
(Lecture).
L’écran planche index s’affiche.
Sélectionnez l’image que vous voulez lire en inclinant le sélecteur
multidirectionnel vers
/
/
/
.
Appuyez sur le sélecteur multidirectionnel pour afficher une image fixe.
Lors de la lecture de films :
Appuyez sur le sélecteur multidirectionnel pour lire un film.
Inclinez le sélecteur vers
pour effectuer un rembobinage, vers
pour une
avance rapide. (Pour revenir à la lecture normale, appuyez sur le sélecteur
multidirectionnel.)
Inclinez le sélecteur vers
pour afficher l’écran de contrôle du volume, puis réglez
le volume à l’aide des touches
/
.
Effacement d’images (voir illustration
).
Appuyez sur la touche
(Lecture) et sélectionnez l’image que vous voulez
effacer.
Appuyez sur la touche MENU et sélectionnez
(Supprimer) avec
/
.
Sélectionnez [Cette img] avec
/
et appuyez sur le sélecteur multidirectionnel.
Sélectionnez [OK] en inclinant le sélecteur multidirectionnel vers
, puis
appuyez sur le sélecteur multidirectionnel.
Profitez de votre ordinateur
Fonctionnement de l’application « PMB Portable »
Cet appareil photo possède une application « PMB Portable ». Vous pouvez utiliser
cette application pour télécharger facilement des images vers un blog ou d’autres
services multimédias.
Pour plus de détails sur « PMB Portable », reportez-vous à l’aide de « PMB
Portable ».
Mettez l’appareil photo sous tension, puis raccordez l’appareil photo à
l’ordinateur avec un câble prenant en charge la connexion USB. L’assistant
Lecture automatique apparaît alors. Cliquez sur [×] pour fermer l’assistant
Lecture automatique pour les lecteurs inutiles.
Si l’assistant Lecture automatique n’apparaît pas, cliquez sur [Ordinateur] (sous
Windows XP, [Poste de travail])
[PMBPORTABLE], puis double-cliquez sur
[PMBP_Win.exe].
Cliquez sur [PMB Portable] (sous Windows XP, [PMB Portable]
[OK]).
L’écran de sélection de langue apparaît.
Après la sélection de la langue souhaitée, l’écran de sélection de région apparaît.
Sélectionnez la [Région] et le [Pays/Zone] appropriés, puis cliquez sur [OK].
L’écran Contrat d’utilisation apparaît.
Lisez attentivement le contrat. Si vous êtes d’accord avec les termes du contrat,
cliquez sur [J’accepte]. « PMB Portable » démarre.
Marques de commerce
« bloggie » est une marque commerciale de Sony Corporation.
« Memory Stick », «
», « Memory Stick Duo », « »,
« Memory Stick PRO Duo », « », « Memory Stick
PRO-HG Duo », « », « MagicGate », « »,
« MagicGate Memory Stick » et « MagicGate Memory Stick Duo » sont des
marques déposées ou des marques de commerce de Sony Corporation.
Microsoft, Windows, Windows Media, Windows Vista et DirectX sont des
marques déposées ou des marques de commerce de Microsoft Corporation aux
États-Unis ou dans d’autres pays.
Le logo SDHC est une marque déposée.
HDMI, le logo HDMI et High-Definition Multimedia Interface sont des marques
commerciales ou déposées de HDMI Licencing LLC.
En outre, les noms de systèmes et de produits utilisés dans ce manuel sont,
en général, des marques de commerce ou des marques déposées de leurs
développeurs ou fabricants respectifs. Cependant, les symboles
ou
ne sont
pas utilisés dans tous les cas dans ce manuel.
Español
Comprobación de los accesorios suministrados
Batería recargable NP-BK1 (1)
Cable de conexión A/V (Sony Corporation 1-823-156-) (1)
Cable de soporte de conexión USB (Sony Corporation 1-836-378-) (1)
Correa para la muñeca (1)
Tapa del objetivo (1)
CD-ROM (1)
“PMB” (software, incluida la “Ayuda de PMB”)
Guía práctica de bloggie (PDF)
Manual de instrucciones
Aviso importante
Especificaciones
Píxeles efectivos: aprox. 5,0 megapíxeles (imágenes fijas), aprox. 2,0 megapíxeles
(1 080 30P)
Zoom óptico
Formato
Imagen fija: JPEG Exif ver 2,21, compatible con DCF
Película: compatible con MPEG-4 AVC/H.264 (.MP4)
Alimentación
Batería recargable NP-BK1, 3,6 V
Consumo 1,9 W [1 280 × 720 30P]
Temperatura de funcionamiento
0°C a 40°C
Más información detallada en el “Guía práctica de bloggie”
incluido en el CD-ROM suministrado
A continuación se proporciona información suficiente sobre las operaciones
básicas. No obstante, si desea obtener más información detallada, consulte
el “Guía práctica de bloggie” incluido en el CD-ROM suministrado. El “Guía
práctica de bloggie” es una guía del usuario diseñada para leerse en la pantalla de
un ordenador.
Cómo empezar
1 Carga de la batería (consulte la imagen
).
Abra la cubierta de la batería/tarjeta de memoria.
Mantenga presionada la palanca de expulsión de la batería e inserte la
batería; luego cierre la cubierta.
Abra la cubierta de la toma y conecte la cámara al ordenador con el cable de
soporte de conexión USB.
El indicador luminoso de alimentación/carga se enciende de color naranja
mientras se carga la batería y se apaga cuando termina la carga.
Se tarda aproximadamente 300 minuto en cargar la batería completamente.
Se recomienda conectar el adaptador de ca al ordenador antes de iniciar la carga
de la batería.
Tiempo aproximado de grabación/reproducción (minuto)
Tiempo de grabación continua 105
Tiempo de grabación típica 50
Tiempo de reproducción 150
Tamaño de imagen: [1 280 × 720 30P]
El tiempo de grabación continua indica el tiempo durante el cual puede funcionar de
forma continuada una batería cargada completamente. El tiempo de grabación continua
de una película son aproximadamente 29 minutos.
El tiempo de grabación típica indica el tiempo durante el cual puede funcionar una batería
cargada completamente si se inicia/detiene reiteradamente la grabación, se enciende/
apaga la cámara y se modifica el zoom.
Estado de grabación y reproducción:
Cuando se usa la cámara a 25°C
La batería está completamente cargada.
No utilice una batería deformada o dañada.
2 Inserción de la tarjeta de memoria (se vende por separado) (consulte
la imagen
).
Abra la cubierta de la batería/tarjeta de memoria.
Inserte la tarjeta de memoria (se vende por separado) hasta que emita un
ligero chasquido, como se muestra en la imagen.
Cierre la cubierta de la batería/tarjeta de memoria.
3 Encendido de la cámara y ajuste del idioma y del reloj (consulte la
imagen
).
Abra la pantalla LCD para encender la cámara.
El indicador luminoso de alimentación/carga se enciende de color verde.
Ajuste el idioma y el reloj con el selector múltiple.
Operaciones básicas
Toma de imágenes (consulte la imagen
).
Para tomar imágenes fijas:
Pulse el botón (Foto).
La distancia de toma más corta son aproximadamente 10 cm (W), 100 cm (T)
(desde el objetivo).
Para filmar películas:
Pulse el botón (Película).
Para dejar de filmar películas, pulse de nuevo el botón (Película).
Visualización de imágenes (consulte la imagen
).
Pulse el botón
(Reproducir).
Aparece la pantalla de índice.
Seleccione la imagen que desea reproducir con el selector múltiple inclinado
hacia
/
/
/
.
Pulse el selector múltiple para mostrar una imagen fija.
Cuando se reproducen películas:
Pulse el selector múltiple para reproducir una película.
Inclínelo hacia
para avanzar rápidamente y hacia
para rebobinar. (Pulse el
selector múltiple para regresar a la reproducción normal.)
Inclínelo hacia
para visualizar la pantalla de control de volumen. A
continuación, ajuste el volumen con
/
.
Borrado de imágenes (consulte la imagen
).
Pulse el botón
(Reproducir) y seleccione una imagen que desee borrar.
Pulse el botón MENU y seleccione
(Borrar) con
/
.
Seleccione [Esta ima] con
/
y pulse el selector múltiple.
Seleccione [OK] con el selector múltiple inclinado hacia
y pulse el selector
múltiple.
Utilización con el ordenador
Funcionamiento de “PMB Portable”
Esta cámara tiene una aplicación “PMB Portable”. Puede usar esta aplicación para
cargar imágenes fácilmente en un blog o en otro servicio multimedia.
Para obtener más información sobre “PMB Portable”, consulte la Ayuda de “PMB
Portable”.
Encienda la cámara y conéctela a un ordenador con un cable de soporte de
conexión USB. Aparece el asistente de reproducción automática. Haga clic en [×]
para cerrar el asistente de reproducción automática en las unidades que no son
necesarias.
Si no aparece el asistente de reproducción automática deseado, haga clic en
[Equipo] (en Windows XP, [Mi PC])
[PMBPORTABLE] y, a continuación,
haga doble clic en -[PMBP_Win.exe].
Haga clic en [PMB Portable] (en Windows XP, [PMB Portable]
[Aceptar]).
Aparece la pantalla de selección de idioma.
Tras seleccionar el idioma deseado, aparece la pantalla de selección de región.
Seleccione los valores adecuados para [Región] y [País/Área] y, a continuación,
haga clic en [Aceptar]. Lea la pantalla de contrato de usuario.
Lea el contrato atentamente. Si acepta los términos del contrato, haga clic en
[Acepto]. Se inicia “PMB Portable”.
Marcas comerciales
“bloggie” es una marca comercial de Sony Corporation.
“Memory Stick”, “ ”, “Memory Stick Duo”, “ ”, “Memory
Stick PRO Duo”, “ ”, “Memory Stick PRO-HG Duo”, “
”, “MagicGate”, “ ”, “MagicGate Memory
Stick” y “MagicGate Memory Stick Duo” son marcas comerciales o marcas
registradas de Sony Corporation.
Microsoft, Windows, Windows Media, Windows Vista y DirectX son marcas
comerciales o marcas registradas de Microsoft Corporation en los Estados Unidos
y/o en otros países.
El logotipo de SDHC es una marca comercial.
HDMI, el logotipo de HDMI y High-Definition Multimedia Interface son marcas
comerciales o marcas comerciales registradas de HDMI Licencing LLC.
Además, los nombres de sistemas y productos utilizados en este manual
son, en general, marcas comerciales o marcas registradas de sus respectivos
desarrolladores o fabricantes. Sin embargo, las marcas
o
no se utilizan en
todos los casos en este manual.