Loading ...
Loading ...
Loading ...
27
CARE AND CLEANING
6. Wipe the burner head clean with a soft, clean cloth,
sponge, or scratch-free cleaning pad.
7. Before using the cooktop again, make sure the burner
caps are properly placed and seated on the burner
heads. When placed correctly, the burner cap is
centered on the burner head and will click into place on
the burner head. You can wiggle the cap to test place
-
ment, it should not move off the burner head (see
“Assembly of the burner caps” on page 12).
Important notes:
• The surface burner heads are secured to the cooktop
and must be cleaned in place on the cooktop.
• Always keep the surface burner caps in place whenever
a surface burner is in use.
• When replacing the burner caps, be sure the burner
caps are seated firmly on top of the burner heads.
• For proper flow of gas and ignition of burners do not
allow spills, food, cleaning agents, or any other material
to enter the gas orifice port opening.
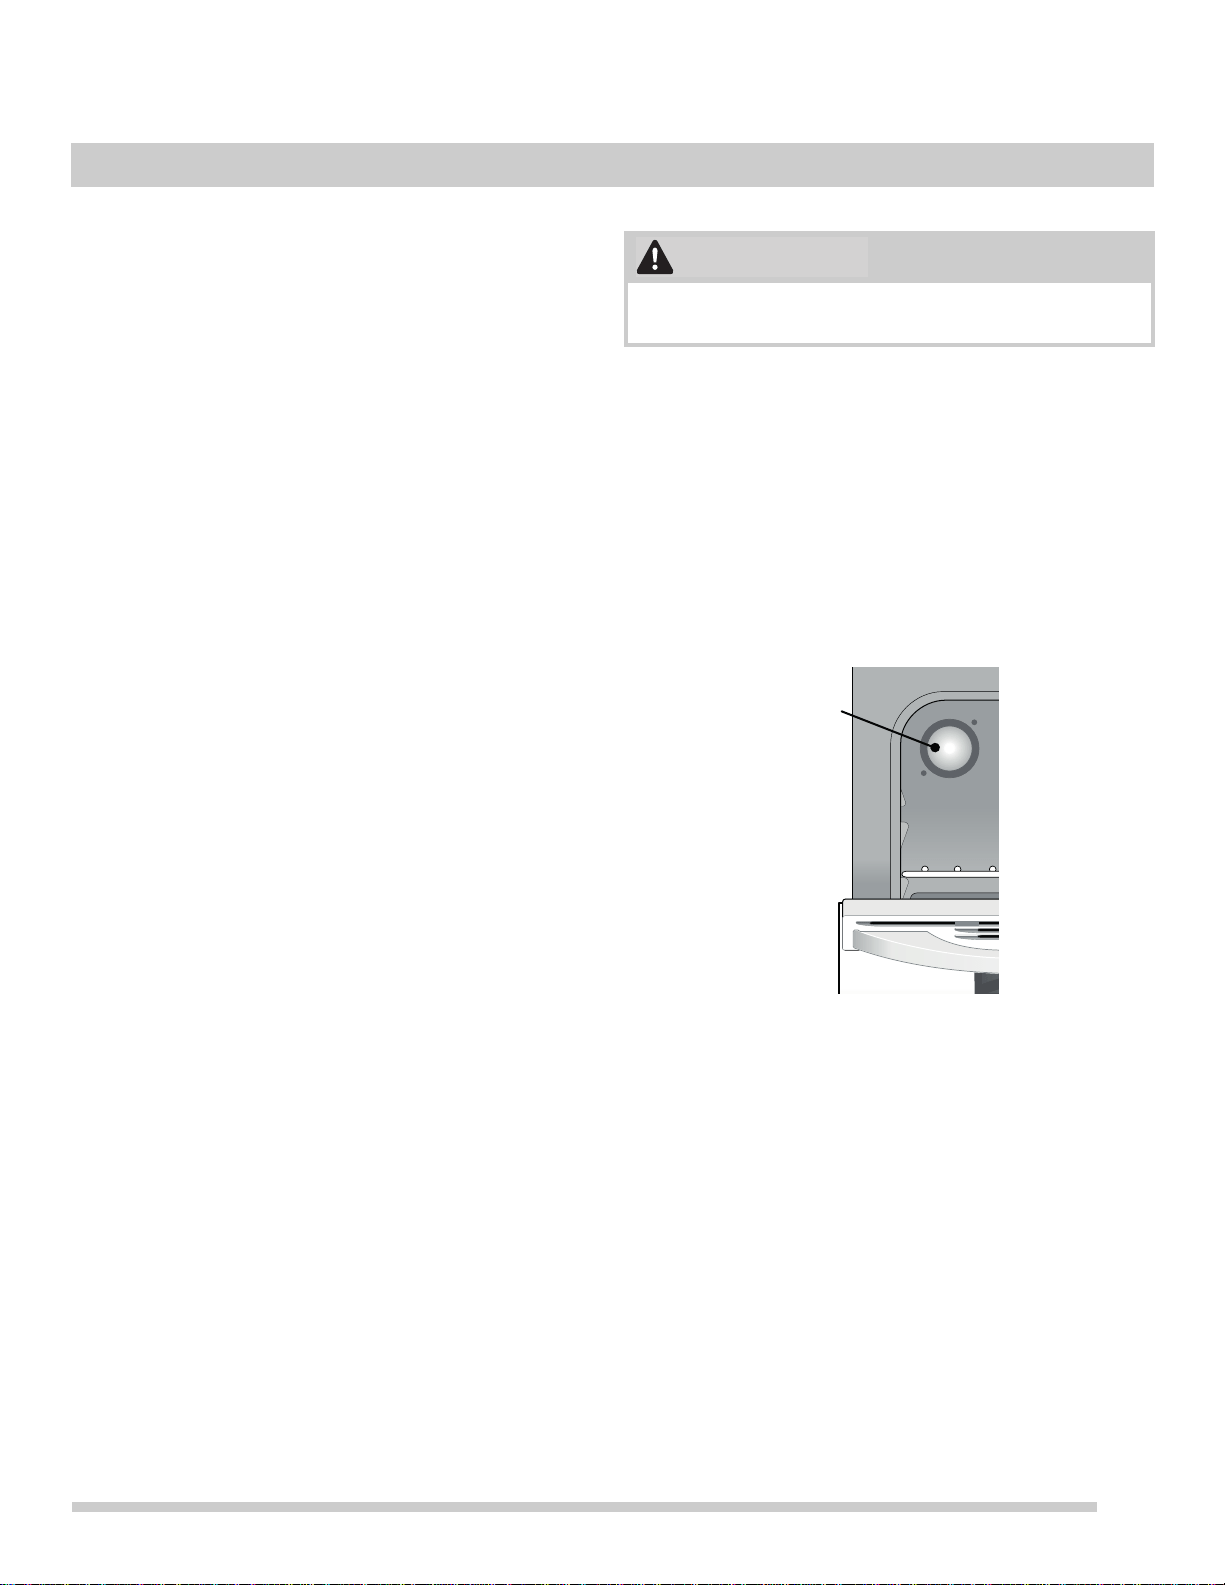
Replacing the Oven Light
Replacing the oven interior light bulb:
The interior oven light is located at the rear of the oven
cavity (
Figure 20).
1. Turn electrical power off at the main source or unplug
the appliance.
2. Replace the bulb with a new appliance bulb.
3. Turn the power back on again at the main source (or
plug the appliance back in).
4. Be sure to reset the time of day on the clock.
Be sure the oven is unplugged and all parts are cool
before replacing the oven light.
Figure 20: Oven light
CAUTION
oven
light
Loading ...
Loading ...
Loading ...