Loading ...
Loading ...
Loading ...
20
to activate the chosen choice. Refer to figures 38,
39 and 40
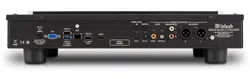
Using External Drives with the MS500
The MS500 has three different uses for connected
External Drives “ADD, IMPORT or MOUNT”. Before
proceeding with the steps below, switch power Off to
the MS500. Then connect the External Drive (HDD,
SDD or USB Flash Memory) to an USB connector on
the Rear Panel of the MS500. After the MS500 has
powered up and completed initialization, note the IP
Address in the upper left corner.
1. Using a computer connected to the same network
as the MS500, launch an Internet Web Browser
Application (such as Windows Internet Explorer).
Type in on the “URL-Address line” the following:
The IP Address Number
HTTP://__.__.___.___/config
2. Then press enter on the computer keyboard. Refer
to figure 36 (partial view).
3. Click on the “Content” Tab (located along the
top), then scroll down to “Storage”. Referring to
figure 37, the three options for the external USB
Connected Drive appears next to the “Free” Space
Listing. The option choices include “ADD, IM-
PORT or MOUNT”. When any one three choices
are selected, a new window will appear explaining
the functioning, any possible limitations and “OK”
How to Operate the MS500, con’t
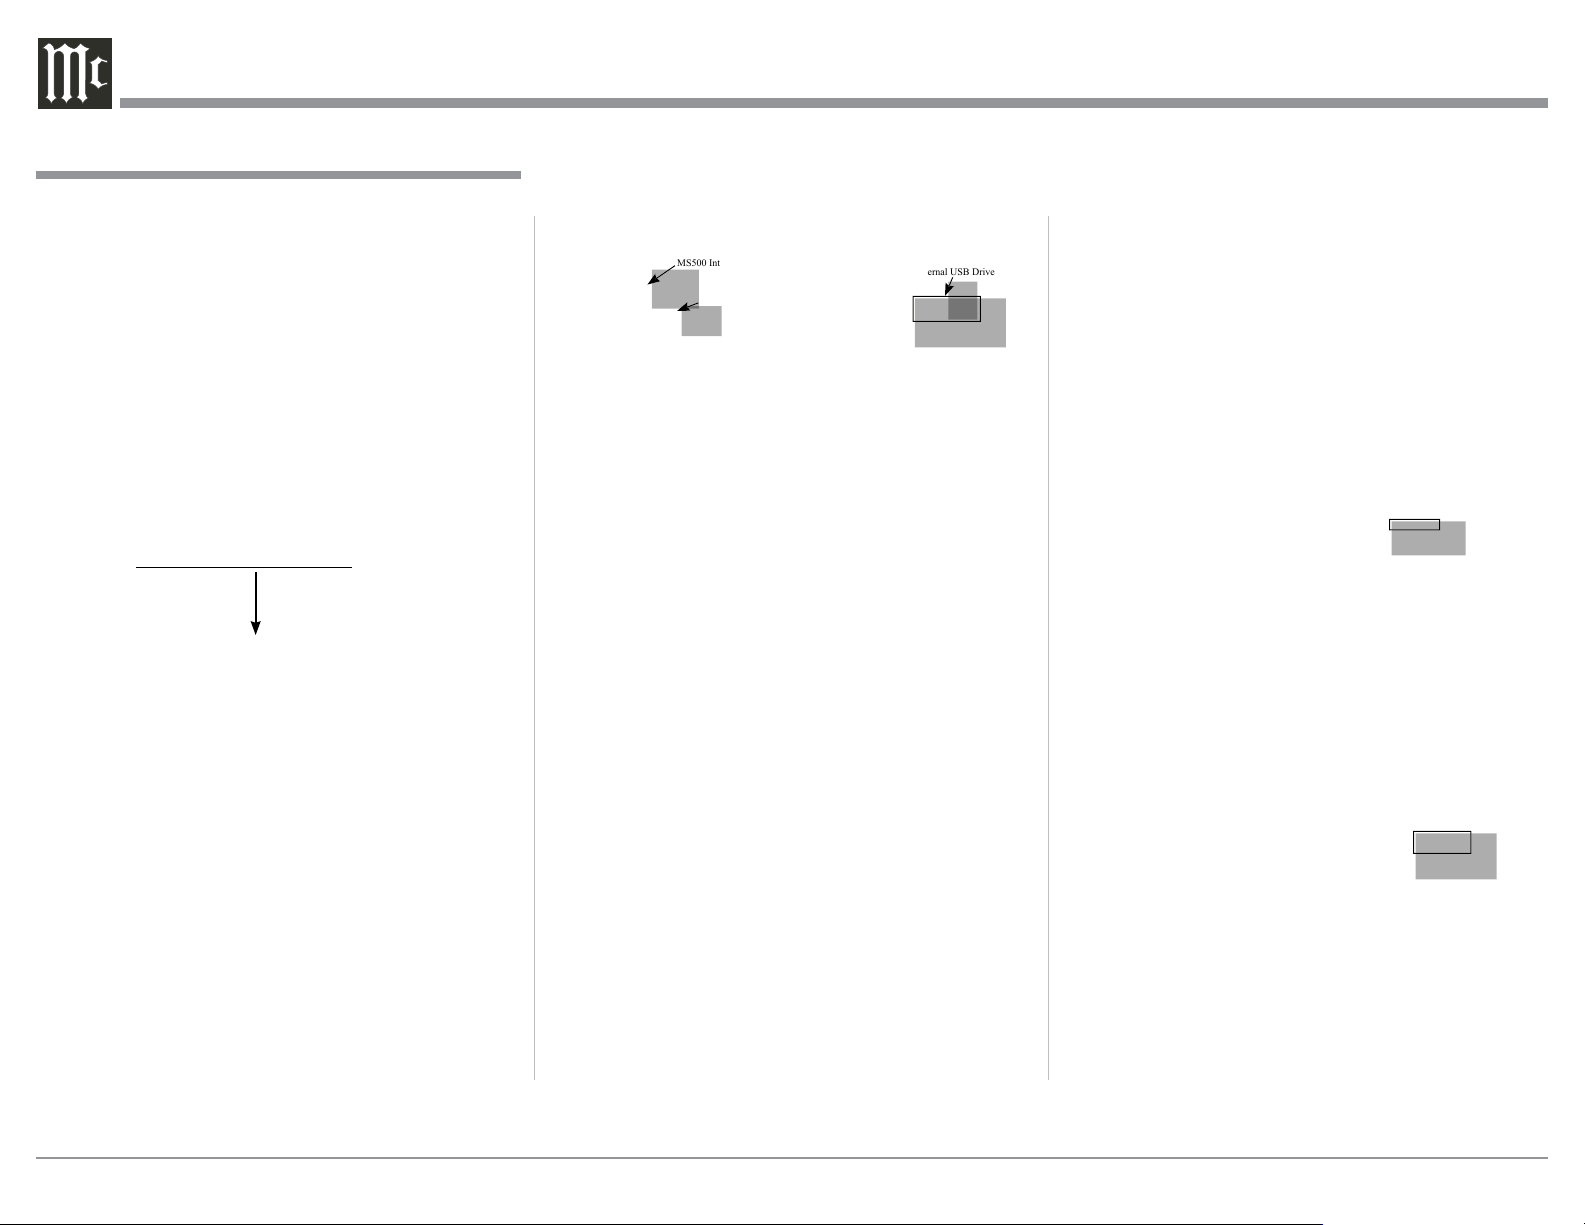
Figure 38
Figure 37
MS500 Internal Drive
Name assigned to
the connected
External USB Drive
Three operational
options available for
the connected
External USB Drive
Figure 36 (partial view)
Content Tab
Figure 39
Figure 40
ADD External Storage Space to the MS500
With an Externa1 USB Drive connected to one of the
MS500 Rear Panel USB Connectors, the “ADD” op-
tion will become available.
Note: Do not remove the external drive after the
“ADD” option is activated.
1. Start the ADD process by clicking on the button
“OK, Add the volume”. Refer to figure 38 and then
figure 41.
2. When the external drive is to be removed from
the MS500, select “Remove from server” and then
start the remove process by clicking on the button
“OK, Remove the volume”. Refer to figures 42
and 43.
Fig ure 41
Figure 43
Figure 42
Loading ...
Loading ...
Loading ...