Loading ...
Loading ...
Loading ...
31
Installation Instructions
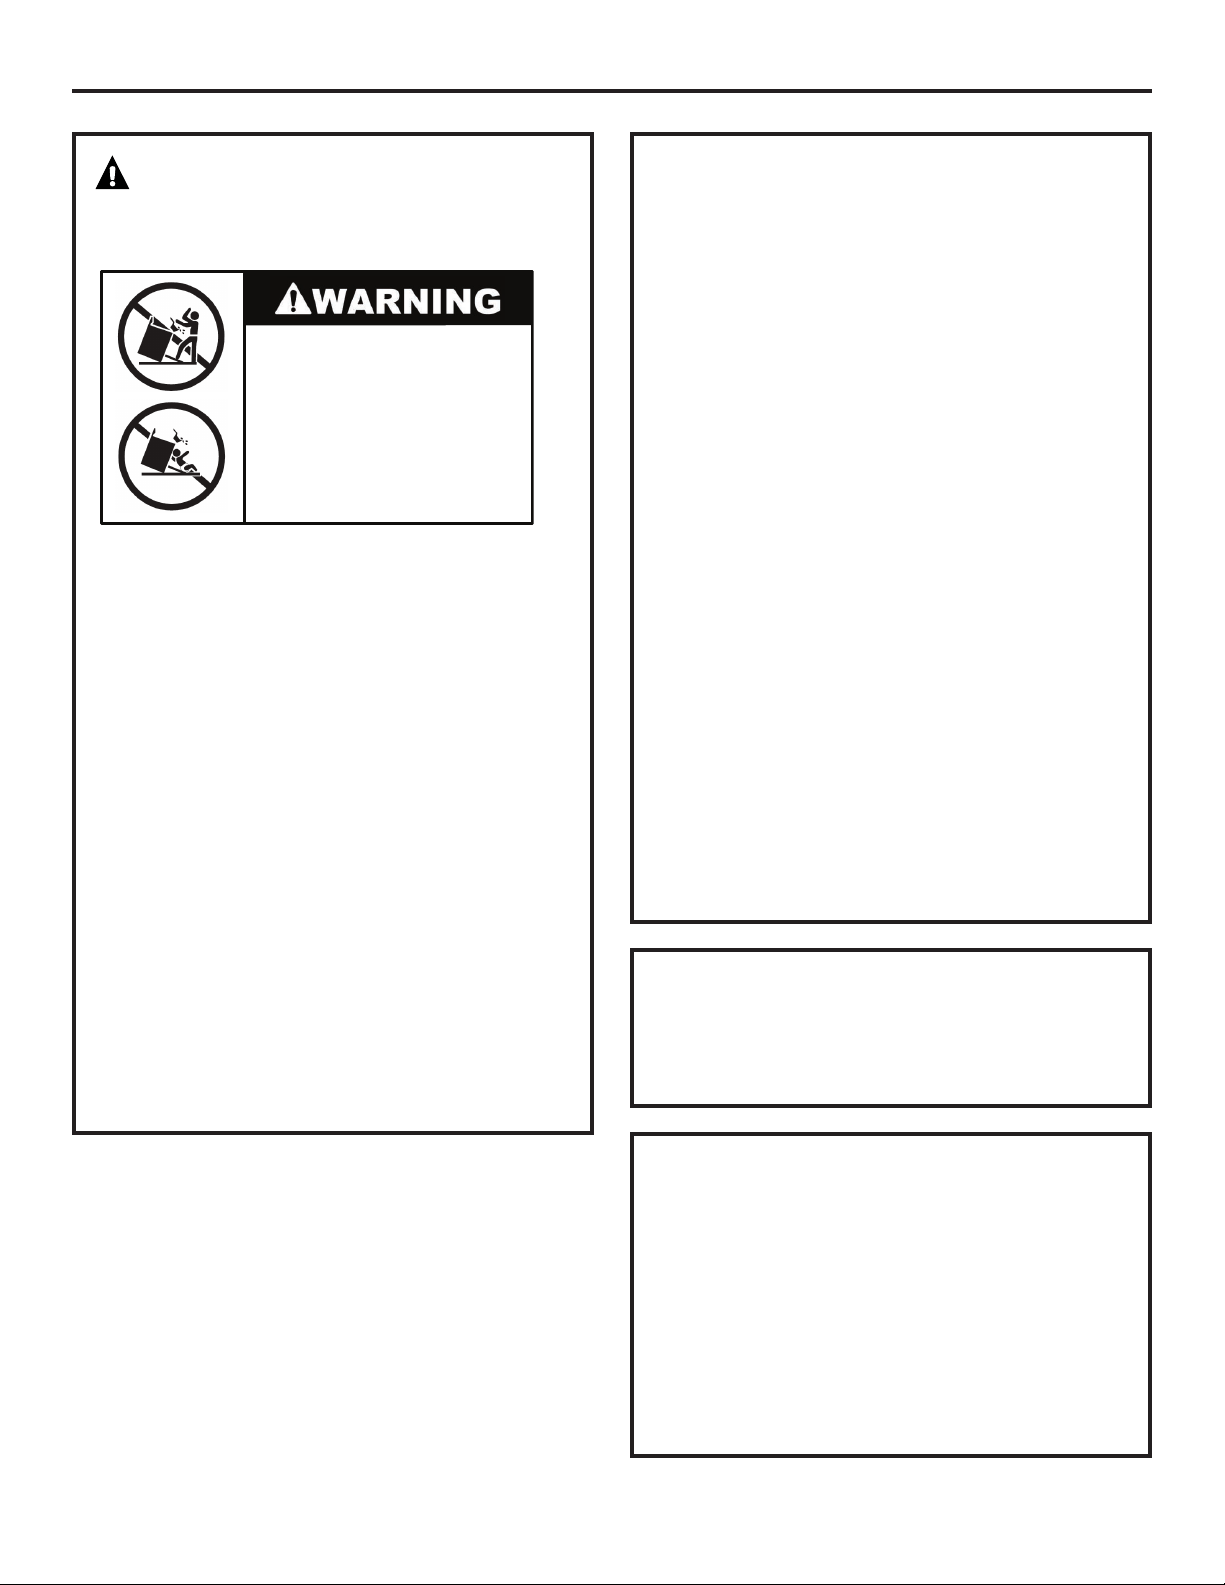
WARNING!
ANTI-TIP DEVICE
To reduce the risk of tipping the range, the range
must be secured by a properly installed anti-tip
bracket. See installation instructions shipped
with the bracket for complete details before
attempting to install.
To check if the bracket is installed and engaged
properly, carefully tip the range forward.
The bracket should stop the range within
4 inches. If it does not, the bracket must
be reinstalled. If the range is pulled from
the wall for any reason, always repeat this
procedure to verify the range is properly
secured by the anti-tip bracket.
For free standing or slide in ranges, never
completely remove the leveling legs or the range
will not be secured to the anti-tip device properly.
If you did not receive an anti-tip bracket with
your purchase, call 1-800-626-8774 to receive
one at no cost (In Canada, call 1-800-561-3344).
For installation instructions of the bracket,
visit: GEAppliances.com (In Canada,
GEAppliances.ca)
MODEL AND SERIAL NUMBER LOCATION
Depending on your range, you’ll find the model
and serial numbers on a label on the front frame of
the range, behind the kick panel or broiler drawer.
LOCATION
Do not locate the range where it may be subject
to strong drafts. Any openings in the floor or
wall behind the range should be sealed. Make
sure the openings around the base of the range
that supply fresh air for combustion and
ventilation are not obstructed by carpeting
or woodwork.
Your range, like many other household items, is
heavy and can settle into soft floor coverings such
as cushioned vinyl or carpeting. Use care when
moving the range on this type of flooring. It is
recommended that the following simple and
inexpensive instructions be followed to protect
your floor.
The range should be installed on a sheet of
plywood (or similar material). When the floor
covering ends at the front of the range, the area
that the range will rest on should be built up with
plywood to the same level or higher than the floor
covering.
This will allow the range to be moved for cleaning
or servicing. Also, make sure your floor covering
will withstand 180°F. (See the Installation Safety
Instructions section.)
Make sure the wall coverings around your range
can withstand the heat generated (up to 200°F) by
the range. (See the Installation Safety Instructions
section.)
IMPORTANT!
Remove all tape and packaging. Make sure the
burners are properly seated and level.
Lift up the cooktop (on models with standard
twin burners) and remove any packing material
under it.
Take the accessory pack out of the oven and/or
drawer.
Check to be sure that no range parts have come
loose during shipping.
•
•
•
All ranges can tip.
BURNS or other SERIOUS
INJURIES can result.
INSTALL and CHECK the
ANTI-TIP bracket following
the instructions supplied
with the bracket.
Loading ...
Loading ...
Loading ...