Loading ...
Loading ...
Loading ...
11
Electric Requirements – Canada
WARNING
Electrical Shock Hazard
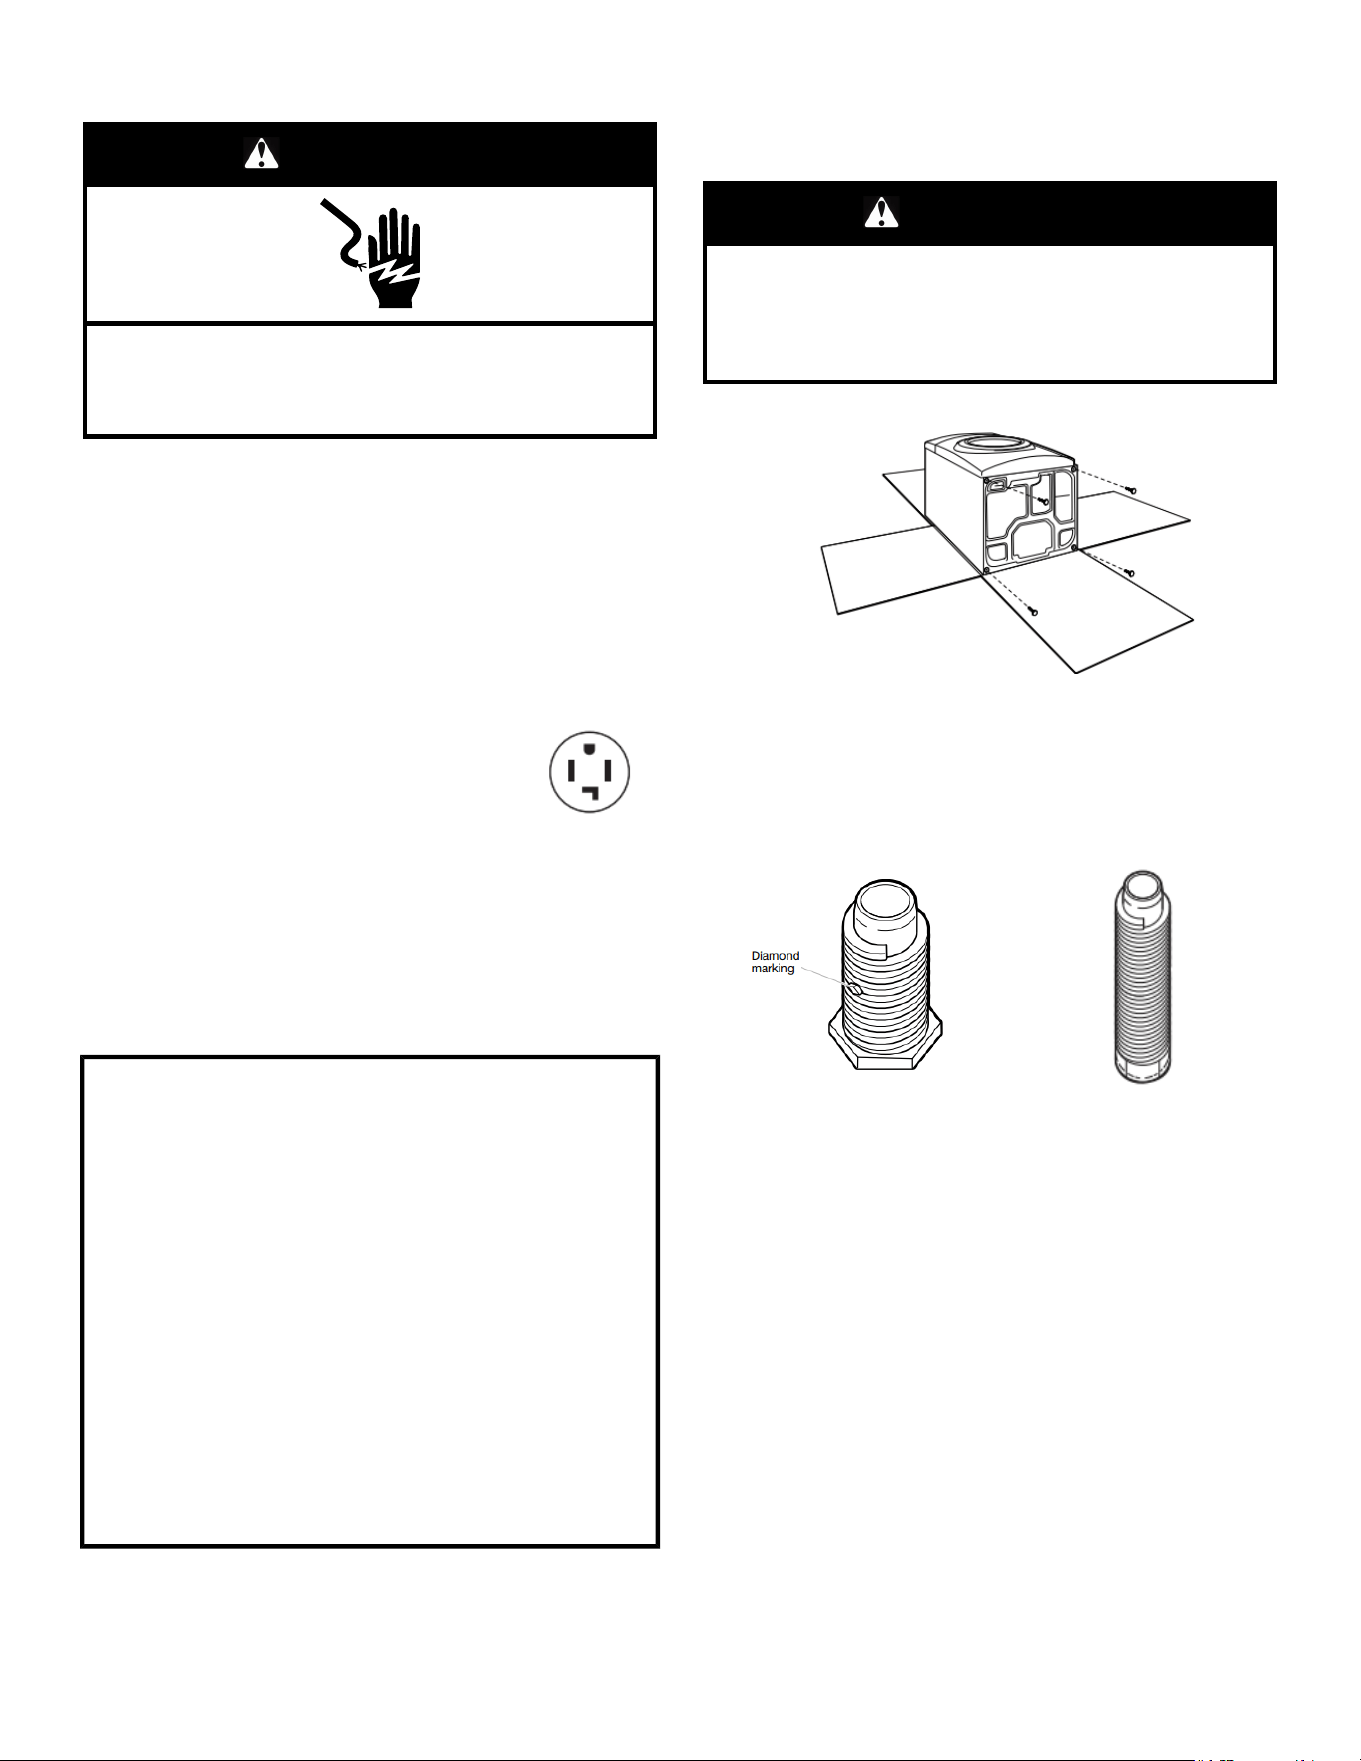
Plug into a grounded 4 prong outlet.
Failure to do so can result in death or electrical shock.
It is your responsibility:
� To contact a qualified electrical installer.
� To be sure that the electrical connection is adequate and in
conformance with Canadian Electrical Code, C22.1 – latest
edition and all local codes. A copy of above codes standard
may be obtained from: Canadian Standards Association, 178
Rexdale Blvd., Toronto, ON M9W 1R3 CANADA.
� To supply the required 4-wire, single-phase, 120/240 V, 60 Hz,
AC-only electrical supply on a separate 30 A circuit, fused on
both sides of the line. A time-delay fuse or circuit breaker is
recommended. Connect to an individual branch circuit.
� This dryer is equipped with a UL-listed
and/or CSA International Certified Power
Cord intended to be plugged into a
standard 14-30R wall receptacle. The cord
is 5 ft (1.52 m) long. Be sure wall
receptacle is within reach of dryer’s final
location.
4-wire receptacle
(14-30R)
� If codes permit and a separate ground wire is used, it is
recommended that a qualified electrician determine that the
ground path is adequate.
� Do not use an extension cord.
For further information, or to obtain a Power Supply Cord
Replacement, please reference the contact information listed
on your Quick Start Guide.
GROUNDING INSTRUCTIONS
For a grounded, cord-connected appliance:
This appliance must be grounded. In the event of a
malfunction or breakdown, grounding will reduce the risk of
electric shock by providing a path of least resistance for
electric current. This appliance is equipped with a cord having
an equipment-grounding conductor and a grounding plug.
The plug must be plugged into an appropriate outlet that is
properly installed and grounded in accordance with all local
codes and ordinances.
WARNING: Improper connection of the equipment-
grounding conductor can result in a risk of electric shock.
Check with a qualified electrician or serviceman if you are in
doubt as to whether the appliance is properly grounded. Do
not modify the plug provided with the appliance: if it will not fit
the outlet, have a proper outlet installed by a qualified
electrician.
SAVE THESE INSTRUCTIONS
INSTALLATION
Install Leveling Legs
WARNING
Excessive Weight Hazard
Use two or more people to move and install or uninstall
appliance.
Failure to do so can result in back or other injury.
1. Prepare dryer for leveling legs
To avoid damaging floor, use a large flat piece of cardboard
from dryer carton; place under entire back edge of dryer.
Firmly grasp dryer body (not console panel) and gently lay
dryer down on cardboard.
NOTE: Residual water from factory testing may drain when
dryer is laying on its side.
2. Screw in leveling legs
Leveling leg with diamond
marking.
Leveling leg without diamond
marking
Using a wrench and tape measure, screw leveling legs into
leg holes until bottom of foot is approximately 1/2" (13 mm) to
1
1
/
2
" (38 mm) from bottom of the dryer.
For leveling legs with the diamond marking:
Screw legs into leg holes by hand. Use a wrench to finish
turning legs until diamond marking is no longer visible.
Place a carton corner post from dryer packaging under each
of the two dryer back corners. Stand the dryer up. Slide the
dryer on the corner posts until it is close to its final location.
Leave enough room to connect the exhaust vent.
Loading ...
Loading ...
Loading ...