Loading ...
Loading ...
Loading ...
24
USING THE GRILL
GRILLING Continued
1. Check to be certain the drip pan and grease tray are in place.
2. Light the grill burners using the instructions on page 22.
3. Once you have verified the burners are lit, put the lid down to preheat. Preheat the grill for 5 to 10 minutes.
4. Place the food on the grill and cook to the desired doneness. Adjust heat setting, if necessary. The control
knob may be set to any position between “SEAR” and “LOW” - most grilling done is between “MED” and “LOW”
settings.
5. When you have finished using the grill, turn the control knobs to “OFF” and shut off the main gas supply.
6. Allow grill to cool and clean the grates, drip pan and grease tray after each use.
Note:
If using LP gas, your preheat time may be shorter than recommended. To prevent overcooking or burning, you may
want to lower heat settings.
USING THE TEMPERATURE GAUGE:
When preheating the grill, use the temperature gauge in the lid to check if the grill has reached the desired heat
setting.
Note: The temperature gauge only indicates air temperature inside the grill. For food safety and optimal cooking
performance, use a meat probe to check the temperature of meat while cooking and to ensure desired internal
temperatures are reached.
GRILLING HINTS:
The doneness of meat, whether rare, medium, or well done, is affected to a large degree by the thickness of the
cut. Expert chefs say it is impossible to have a rare doneness with a thin cut of meat. The cooking time is affected
by the kind of meat, the size and shape of the cut, the temperature of the meat when cooking begins, and the
degree of doneness desired. When defrosting meats it is recommended that it be done overnight in the refrigera-
tor as opposed to a microwave. This in general yields a juicier cut of meat. Use a spatula instead of tongs or a
fork to turn the meat, as a spatula will not puncture the meat and let the juices run out. To get the juiciest meats,
add seasoning or salt after the cooking is finished and turn the meat only once (juices are lost when the meat is
turned several times). Turn the meat just after the juices begin to bubble to the surface. Trim any excess fat from
the meat before cooking. To prevent steaks or chops from curling during cooking, slit the fat around the edges at
2-inch intervals.
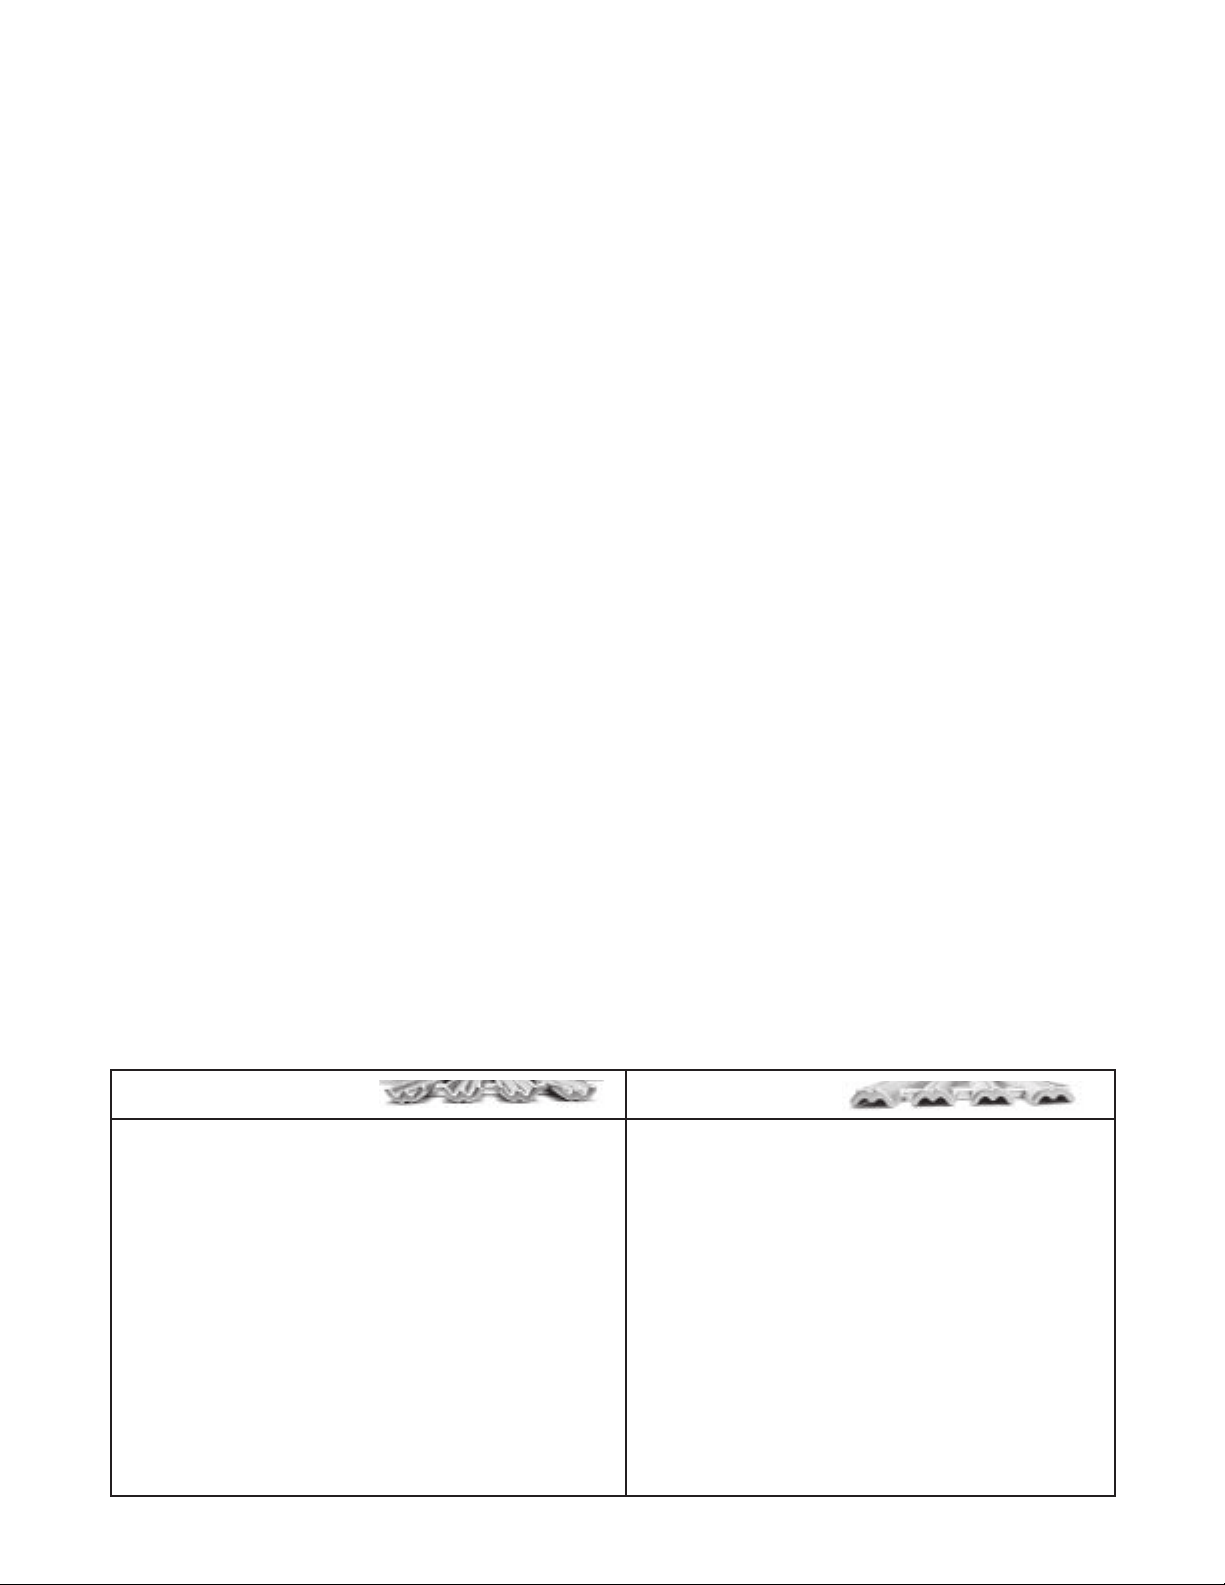
DUALSIDED GRATES:
Whether you or your guests crave seafood, steak or veggies, the double-sided grates provide varying surfaces
for varying textures. The “W”-shaped side creates nice sear lines for steaks, chicken and chops and routes oil and
grease away from the food. The opposite “radius” side offers more surface area for support and handling of deli-
cate items like scallops. (See below for a sample list of which foods to cook on which side of the grate.) Keep the
grates mixed–half on one side and half on the other or a percentage that best represents what you are cooking.
“W”-SHAPED GRATE RADIUS GRATE
• chicken (bone-in and boneless cuts)
• steaks
• chops
• burgers
• ribs
• kabobs
• steak cuts of fish like tuna and swordfish
• whole fish
• game
• oysters
• large slices of whole vegetables and mushrooms
• fruit
• bread
• sausages
• hot dogs
• delicate fish fillets
• lobster meat
• shrimp
• scallops
• clams
• mussels
• suckling pig
• turkey legs
• indirect cooking and smoking
• potatoes
• smaller vegetables or slices
• roasted peppers
• roasted whole garlic
• pizza dough and flat breads
• crab cakes
Loading ...
Loading ...
Loading ...