Loading ...
Loading ...
Loading ...
ç - Emergency Alert Signalling is not possible:
- with multimedia browser;
- with analog video sources.
-You always have the possibility to remove the message from the
screen.
- The message display will overlap whatever menu element or other
message is on the screen.
_________________________
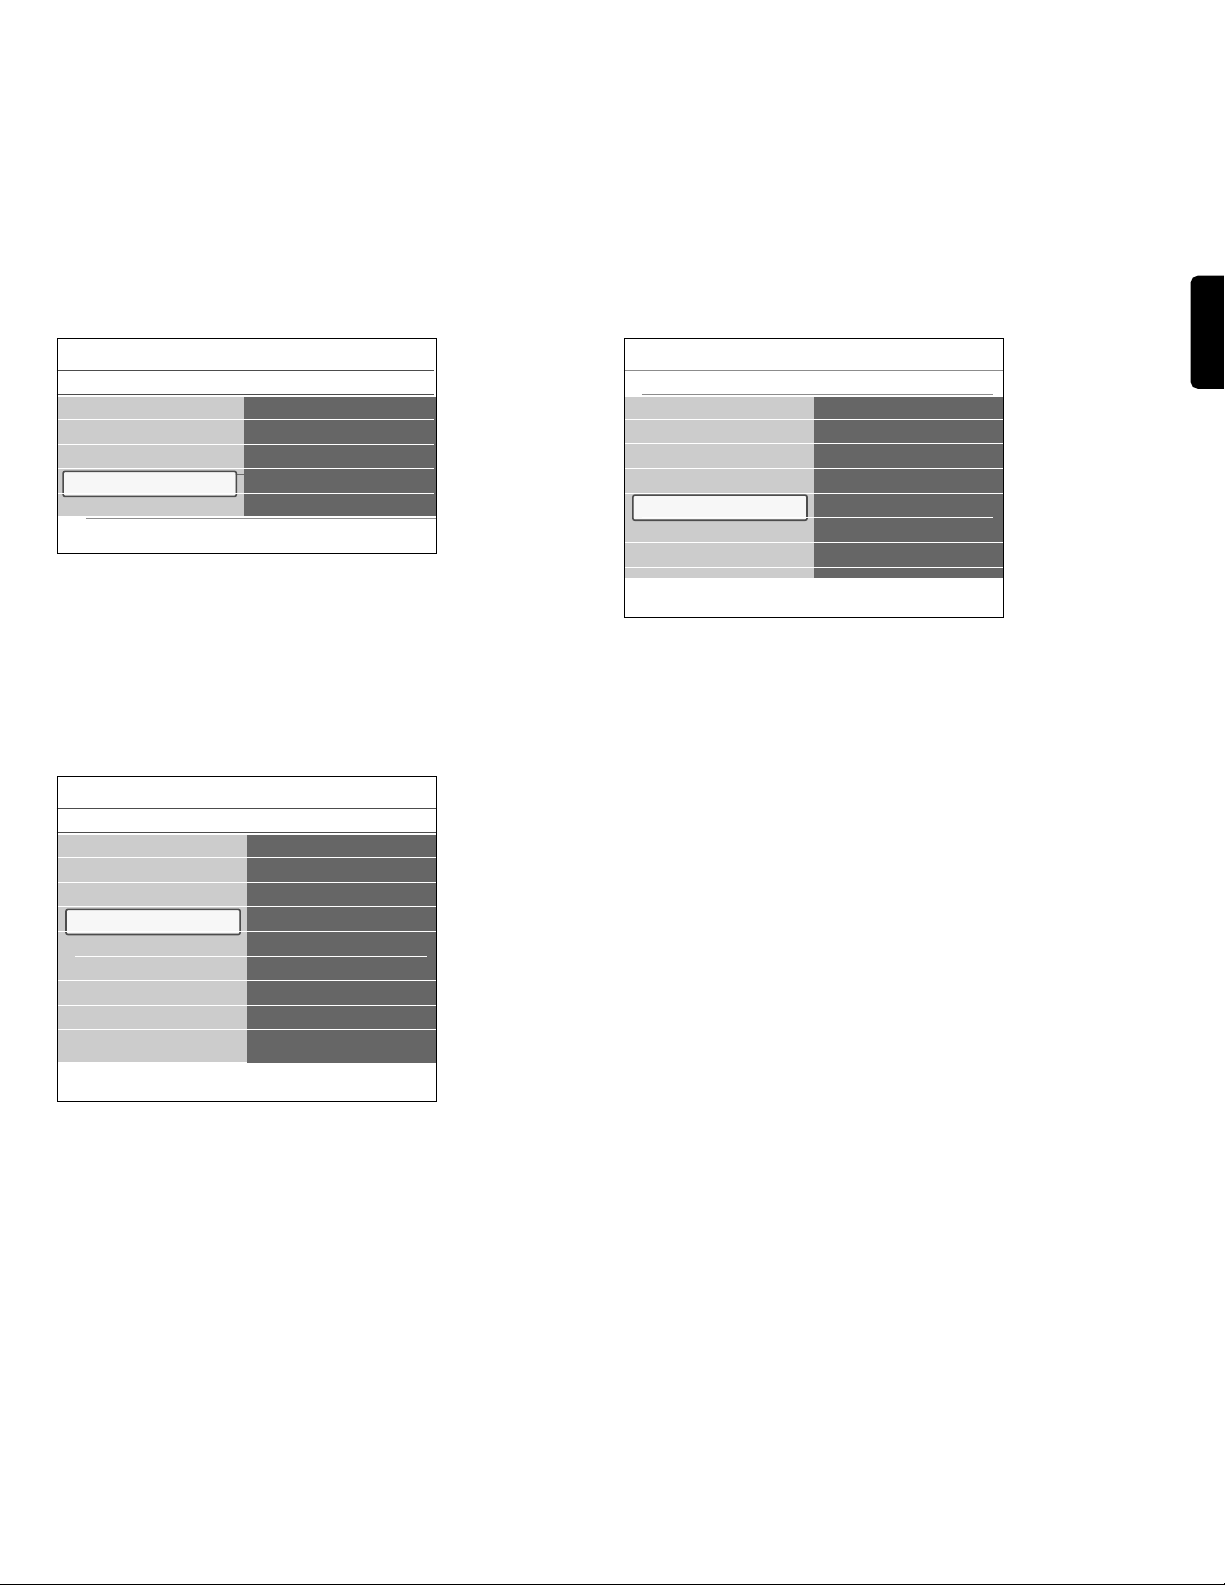
7.4.4 Downloaded rating table
This allows you to add region ratings lock options next to your current
ones.
) Before activating, please ensure regional ratings are broadcasted.
_________________________
7.5 Select your connections
This allows you to identify the type of accessory device you have
connected to each particular input and output.
‡ Select Connections.
® Press the cursor right to enter the list of types of external inputs.
ÒSelect the appropriate input with the cursor up/down.
> When you select
AV1, AV2, AV3, HDMI 1, HDMI 2, HDMI 3,
Side,
AUDIO IN L/R or DIGITAL AUDIO IN a list appears
allowing you to identify which type of accessory device is
attached to this input.
† Press the cursor right again to enter the list of types of devices
connected to the selected input.
º Select the accessory device with the cursor up/down.
Digital Audio In
If an accessory device has a digital audio output, you can connect this
with a single cable to the TV’s
DIGITAL AUDIO IN jack.
In the Connections menu, assign the
DIGITAL AUDIO IN to the
corresponding external input to which your accessory device is
connected.
In addition to accepting audio input via Digital Audio In, the TV can
output encoded Dolby Digital audio via the
DIGITAL AUDIO OUT
connector to an external amplifier or receiver.
If your amplifier or receiver has a matching connector for Digital Audio
In, you can connect it with a single cable to the TV’s digital audio out.
See Chapter 11.1 To make Video and Audio connections, Home
theater amplifier.
_________________________
7.6 Set your clock
This allows you to set the time and day.
ç Adjusting the clock is necessary for the correct working of Lock after
(See Chapter 6 Adjust feature menu settings) features.
_________________________
7.6.1 Auto clock mode
‡ Select Clock in the Installation menu.
® Press the cursor right to select the Auto clock mode.
ÒPress the cursor right to instruct the TV to get the time
automatically or manually.
ç Most of the TV channels are not transmitting clock information.
There are few cable channels but they are at the end of the channel ring.
There is no clock transmission in antenna channels. In such cases either
clock extraction is taking a long time or there is no clock.
_________________________
7.6.2 Auto clock channel (only available when Auto clock mode is set
to Automatic)
With the cursor buttons, select the channel number on which time can
be found by the TV. Typically time can be found on PBS (Public
Broadcasting System) as well as some other channels.
_________________________
7.6.3 Time - Day (only available when Auto clock mode is set to
Manual)
With the cursor buttons, select and enter the correct time and day.
If Auto clock mode Manual has been selected, and no clock search
has been done, the system will keep the entered time and day.
_________________________
7.6.4 Time zone (only available when Auto clock mode is set to
Automatic)
This function allows you to select your local time zone. Broadcasted
time information will correct the clock display for your local time.
‡ Select Time zone with the cursor down.
® Press the cursor right to select your local time zone.
_________________________
7.6.5 Daylight saving (only available when Auto clock mode is set to
Automatic)
Daylight saving time is automatically set by specially broadcasted signals.
This menu item allows you to disable the automatic setting of daylight
saving time.This is useful if you live in an area or state where daylight
saving is not applied, but you receive channels from other areas where
daylight saving signals are broadcasted.
ENGLISH
19
Info
TV menu / Installation
Preferences
Downloaded rating table
Off
On
Location
Volume bar
Show emergency alerts
Downloaded rating table
Info
Menu TV
Installation
Connections
AV1
AV2
AV3
HDMI 1
HDMI 2
HDMI 3
Side
AUDIO IN L/R
DIGITAL AUDIO IN
Language
Channel installation
Preferences
Connections
Clock
Reset AV settings
Info
TV menu
Installation
Clock
Auto clock mode
Auto clock channel
Time
Day
Time zone
Daylight saving
Language
Channel installation
Preferences
Connections
Clock
Reset AV settings
Loading ...
Loading ...
Loading ...