Loading ...
Loading ...
Loading ...
Rinnai 12 Split AC OM
DELAY ON TIMER
1. With the appliance "OFF", press the "TIMER" button once, up to three digits
and a blinking "ON" are shown at the bottom of the LCD screen.
2. Press or to set the desired time period (the available time range is in
1/2 hour increments from 24 to 0.5 hours).
3. Press the "TIMER" button again to lock in the setting, both "TIMER" and
a "ON" are shown on the LCD screen. The timer will count down the time
remaining in half hour in increments. When the countdown is complete the
appliance will turn on.
NOTE
When setting a timer function, at each step failure to press buttons
within 10 seconds will terminate the timer setup. If this happens you
will need to re-start the timer setup procedure at step 1.
4. Set the mode, temperature and fan setting you wish the appliance to operate
with when the "ON" time period is reached.
DELAY OFF TIMER
1. With the appliance "ON", press the "TIMER" button once, both "TIMER" and
a blinking "OFF" are shown on the LCD screen.
2. Press or to set the desired time period (the available time range is in
1/2 hour increments from 24 to 0.5 hours).
3. Press the "TIMER" button again to lock in the setting, both "TIMER" and
a "ON" are shown on the LCD screen. The timer will count down the time
remaining in half hour in increments. When the countdown is complete the
appliance will turn o.
NOTE
When setting a timer function, at each step failure to press buttons
within 10 seconds will terminate the timer setup. If this happens you
will need to re-start the timer setup procedure at step 1.
4. Set the mode, temperature and fan setting you wish the appliance to operate
with until the "OFF" time period is reached.
CANCELLING ON/OFF TIMERS
1. When a timer is set, pressing the "TIMER" button will cancel any timer settings and the timer "OFF" or "ON"
indicator will no longer be shown on the LCD screen.
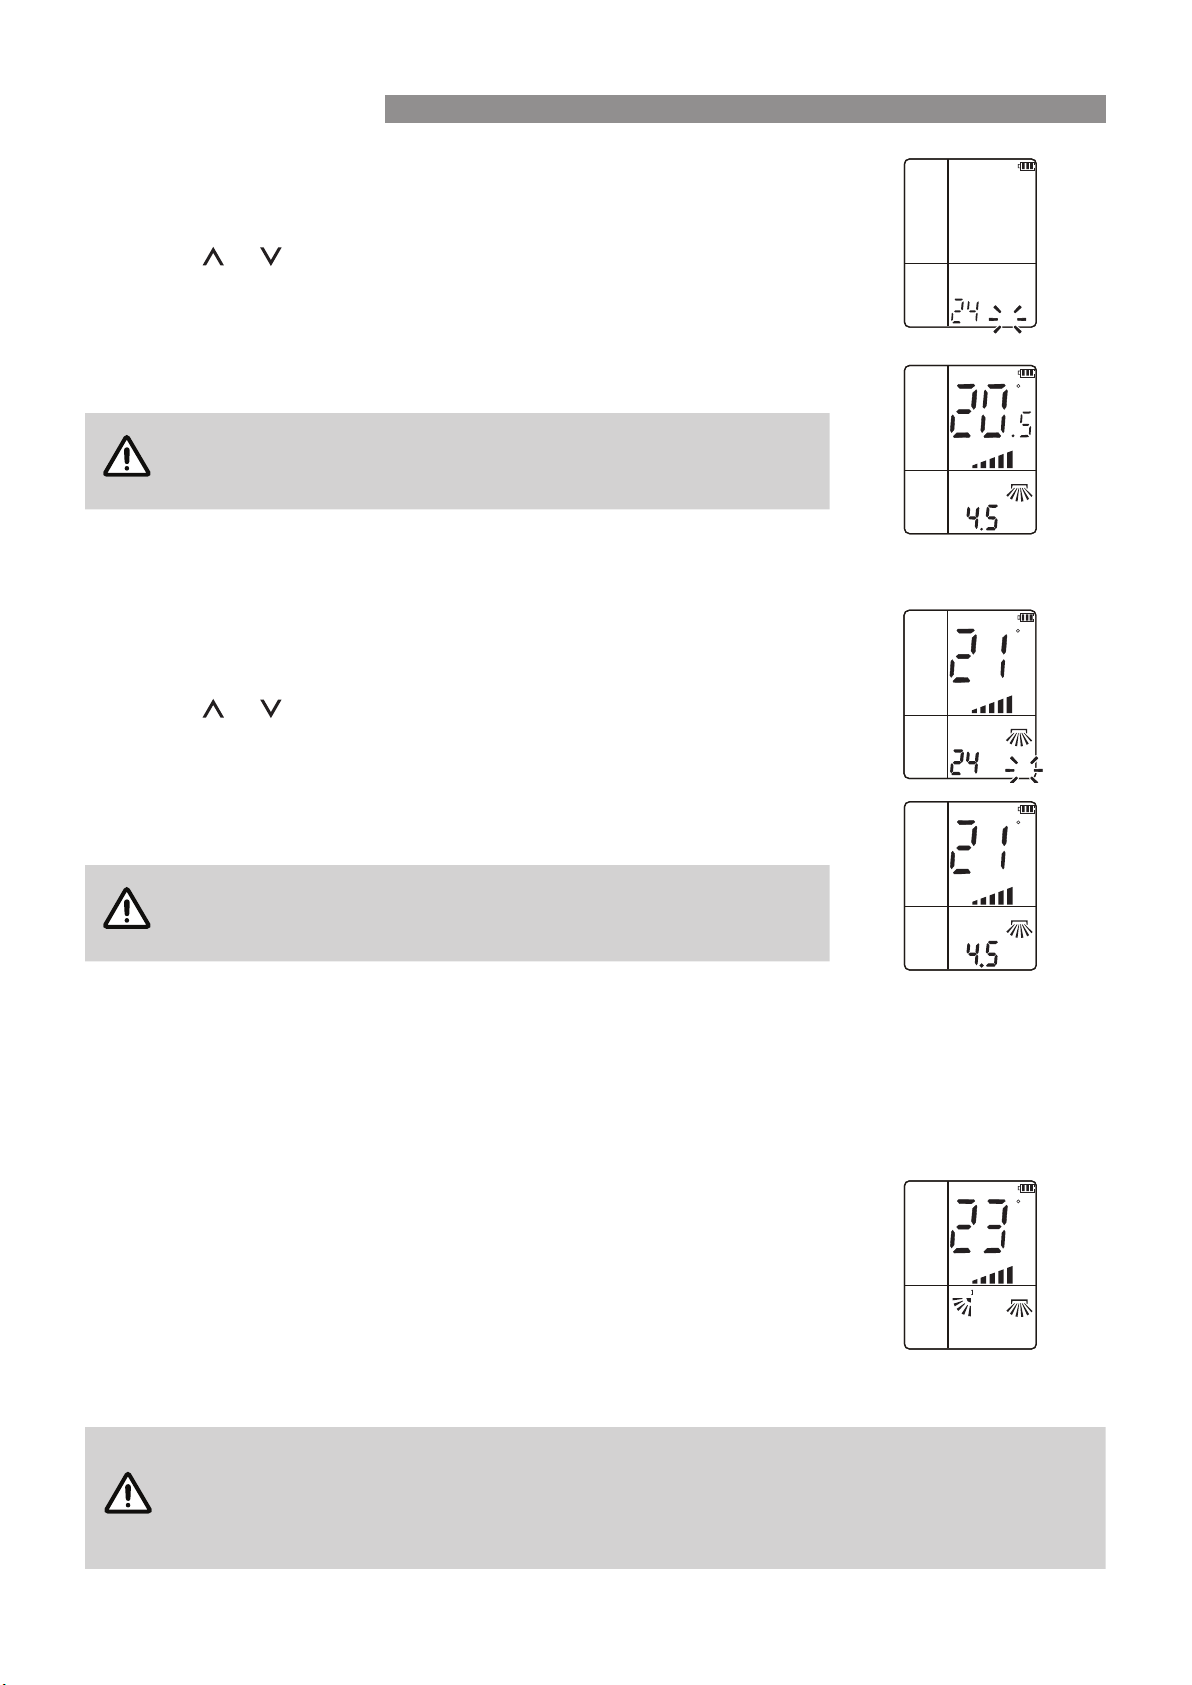
ROOM TEMPERATURE DISPLAY
The remote control is capable of displaying either the set temperature or the current
ambient room temperature.
1. To display the current room temperature, press the "ROOM °C" button once.
"ROOM" is shown on the LCD screen and the temperature digits display the
current room temperature.
2. To display the current set temperature, press the "ROOM °C" button again.
"SET" is shown on the LCD screen and the temperature digits display the
current set temperature.
NOTE
The "SET" temperature display is the default display for the remote control and will be reset when
the controller is turned o and on.
When the room temperature mode is selected any changes to the set temperature will ash
on the display for 5 seconds, after which the display will revert to displaying the current room
temperature.
H
ON
LRSWING
COOL
POWERCON
iFEEL
SWING
OFF
C
H
ON
LRSWING
COOL
POWERCON
iFEEL
SWING
SPEED
OFF
C
H
LRSWING
COOL
HEAT
POWERCON
iFEEL
SWING
SPEED
OFF
RUN
C
H
LRSWING
COOL
HEAT
POWERCON
iFEEL
SWING
SPEED
OFF
RUN
C
H
ON
LRSWING
COOL
POWERCON
iFEEL
SWING
SPEED
OFF
RUN ROOM
ADVANCED OPERATION
Loading ...
Loading ...
Loading ...