Loading ...
Loading ...
Loading ...
Date display module
The date display module (21) allows you
to print the date or the day/time on pic-
tures (22).
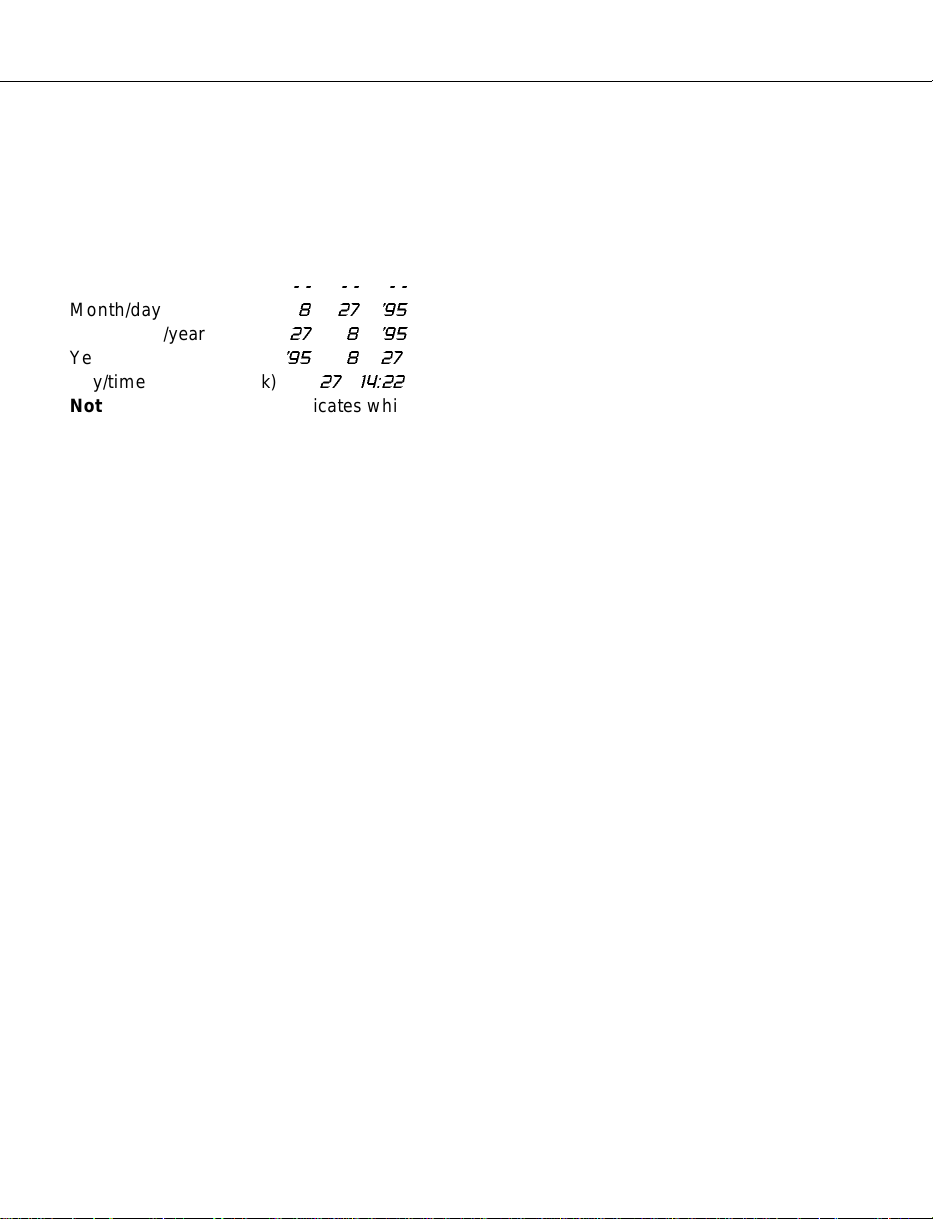
Setting the date
1 Press MOD (mode) repeatedly until the
desired date sequence is displayed:
No printing
- - - - - -
Month/day/year
8 27 95
Day/month/year
27 8 95
Year/month/day
95 8 27
Day/time (24-hour clock)
27 14:22
Note: An
M in the display indicates which
digit is the month.
2 Press
SEL (select) to select the year,
month or day (see blinking digit).
3 Press
SET repeatedly (or hold button)
until the desired digit is displayed. Repeat
steps 2 and 3 until the desired year,
month and day are all set.
4 Press
SEL again to lock in the date.
Setting the time
1 Press MOD until the day/time mode is
displayed. The first set of digits in the dis-
play is the day of the month, followed by
the time in hours and minutes.
2 Press
SEL and the hours will blink. Press
SET to toggle through the hours. Press SEL
again to lock in the hour. The minutes will
now blink.
3 Press
SET to toggle through the minutes.
Press
SEL again to lock in the minutes.
4 Press
SEL again to lock in the time.
Shutting off the date display option
Press MOD until a series of dashes ap-
pears in the display.
Note: The date module is powered by the
battery in the film pack, or by the batter-
ies in the handgrip. If there are no batter-
ies or film in the camera for more than 5
minutes, you will need to reset the date/
time after replacing the batteries.
Flash control (23)
The two built-in electronic flash units are
designed to provide even illumination at
all reproduction scales. You can turn off
either flash unit if side lighting is needed
to show texture or elevation. The light
output from the remaining flash unit will
be increased to produce the correct
exposure.
Press the flash control once to turn off
the right flash; press it a second time to
turn off the left flash; press it a third time
to turn off both flash units.
Lighting techniques
Both built-in flash units can be turned off,
and auxiliary lighting used. The auxiliary
light is connected to the PC socket on the
back of the camera (24). Advanced photo-
graphers may find it useful to experiment
with different lighting arrangements.
The auxiliary lighting must be electronic
flash — do not use tungsten, halogen or
fluorescent lights.
The built-in flash can be combined with
auxiliary lighting.
Test exposures may be required to deter-
mine the correct location and settings for
the auxiliary flash unit for correct expo-
sure.
•
•
•
Outdoor use
The camera is designed primarily for
indoor use; if it
must
be used outdoors:
• Select an area that is not subjected to
bright sunlight, which may cause over-
exposed pictures.
• Shade the subject from direct sunlight. (It
is difficult to see the ranging lights in very
bright light.)
• Use the built-in flash units to ensure con-
sistent exposure.
English 7
Loading ...
Loading ...
Loading ...