➔
➔
➔
➔
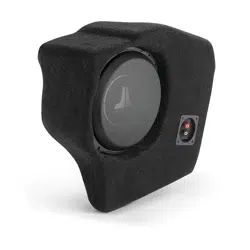
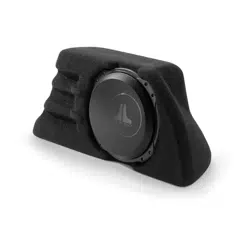
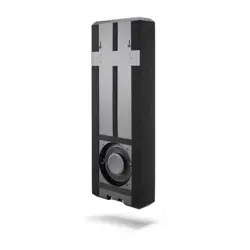
Stealthbox
®
INSTALLATION GUIDE
SB-D-TRKCTR/12W3v2, JL AUDIO, Inc 2004
Sheet SKU#011104 Revision6/28/2004 Page 1
for the
SB-D-TRKCTR/12W3v2
(1994-2002 Dodge Ram)
This Stealthbox is a product which
requires professional installation skills and
tools.
Please read this installation guide thor-
oughly before beginning the project. It
will guide you step by step through the
installation. Several of the steps in this
process may require two people to
accomplish.
It is absolutely vital that the enclosure
be properly mounted to the vehicle
according to these instructions. Failure
to mount the enclosure properly pres-
ents two problems: 1) The sub-bass
performance will suffer due to the
movement of the enclosure caused by
the force exerted by the woofer(s) and
2) A loose enclosure presents a serious
safety hazard in the event of a collision
or sudden deceleration.
Please enjoy your JL Audio Stealthbox
responsibly.
This enclosure is not designed to be a pas-
senger seat.We do not recommend it to be
used as such.
If you are dealing with a 1997-2002 there
will be a small black box bolted to the
underside of the center seat.This is the
seatbelt sensor and must be handle with
care. See STEP 9.
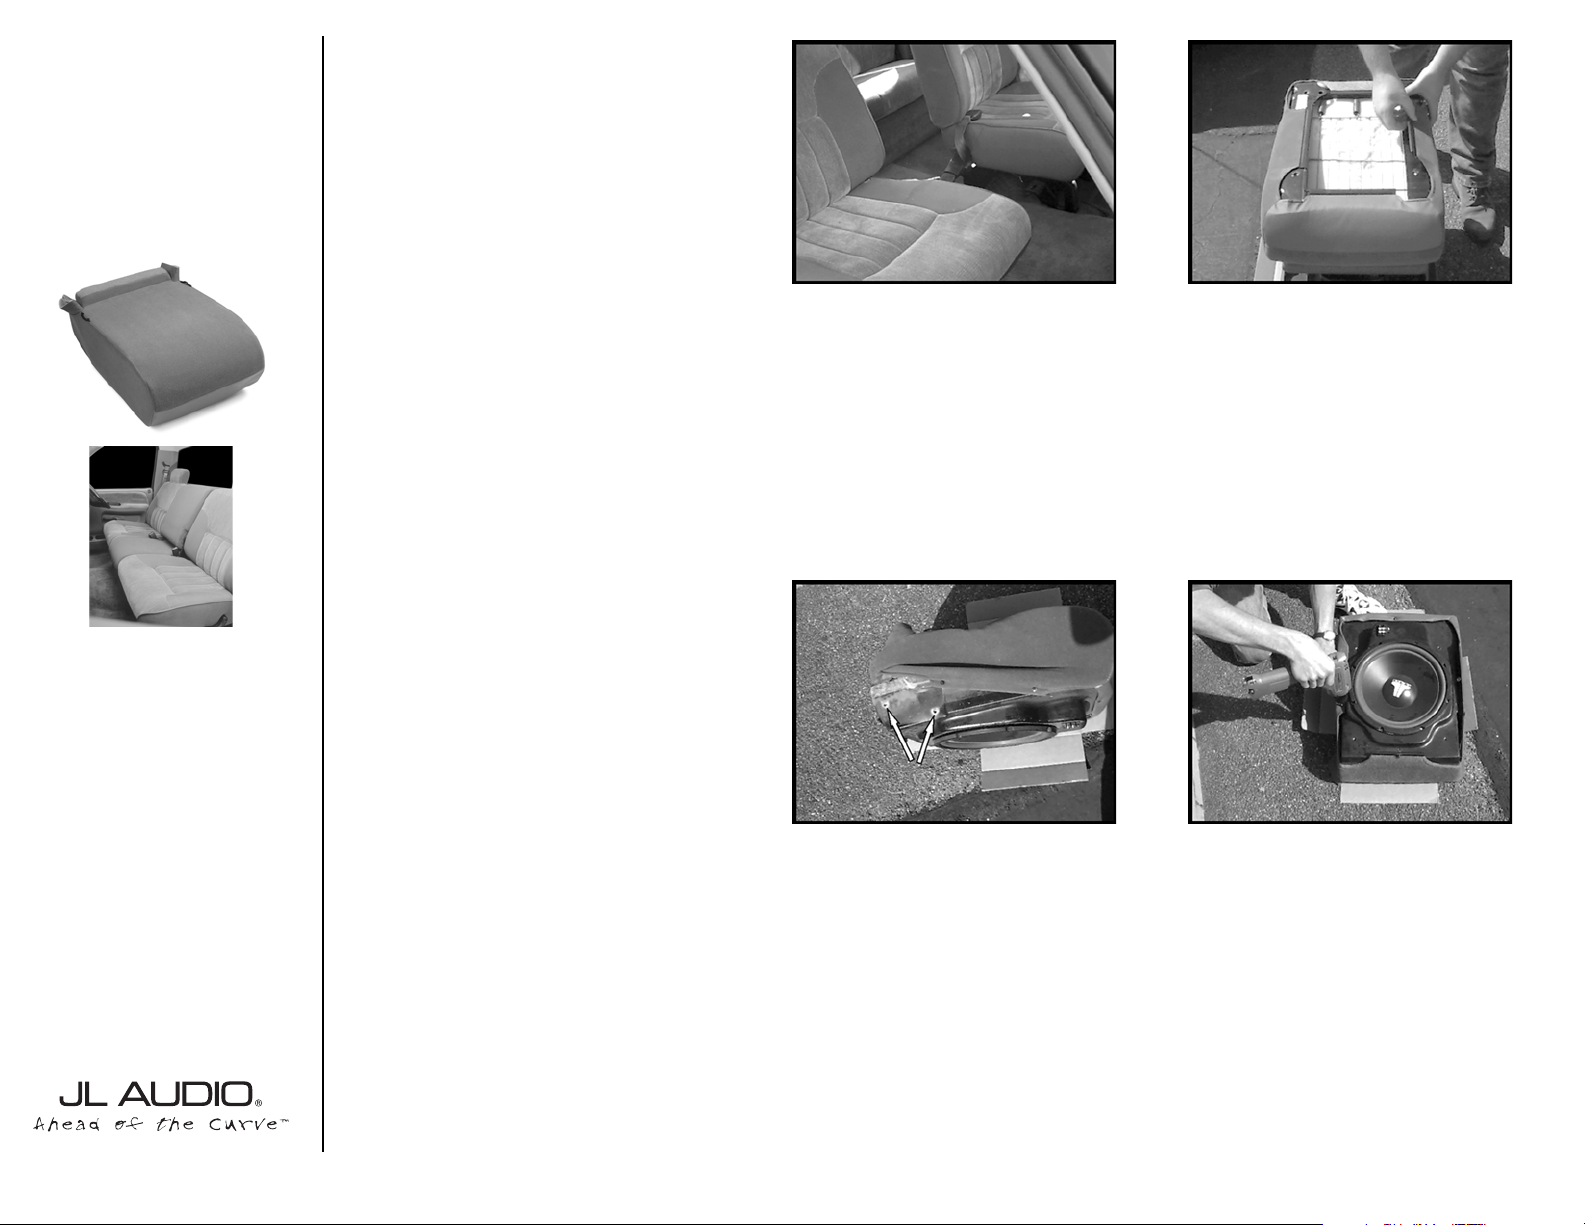
STEP 1: Slide the sat bolts out of the elastic
loops on the center cushion.
STEP 2: Unbolt the cetner seat from underneath
the cushion using a 13mm socket.
STEP 3: Detach the cover fromt he center cush-
ion by unlatching the plastic strips from the metal
bars on its underside. Do not remove it completely
at this point.
STEP 4: Remove the are rest from the cetner
cushion by unbolting the pair of 8mm bolts from
each side.
*Exercise care in separating the twp pieces
so as not to rip the fabric.*
STEP 5: Remove the seat cover from the bottom
cushion.
STEP 6: Place the factory seat cover over the
enclosure.
STEP 7: Slide the arm rest brackets through the
cutouts in the seat cover and bolt into the inserts
provided in the enclosure, using the bolts that were
removed in STEP 4.
STEP 8: Working on the underside of the enclo-
sure, fold the plastic strips under the fabric. Using
the supplied screws, screw through the fabric and
the plastic strips into the enclosure. Screw all four
flaps in.
Do not screw into any areas of the enclo-
sure other than the pre-drilled holes!
START
HERE
Continued on Next Page ➔
www.jlaudio.com
➔
➔
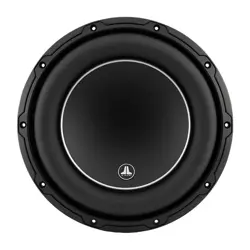
Specifications:
Enclosure Type: Acoustic Suspenension (Sealed)
Driver Type: 12W3v2
Nominal Impedance: 4Ω
Cont. Power Handling: 300 Watts
JL Audio recommends using a high quality amplifier such as the JL Audio 250/1. The diagram below shows the recommended
crossover, infrasonic filter and equalizer settings for the 250/1 when being used to power your Stealthbox®.
Included Hardware:
(8) Wafer-head screws
10369 N. Commerce Pkwy, Miramar, Florida 33025-392 Phone: 954.443.1100 Fax: 954.443.1111
JL AUDIO 250/1
monoblock subwoofer amplifier
Amplifier Input Section
Input Sens.
Input Voltage
Low/High
Left Ch.
Right Ch.
Signal Sensing
Off/On
Output Mode
Full-Range/Low-Pass/High-Pass
Left Ch.
Right Ch.
Amp LP Filter
Mode/Slope
Off/12dB/24dB
Filter Freq. (Hz)
Bass Control
LF Boost (dB)
Off/30Hz
Infrasonic Filter
+1
+13
+3
+7
+10
Preamp Output Section
+12VDC Ground Remote
The JL Audio 250/1 is a very versatile audio component. Please consult the owner’s manual for detailed information
about installing and tuning this amplifier.
➔➔➔
STEP 9: If your are dealing with a truck that has
the seat belts sensor(black box). Attach this black
box to the driver’s seat floor brackets. Make sure
that the mounting of this black box is exactly the
way it was posistioned by the factory. If not, the seat
belts will not function correctly.
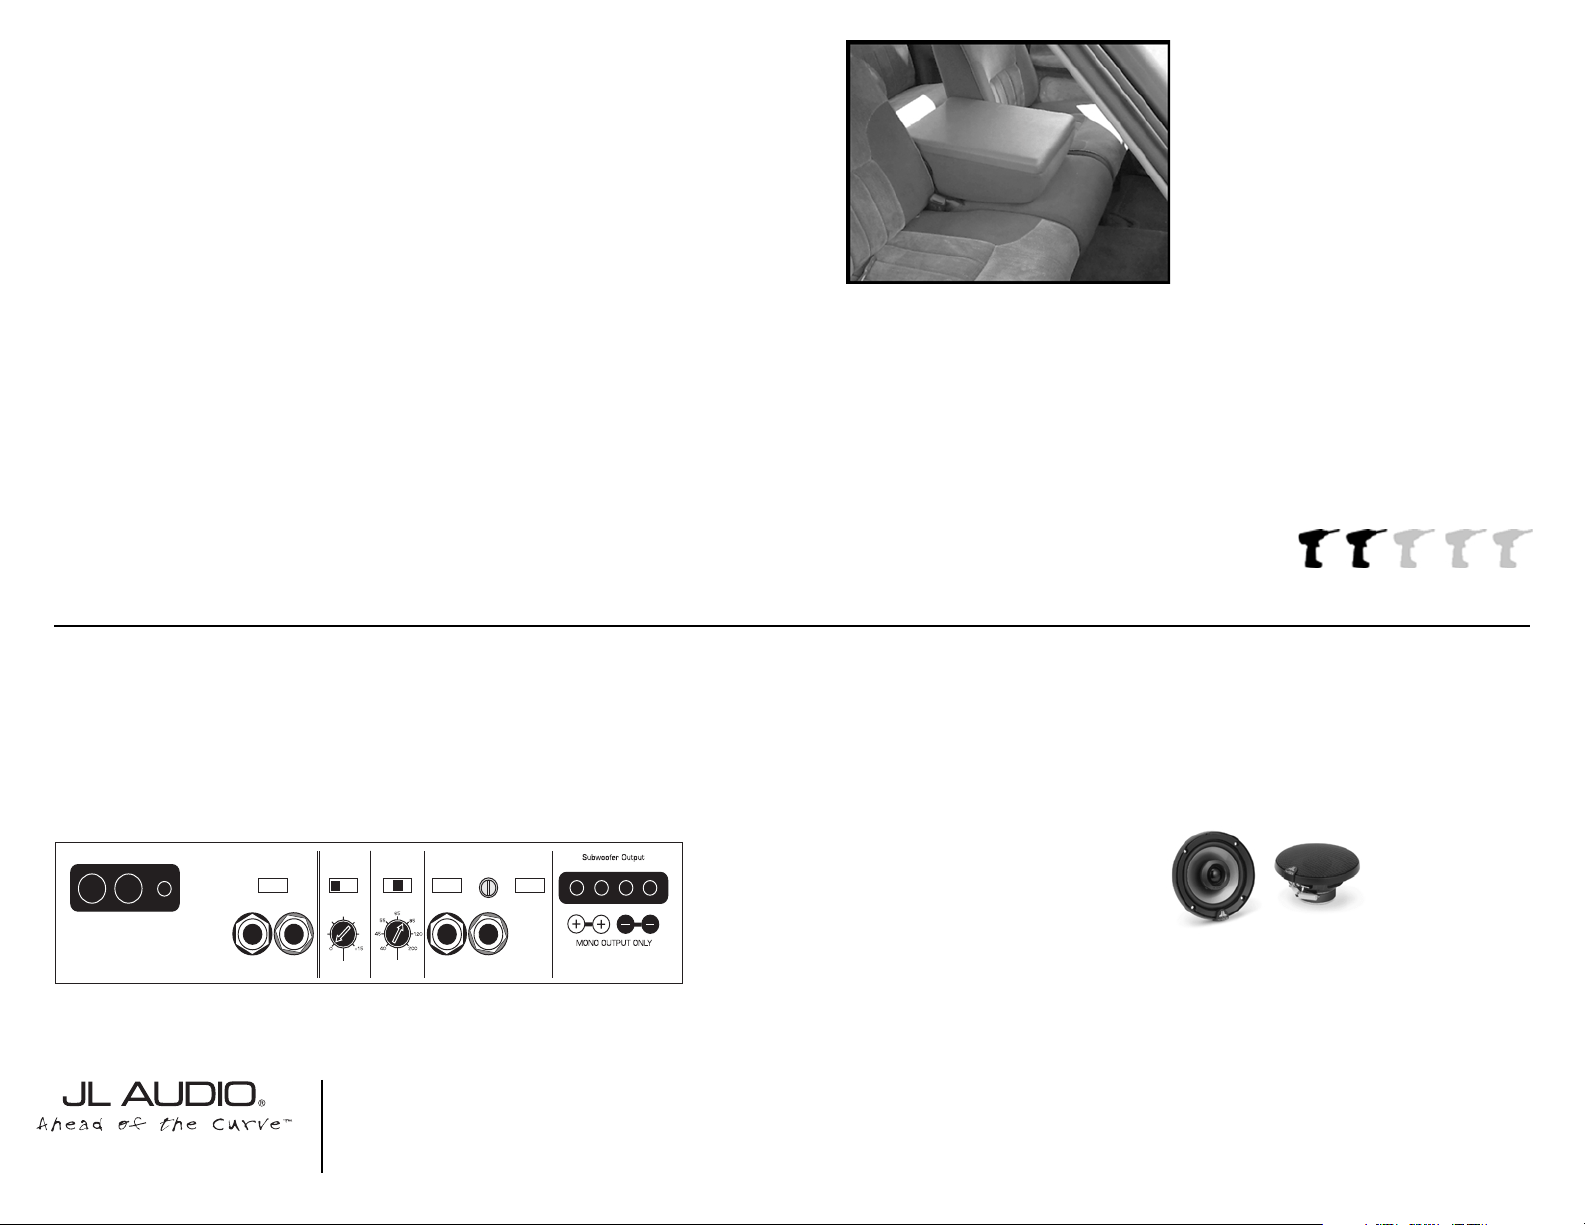
STEP 10: Test the woofer for proper functioning.
Run speaker wire to the enclosure’s moutning loca-
tion and attach to the enclosure.
STEP 11: Bolt the enclosure into place using the
factory bolts that were removed in STEP 2.
DO NOT completely thighten till all four 8mm
bolts have been threaded.
STEP 12: Slide the seat belts back through the
elastic loops attached to the enclosure.
➔
SB-D-TRKCTR/12W3v2, JL AUDIO, Inc 2004
Sheet SKU#011104 Revision 6/28/2004Page 2
www.jlaudio.com
Mid/High Frequency Driver Information:
CONGRATULATIONS!
INSTALL COMPLETE.
VR525-CXi
Front Location Driver Size:
6”x9”
Applicable JL Audio Products:
N/A
Rear Location Driver Size:
5.25”
Applicable JL Audio Products:
TR,VR,XR 525-CXi
Cont.
From
Previous
Page
Difficulty Of Installation: