Loading ...
Loading ...
Loading ...
4
Disabling Sounds
■ To turn off all dispenser and control sounds, including the
Door Ajar Alarm, press and hold ICE and FAST ICE/COOL at
the same time for 3 seconds.
■ To turn all sounds back on, press and hold ICE and FAST ICE/
COOL at the same time for 3 seconds again.
Convertible Drawer Temperature Control
(on some models)
The control can be adjusted to properly chill meats or vegetables.
The air inside the pan is cooled to avoid “spot” freezing and can
be set to keep meats at the National Livestock and Meat Board
recommended storage temperatures of 28° to 32°F (-2° to 0°C).
The convertible drawer temperature control is preset to the
PRODUCE setting.
To store meat:
Set the control to one of the three MEAT settings to store meat at
its optimal storage temperature.
To store vegetables:
Set the control to PRODUCE to store vegetables at their optimal
storage temperatures.
NOTE: If food starts to freeze, move the control to the left (less
cold). Remember to wait 24 hours between adjustments.
Crisper Humidity Control
(on some models)
You can control the amount of humidity in the moisture-sealed
crisper. Adjust the control to any setting between LOW and
HIGH.
LOW (open) for best storage of fruits and vegetables with skins.
HIGH (closed) for best storage of fresh, leafy vegetables.
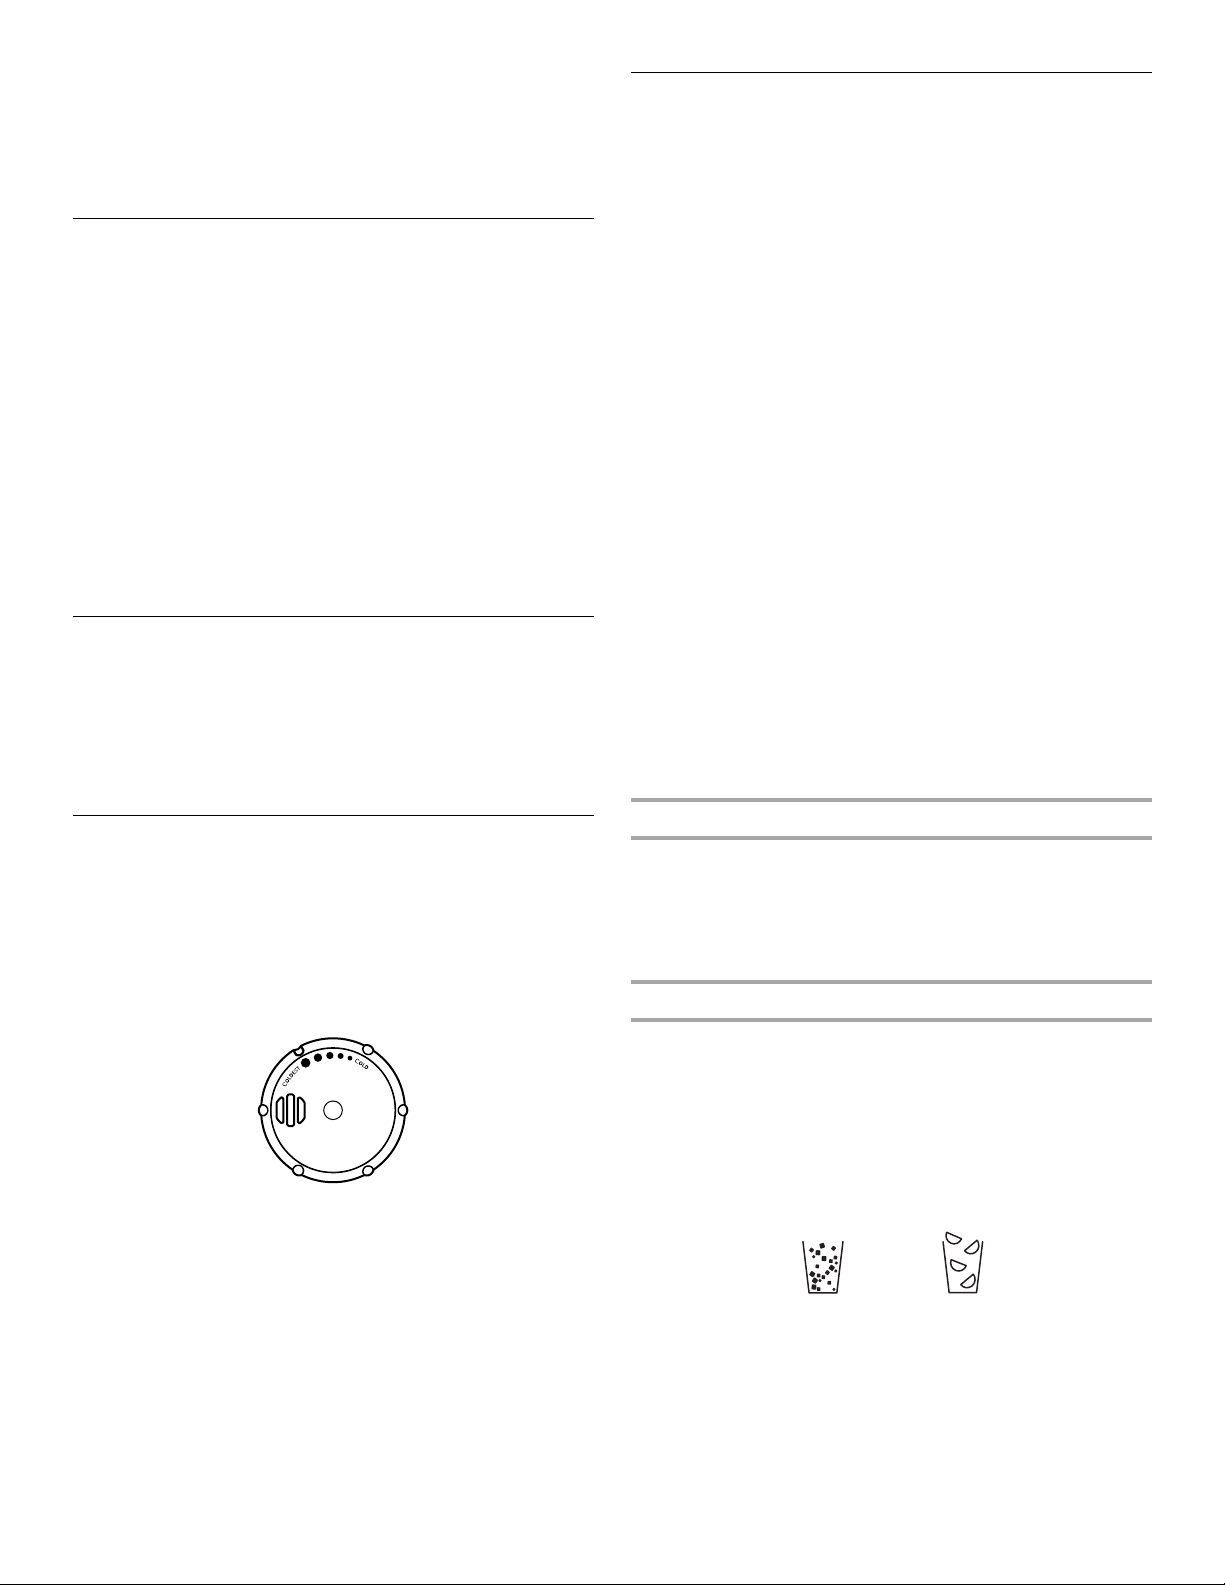
Door Chill Control
(on some models)
The door chill control is located on the left-hand side of the
refrigerator compartment.
■ Turn the control clockwise (right) to reduce the flow of cold air
to the door and make it less cold.
■ Turn the control counterclockwise (left) to increase the flow of
cold air to the door and make it colder.
Water and Ice Dispensers
(on some models)
Depending on your model, you may have one or more of the
following options: the ability to select either crushed or cubed
ice, a special light that turns on when you use the dispenser, or a
lock option to avoid unintentional dispensing.
NOTES:
■ The dispensing system will not operate when the freezer door
is open.
■ After connecting the refrigerator to a water source, flush the
water system. Use a sturdy container to depress and hold the
water dispenser lever for 5 seconds, then release it for
5 seconds. Repeat until water begins to flow. Once water
begins to flow, continue depressing and releasing the
dispenser lever (5 seconds on, 5 seconds off) for an
additional 5 minutes. This will flush air from the filter and
water dispensing system. Additional flushing may be required
in some households. As air is cleared from the system, water
may spurt out of the dispenser.
■ Allow 24 hours for the refrigerator to cool down and chill
water.
■ Allow 24 hours to produce the first batch of ice. Discard the
first three batches of ice produced.
■ The display screen on the dispenser control panel has a
backlight, which will turn off automatically when the control
buttons have not been used for 30 seconds or more. When
the backlight is off, the first press of a control button will only
reactivate the backlight, without changing any settings.
Within 30 seconds after the backlight has been reactivated,
additional presses of control buttons will change the
applicable settings.
The Water Dispenser
IMPORTANT: Dispense enough water every week to maintain a
fresh supply.
To Dispense Water:
1. Press a sturdy glass against the water dispenser lever.
2. Remove the glass to stop dispensing.
The Ice Dispenser
Ice dispenses from the ice maker storage bin in the freezer when
the dispenser lever is pressed. The dispensing system will not
operate when the freezer door is open. To turn off the ice maker,
see “Ice Maker and Storage Bin.”
Your ice maker can produce both crushed and cubed ice. Before
dispensing ice, select which type of ice you prefer by pressing
the ICE button.
The display screen indicates which type of ice is selected.
For crushed ice, cubes are crushed before being dispensed. This
may cause a slight delay when dispensing crushed ice. Noise
from the ice crusher is normal, and pieces of ice may vary in size.
When changing from crushed to cubed, a few ounces of crushed
ice will be dispensed along with the first cubes.
CRUSHED CUBED
Loading ...
Loading ...
Loading ...