
Loading ...
Loading ...
Loading ...
HOW TO USE YOUR EGG COOKER (cont.)
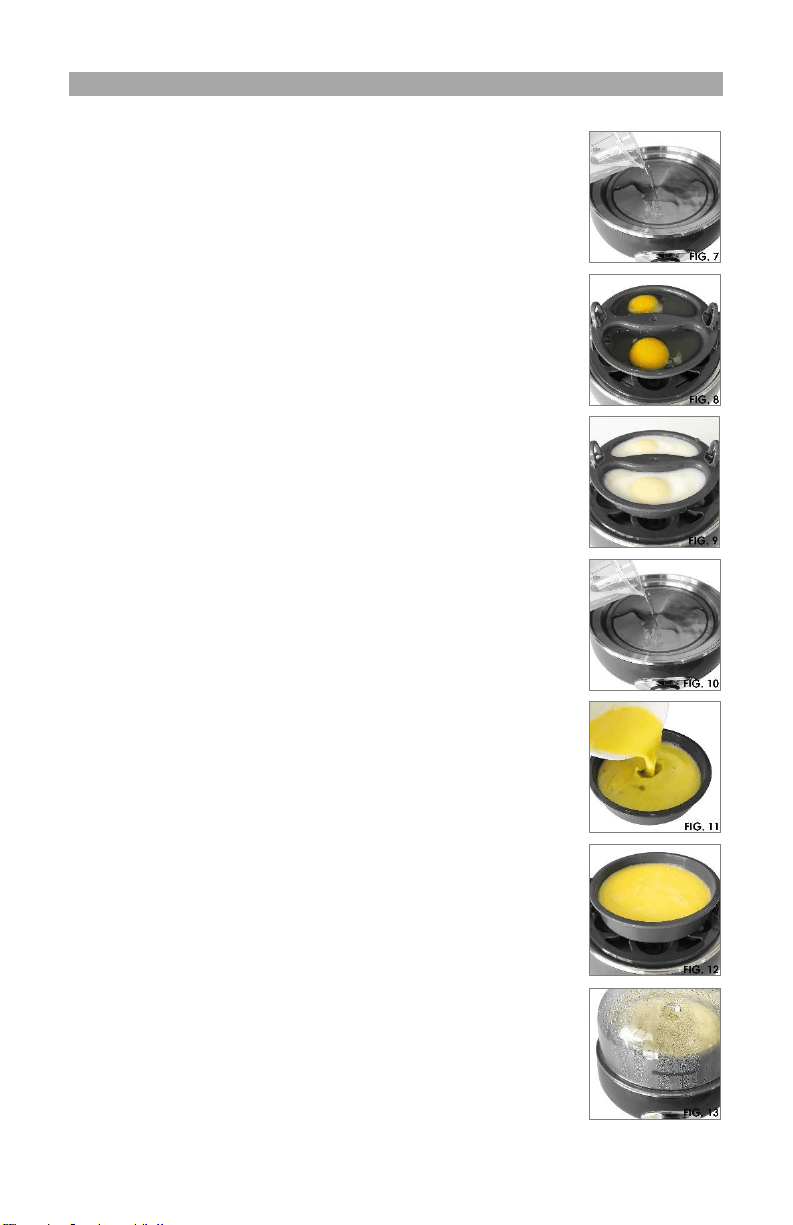
POACHED EGGS:
1. Fill Measuring Cup to the Medium line with cold water
and pour onto stainless steel Heating Plate. (Fig. 7)
2. Lightly butter or spray vegetable oil on Poaching Tray.
3. Break one egg for each poaching section.
4. Place Egg Cooking Rack over the Heating Plate.
5. Place Poaching Tray on top of Egg Cooking Rack. (Fig. 8)
CAUTION: Never place Poaching Tray or Omelet Tray
directly onto Heating Plate as they will melt and damage
the Egg Cooker.
6. Place Lid on top of the unit and switch on the POWER
Button. Indicator Light will illuminate.
7. When the alarm sounds, the eggs will be ready.
8. When cooking is complete, switch off the Power Button
to silence the alarm and turn the Egg Cooker off. (Fig. 9)
OMELETS:
1. Fill Measuring Cup to the Hard line with cold water and
pour onto Heating Plate. (Fig. 10)
2. Lightly butter or spray vegetable oil on Omelet Tray.
3. Break up to 3 eggs into a separate bowl and mix. Add
water to desired omelet consistency. If desired, add
non-meat ingredients (i.e. chives, mushrooms,). Pour
beaten mixture into Omelet Tray. (Fig. 11)
4. Place Egg Cooking Rack over the Heating Plate.
Place Omelet Tray on top of Egg Cooking Rack. (Fig. 12)
CAUTION: Never place Poaching Tray or Omelet Tray
directly onto Heating Plate as they will melt and damage
the Egg Cooker.
5. Place Lid on top of the unit and switch on the Power
Button. Indicator Light will illuminate.
6. When the alarm sounds, the eggs will be ready.
7. For a firmer omelet, leave in the Egg Cooker for a few
extra minutes. It is normal for the omelet to puff up
during cooking. Once the Lid is removed, the omelet
will shrink back down.
8. When cooking is complete, switch off the Power Button
to silence the alarm and turn the Egg Cooker off. (Fig. 13)
Questions? We're here to help! Visit: www.maxi-matic.com for support on this product.
7
Loading ...
Loading ...
Loading ...