Loading ...
Loading ...
Loading ...
* The water softener unit is set in the
factory at level 3, as this is suitable for
the majority of users.
According to the degree of hardness of
your water, regulate the softener unit in the
following way:
IMPORTANT
The dishwasher must be ALWAYS
off before start this procedure.
1. When the dishwasher is off, OPEN
the door.
2. Hold down the FIRST and the THIRD
"PROGRAMME" button (from the left)
while simultaneously pushing the
"ON/OFF" button.
3. Release the buttons when some
"PROGRAMME SELECTION" indicator
lights up.
4. Press the "PROGRAMME" button for
the required water softener level (each
time the button is pressed a light will go
on). For level 5, press the "HALF
LOAD" button.
5. Turn off the dishwasher pressing the
"ON/OFF" button to confirm the new
setting.
WARNING!
If any problem occurs, turn the
dishwasher off by pressing the
"ON/OFF" button and start the
procedure again from the beginning
(STEP 1).
9
WATER SOFTENER UNIT
Depending on the source of the supply,
water contains varying amounts of limestone
and minerals which are deposited on the
dishes leaving whitish stains and marks.
The higher the level of these minerals
present in the water, the harder the water is.
The dishwasher is fitted with a water
softener unit which, through the use of
special regenerating salt, supplies
softened water for washing the dishes.
The degree of hardness of your water can
be obtained from your water supply
company.
Regulating the water softener
The softener unit can treat water with a
hardness of up to 90°fH (French grading)
or 50°dH (German grading) through 6
different settings.
The table below lists different degrees of
water hardness with the corresponding
setting for the softener unit.
“ON/OFF” button
“PROGRAMME” buttons
Indicator lights 1 2 3 4 5
0
1
2
3
4
5
“HALF LOAD”
option button
Levels
Level
ºfH
(French
grading)
ºdH
(German
grading)
NO
YES
YES
YES
YES
YES
Indicator light
1
Indicator light
1
Indicator lights
1,2
Indicator lights
1,2,3
Indicator lights
1,2,3,4
Indicator lights
1,2,3,4,5
Water
hardness
Water
softener
setting
Use of
regenerating
salt
0
1
2
*3
4
5
0-5
6-15
16-30
31-45
46-60
61-90
0-3
4-9
10-16
17-25
26-33
34-50
8
7
598
556/573
5
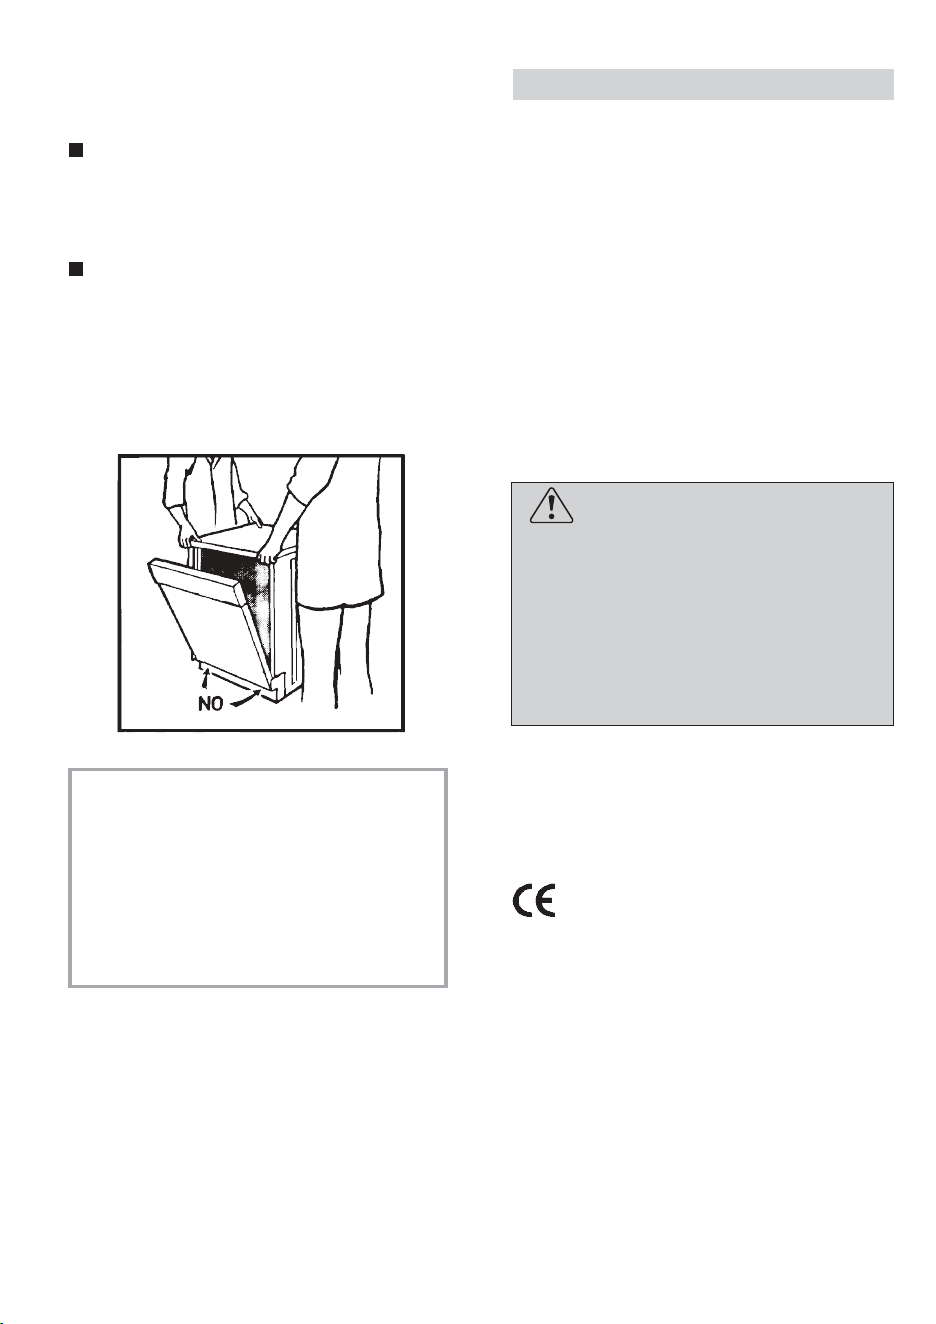
INSTALLATION IN FITTED
KITCHENS
Fitting between existing cabinets
■ The height of the dishwasher, 85 cm, has
been designed in order to allow the
machine to be fitted between existing
cabinets of the same height in modern
fitted kitchens. The feet can be adjusted
so that correct height is reached.
■ The laminated top of the machine does
not require any particular care since it is
heatproof, scratchproof and stainproof
(fig. 5).
Opening the door
Put your hand into the recess and pull.
If the machine comes open while it is working,
an electrical safety device automatically
switches everything off.
IMPORTANT
For the machine to work properly,
the door should not be opened while
it is in operation.
Closing the door
Place the baskets in the machine.
Make sure that both the spray arms are
free to rotate and are not obstructed by
cutlery, crockery or pans. Close the door,
pressing on it to make sure it is firmly shut.
Underneath existing work top
(when fitting beneath a work top)
■ In most modern fitted kitchens there is
only one single work top under which
cabinets and electrical appliances are
fitted. In this case remove the work top
of the dishwasher by unscrewing the
screws under the rear edge of the top
(fig. 6a).
IMPORTANT
After removing the work top, the
screws MUST BE screwed again
under the rear edge of the top
(fig. 6b).
■ The height will then be reduced to 82 cm,
as scheduled by the International
Regulations (ISO) and the dishwasher
will fit perfectly under the kitchen
working top (fig. 7).
6
a
b
a
b
Loading ...
Loading ...
Loading ...