Loading ...
Loading ...
Loading ...
50
DCR-HC21 2-584-905-11(1)
Recording pictures from a
VCR
You can record pictures from a VCR on a
tape. Insert a cassette for recording in your
camcorder beforehand.
1 Connect your VCR to your
camcorder.
Use an i.LINK cable to connect.
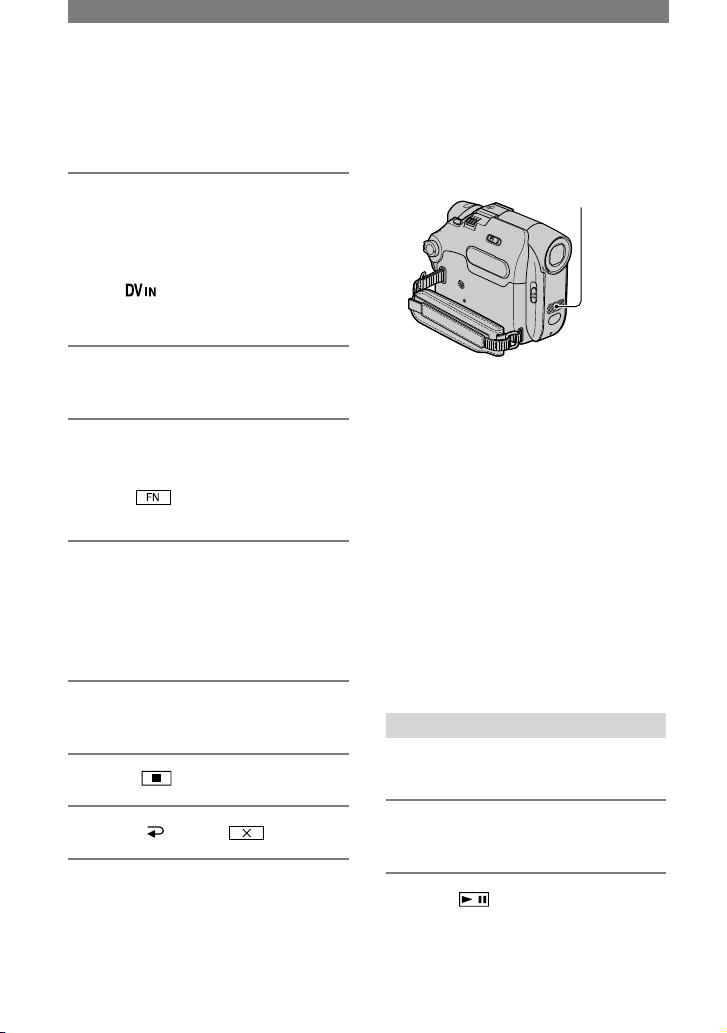
See page 48 for details of connecting.
• The indicator appears when you
connect your camcorder and other devices
via an i.LINK cable.
2 Slide the POWER switch down to
turn on the PLAY/EDIT lamp.
3 Set your camcorder to recording
pause mode.
Touch [PAGE3][REC
CTRL][REC PAUSE].
4 Start playing the cassette on your
VCR.
The picture played on the connected
device appears on the LCD screen of
your camcorder.
5 Touch [REC START] at the point
you want to start recording.
6 Touch (stop).
7 Touch [ RET.]
.
Dubbing sound to a
recorded tape
You can add sound to a tape already
recorded in the 12-bit mode (p. 45) without
erasing the original sound.
Internal microphone
You can record audio by using the internal
microphone.
• You cannot record additional audio:
– When the tape is recorded in the 16-bit mode
(p. 45).
– When the tape is recorded in the LP mode.
– When the tape is recorded on another device
with a 4ch microphone (4CH MIC REC).
– When the tape is recorded in a TV color
system other than that of your camcorder.
– When your camcorder is connected via an
i.LINK cable.
– On blank sections of the tape.
– When the write-protect tab of the cassette is
set to SAVE.
• When you add sound, the picture will not be
output from the A/V OUT jack. Check the
picture on the LCD screen or the viewfinder.
Recording sound
Insert a recorded cassette into your
camcorder beforehand.
1 Slide the POWER switch down to
turn on the PLAY/EDIT lamp.
2 Touch (play/pause) to play
back the tape, then touch it again
at the point where you want to
start recording the sound.
Loading ...
Loading ...
Loading ...