Loading ...
Loading ...
Loading ...
13
3. After each snow removal session, run the snow thrower
for a few minutes to prevent the collector/impeller from
freezing. Shut o the motor, wait for all revolving parts to
stop completely, and wipe residual ice and snow o the
unit. Rotate the chute crank several times to remove any
excess snow.
4. Only use a cloth soaked with hot water and a soft brush to
clean the snow thrower; never wet or spray water on the
machine!
5. Do not use detergent or solvents as these could cause
irreparable damage to the snow thrower. Chemicals can
destroy the plastic parts.
6. To protect the snow thrower from corrosion when storing
for long periods, lightly oil the metal parts.
7. Store the appliance in a dry area out of reach of children.
8. For the user's safety, worn or damaged parts must be
replaced. Replace with original replacement parts only.
Parts from another snow thrower may not t properly,
causing an unsafe situation.
Replacing the Plastic Auger
NOTE: When replacing worn plastic plates, pay close attention
to any dierent types of bolts and nuts and where they are
positioned. This will ensure that the new plastic plates are
installed properly and securely.
1. Open the two side covers by removing the 5 screws on
each side (Figs. 30 – 31).
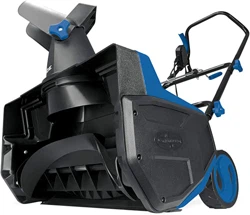
2. Remove the belt from the drive wheel on the left side
(Fig. 32).
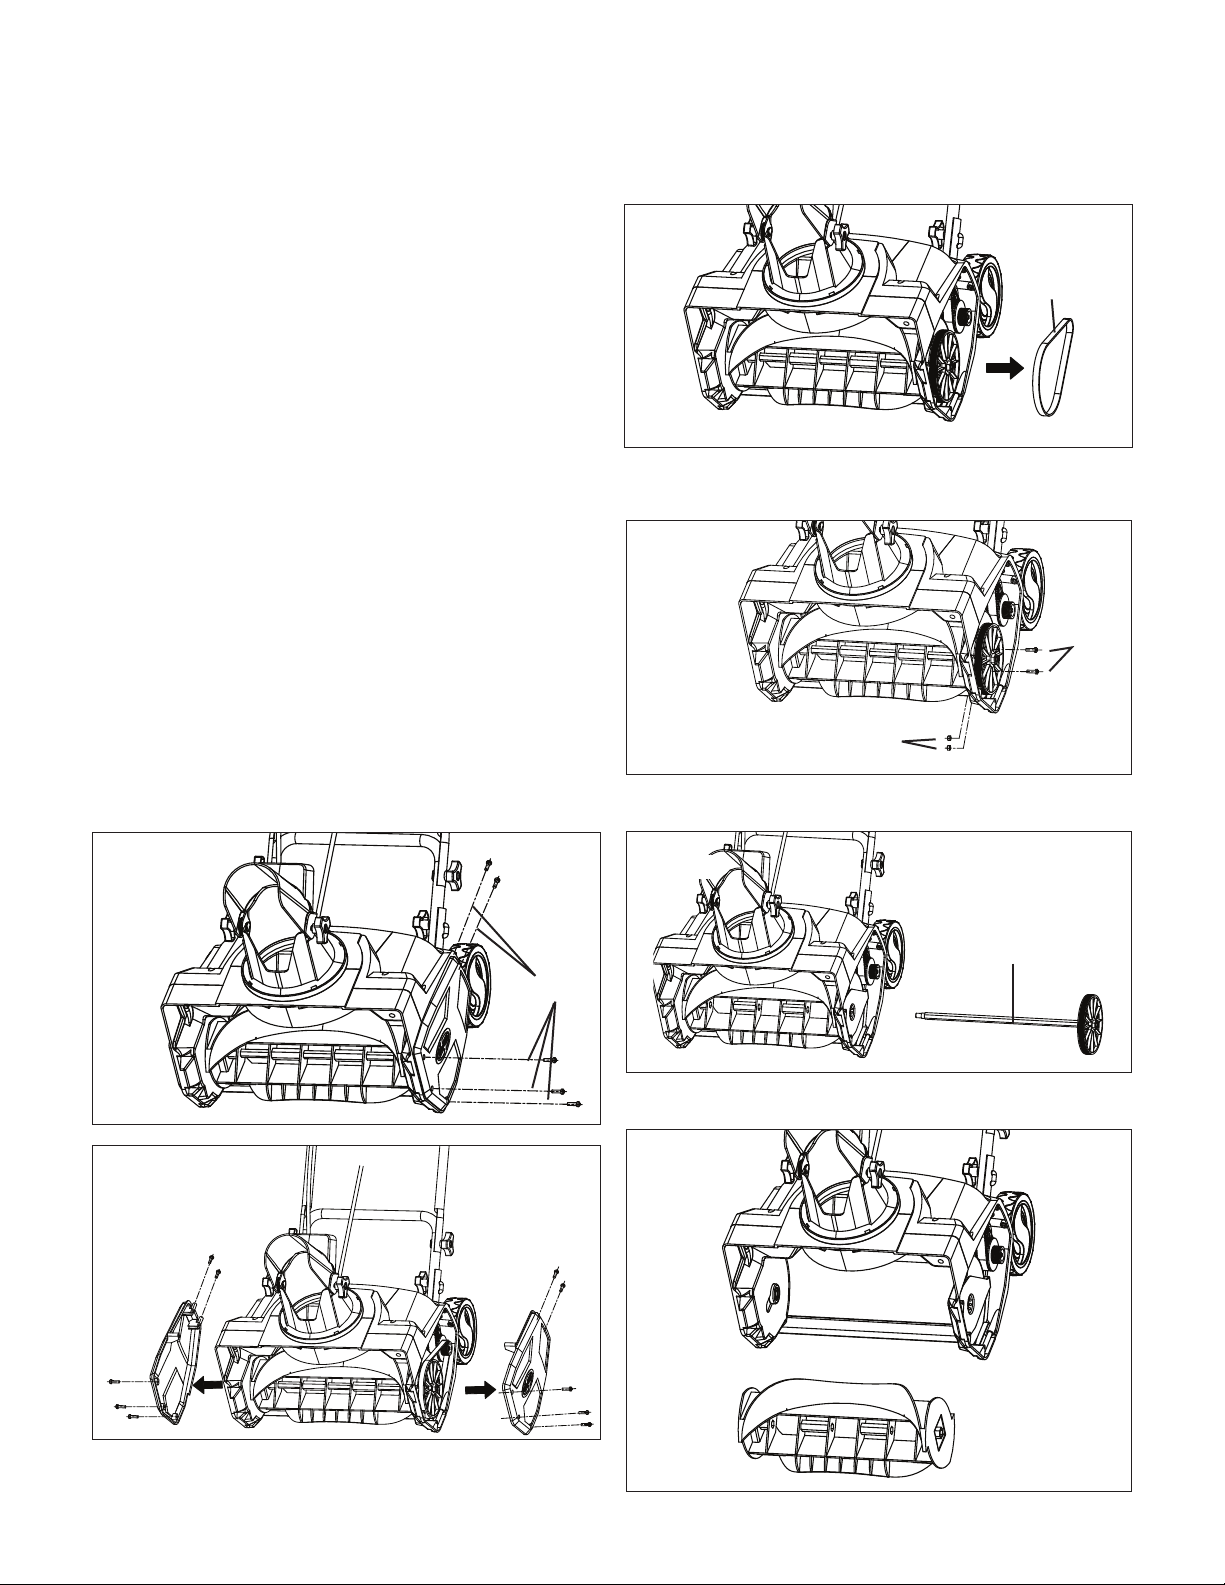
3. Remove the screws and the bushings from the drive wheel
(Fig. 33).
4. Remove the auger axle set (Fig. 34).
5. Remove the old auger from the housing (Fig. 35).
Fig. 30
Screws
Fig. 31
Fig. 32
Belt
Fig. 33
Screws
Bushing
Fig. 34
Auger axle
set
Fig. 35
Loading ...
Loading ...
Loading ...