Loading ...
Loading ...
Loading ...
English
22
USING THE PROJECTOR
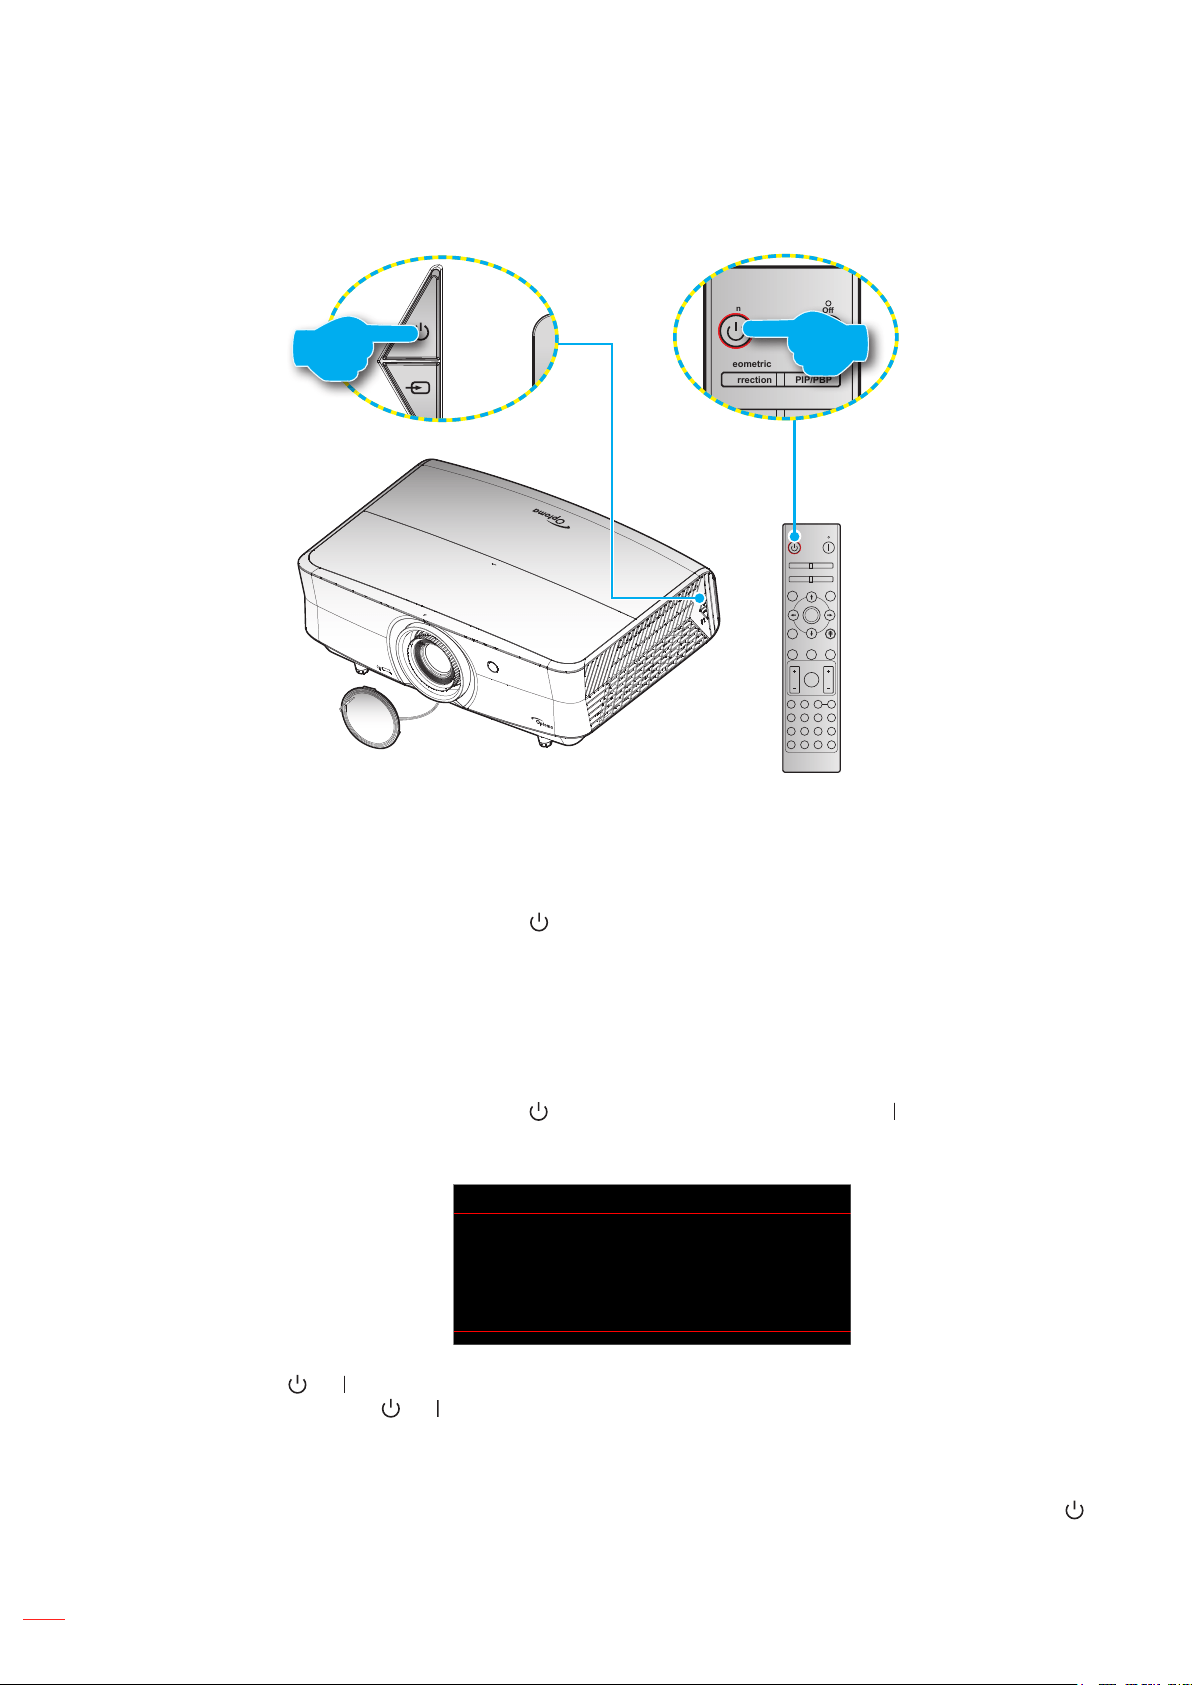
Powering on / o the projector
F3
On
Geometric
Mode
Correction PIP/PBP
Off
F1 F2
AV Mute
ENTER
Source
Volume D Zoom
Info.
VGA
1
S-Video
2
HDMI1
3
HDMI2
HDMI3
Format Freeze Remote
ID All
HDBaseT
4
Video
5
DVI
6
BNC
7
YPbPr
8
DisplayPort
9
3D
0
Re-Sync
Menu
F3
or
Lens cap
F3
On
Geometric
Mode
Correction PIP/PBP
Off
F1 F2
AV Mute
ENTER
Source
Volume D Zoom
Info.
VGA
1
S-Video
2
HDMI1
3
HDMI2
HDMI3
Format Freeze Remote
ID All
HDBaseT
4
Video
5
DVI
6
BNC
7
YPbPr
8
DisplayPort
9
3D
0
Re-Sync
Menu
F3
Powering on
1. Remove the lens cap.
2. Securely connect the power lead and signal/source cable. When connected, the Power LED will turn
red.
3. Turn on the projector by pressing the button on the projector keypad or remote control.
4. A start up screen will display in approximately 10 seconds and the Power LED will be ashing blue.
Note: The rst time the projector is turned on, you will be prompted to select the preferred language, projection
orientation, and other settings.
Powering o
1. Turn o the projector by pressing the button on the projector keypad or the button on the remote
control.
2. The following message will be displayed:
Power O
Press power key again.
3. Press the or button again to conrm, otherwise the message will disappear after 15 seconds.
When you press the or button for the second time, the projector will shut down.
4. The cooling fans will continue to operate for about 10 seconds for the cooling cycle and the Power
LED will ash blue. When the Power turns solid red, this indicates the projector has entered standby
mode. If you wish to turn the projector back on, you must wait until the cooling cycle has nished and
the projector has entered standby mode. When the projector is in standby mode, simply press the
button again to turn on the projector.
5. Disconnect the power lead from the electrical outlet and the projector.
Note: It is not recommended that the projector is turned on immediately, right after a power o procedure.
Loading ...
Loading ...
Loading ...