Loading ...
Loading ...
3
EN
FUNCTIONS
CONVENTIONAL
For cooking any kind of dish on one shelf only.
FORCED AIR
For cooking different foods that require the
same cooking temperature on several shelves
(maximum three) at the same time. This function can
be used to cook different foods without odours being
transferred from one food to another.
PIZZA
For baking different types and sizes of pizza and
bread. It is a good idea to swap the position of the
baking trays halfway through cooking.
GRILL
For grilling steaks, kebabs and sausages,
cooking vegetables au gratin or toasting bread.
When grilling meat, we recommend using a dripping
pan to collect the cooking juices: position the pan on
any of the levels below the wire shelf and add 200 ml
of drinking water.
TURBO GRILL
For roasting large joints of meat (legs, roast
beef, chicken). We recommend using a dripping pan
to collect the cooking juices: position the pan on any
of the levels below the wire shelf and add 200 ml of
drinking water.
RISING
For helping sweet or savoury dough to rise
effectively. Turn the thermostat knob to the icon to
activate this function.
ECO FORCED AIR
For cooking roasts and stuffed roasting joints
on a single shelf. Food is prevented from drying out
excessively by gentle, intermittent air circulation.
When this ECO function is in use, the light will remain
switched off during cooking but can be switched on
again by pressing
.
AUTOMATIC CLEANING - PYRO
For eliminating cooking spatters using a cycle
at very high temperature (over 400 °C).
• FISH
• MEAT
• BREAD
The functions provide excellent results
thanks to the addition of steam in cooking cycles.
Only when the oven is cold, pour drinking water
on the bottom of the oven and select the specific
function for your preparation. The optimal water
quantities and temperatures for each food category
are listed in the relative cooking table. Do not
preheat the oven before inserting food.
FIRST TIME USE
1. SETTING THE TIME
You will need to set the time when you switch on the
appliance for the first time: Press
until the icon
and the two digits for the hour start flashing on the
display.
Use or to set the hour and press to confirm.
The two digits for the minutes will start flashing. Use
or to set the minutes and press to confirm.
Please note: When the icon is ashing, for example
following lengthy power outages, you will need to reset the
time.
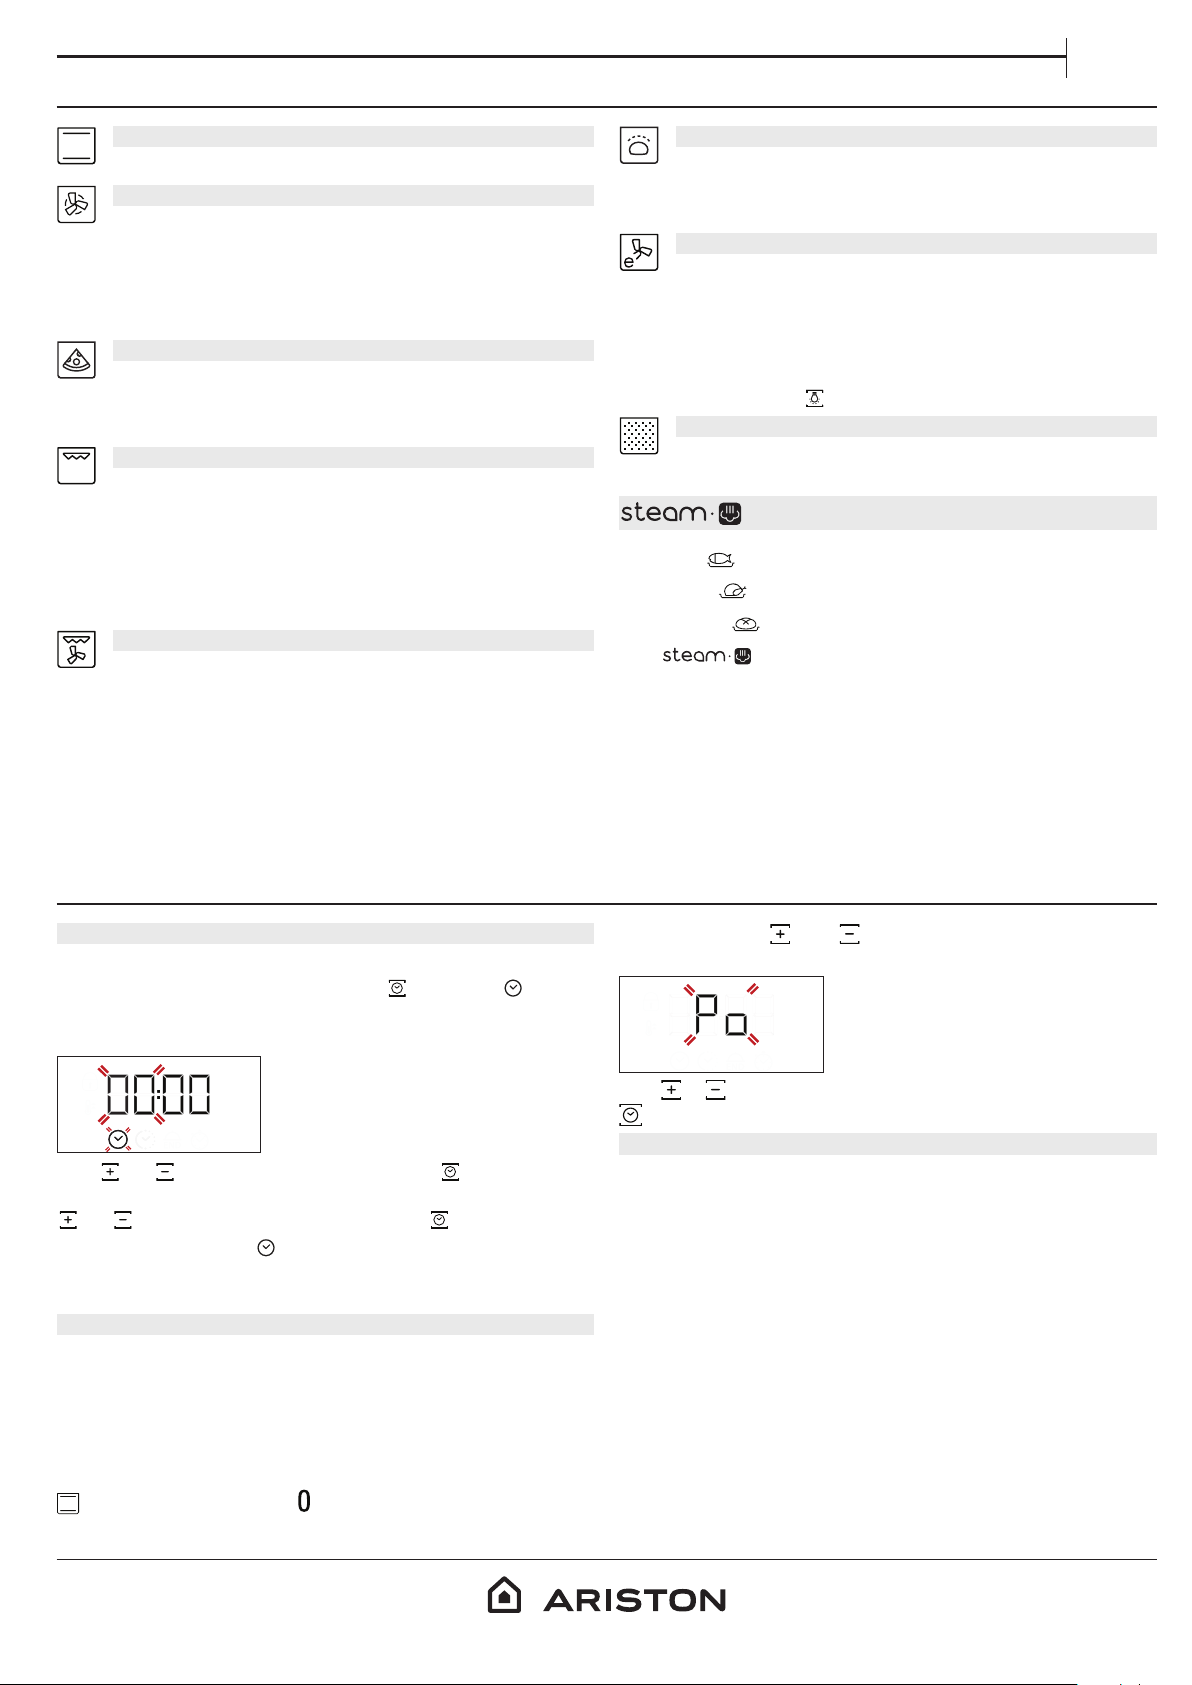
2. SET THE POWER CONSUMPTION
The oven is programmed to work at a power of less
than 2.9 kW (“Lo”): To operate the oven at a power
that is compatible with a domestic power supply of
greater than 3 kW (“Hi”), you will need to change the
settings.
To go to the change menu, turn the selection knob to
, then turn it back to .
Press and hold and for five seconds immediately
afterwards.
Use o to change the setting, then press and hold
for at least two seconds to confirm.
3. HEAT THE OVEN
A new oven may release odours that have been left
behind during manufacturing: this is completely
normal.
Before starting to cook food, we therefore
recommend heating the oven with it empty in order
to remove any possible odours.
Remove any protective cardboard or transparent
film from the oven and remove any accessories from
inside it.
Heat the oven to 250 °C for about one hour. The oven
must be empty during this time.
Please note: It is advisable to air the room after using the
appliance for the rst time.
Loading ...
Loading ...
Loading ...