Loading ...
Loading ...
Loading ...
95
Dubbing, Printing
1 Connect your camcorder to the TV
or VCR/DVD device with the A/V
connecting cable (supplied) 1 or
the A/V connecting cable with S
VIDEO (optional) 2.
• Connect your camcorder to the output jacks
of a TV or VCR/DVD device.
2 If you are recording from a VCR/
DVD device, insert the cassette or
disc into the playback device.
3 Slide the POWER switch to turn on
your camcorder and press
PLAY/EDIT.
4 Touch t [REC CTRL].
If you connected your camcorder to the
device which has the S VIDEO jack,
touch [SET] t [VIDEO INPUT] t [S
VIDEO] t .
• Touch [SET] to change the recording mode
or adjust the volume.
• Touch [SET] t [ REMAIN] t [ON]
to display the remaining disc indicator all the
time.
5 Insert a blank disc into your
camcorder.
Format the disc if you use a new DVD-
RW/DVD+RW (p.62).
6 Start playing the cassette or the
disc on the playback device, or
select a TV program.
The picture played on the connected
device appears on the LCD screen of your
camcorder.
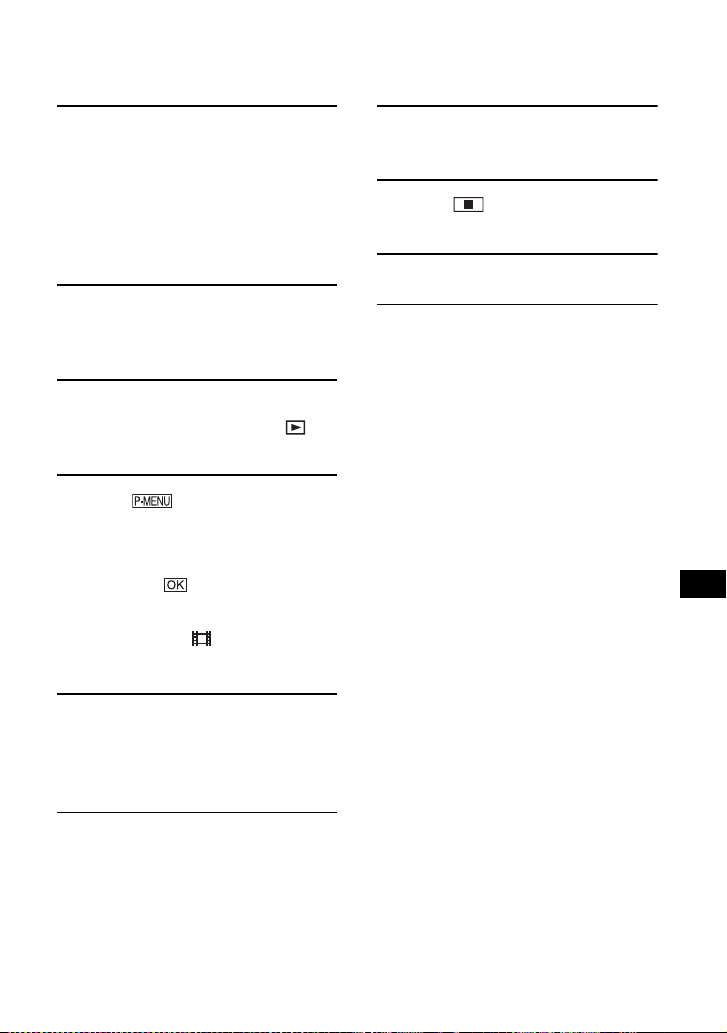
7 Touch [REC] at the point you want
to start recording.
8 Touch at the point you want
to stop recording.
9 Touch [END].
• There may be a time difference between the point
where you press [REC] and the actual point that
the recording starts/stops.
• You cannot record a picture as a still image even
if you press PHOTO during recording.
Loading ...
Loading ...
Loading ...