Loading ...
Loading ...
Loading ...
11
ENGLISH
Before first use
Run the coee maker through a complete
brew cycle without ground coee. Use a
full carafe (10 cups) of fresh cold water.
Intended Use
The appliance must only be used for pre-
paring coee using water and ground
coee.
Description
1 Water tank lid
2 Removable water tank
3 Lever
4 Beverage size option selector
5 Display
A Freshness Indicator
B Time of the day
6 Control panel
A Timer
B Set
C Clock
D Brew modes
E Temp
F Water
G Descaling Indicator
H On/O button
7 Cup holder
8 Keep warm plate
9 Keep warm plate indicator
10 Glass carafe
11 Flip lid
12 Cord storage
13 Filter basket
14 Filter lid + shower head
15 2-sided coee measuring scoop
16 Travel mug (optional)
(A) Clock
When the coee maker is first plugged
in or when power is restored after an in-
terruption, the display (5) starts flashing
2:00 and you hear an acoustic signal.
To set the clock follow the steps shown in
fig.
A
.
(B) Timer
The TIMER can be set for any time, day
or night.
To set the timer follow the steps shown in
fig.
B
.
(B.1) Activate the Timer
1. Place the lever (3) in position “Coee”
and select the beverage size (4) .
2. Place the carafe or your empty cup
underneath the filter basket outlet. For
smaller cups use the cup holder (7).
3. Press TIMER (6A) and select brew
mode (6D). TIMER turns permanently
on.
4. The preset TIMER time and the select-
ed brew mode disappear.
5. To switch o the function, press TIMER
again: TIMER will disappear.
(C) Water hardness level
Set the water hardness level on the coee
maker to the water hardness level for your
local area.
To set the water hardness level follow the
steps shown in fig.
C
.
(D) Altitude setting
To ensure your coee maker works prop-
erly at higher altitudes, enable the alti-
tude setting. This setting avoids that the
coee maker develops steam rather than
boiling at the standard boiling tempera-
ture (100°C).
To set the altitude follow the steps shown
in fig.
D
.
(E) Making Coffee
For making coee follow the steps shown
in fig.
E
.
The keep warm function is activated if
the size options
or have been se-
lected. The LED (9) turns on.
The Freshness Indicator (5A) provides
an indication of your coee freshness
based on the period of time since brew-
ing started.
The Brew Mode (6D) is used to start the
brewing process.
Mild:
Brew setting is automatically adjusted so
you get a milder cup of coee.
Gold:
This mode has been certified by the ECBC
(the European Coee Brewing Center)
to meet their rigorous technical require-
ments using water volume of 1.25L with
a brew ratio of 60 g of coee to 1.0L of
water (75 g of coee for 1.25 L).
Strong:
Brew setting is automatically adjusted so
you get a stronger cup of coee.
(E.1) Making Over Ice Coffee
For preparing over-ice coee follow the
steps 1-7 shown in fig.
E
. then continue
as follows :
Fill your desired carafe/cup up to the
top with ice cubes and place it under-
neath the filter basket outlet.
Press “Over Ice” .
Select a brew mode to start the brew-
ing process.
It is recommended to use the brew mode
“Strong” for an intense over ice coee.
NOTE: Be sure the cup size fits to the se-
lected beverage size. Never fill ice cubes
in the water reservoir. We recommend us-
ing the carafe or a thermo-resistant glass.
(E.2) Drip Stop
1. Move the lever (3) to position.
2. The brewing process will be paused
and the selected brewing mode is
flashing.
3. The lever should be moved back to the
“Coee” position within maximum 2
minutes. The brewing process will be
continued.
NOTE: If the lever is not moved back to
“Coffee” position within 2 minutes, the
brewing process is terminated with an
acoustic signal. If you pause the brewing
process the GOLD/ECBC brew mode re-
quirements might not be met.
(F) Dispensing hot water*
For dispensing hot water follow the steps
shown in fig.
F
.
You can choose one of the following 6
pre-set temperatures.
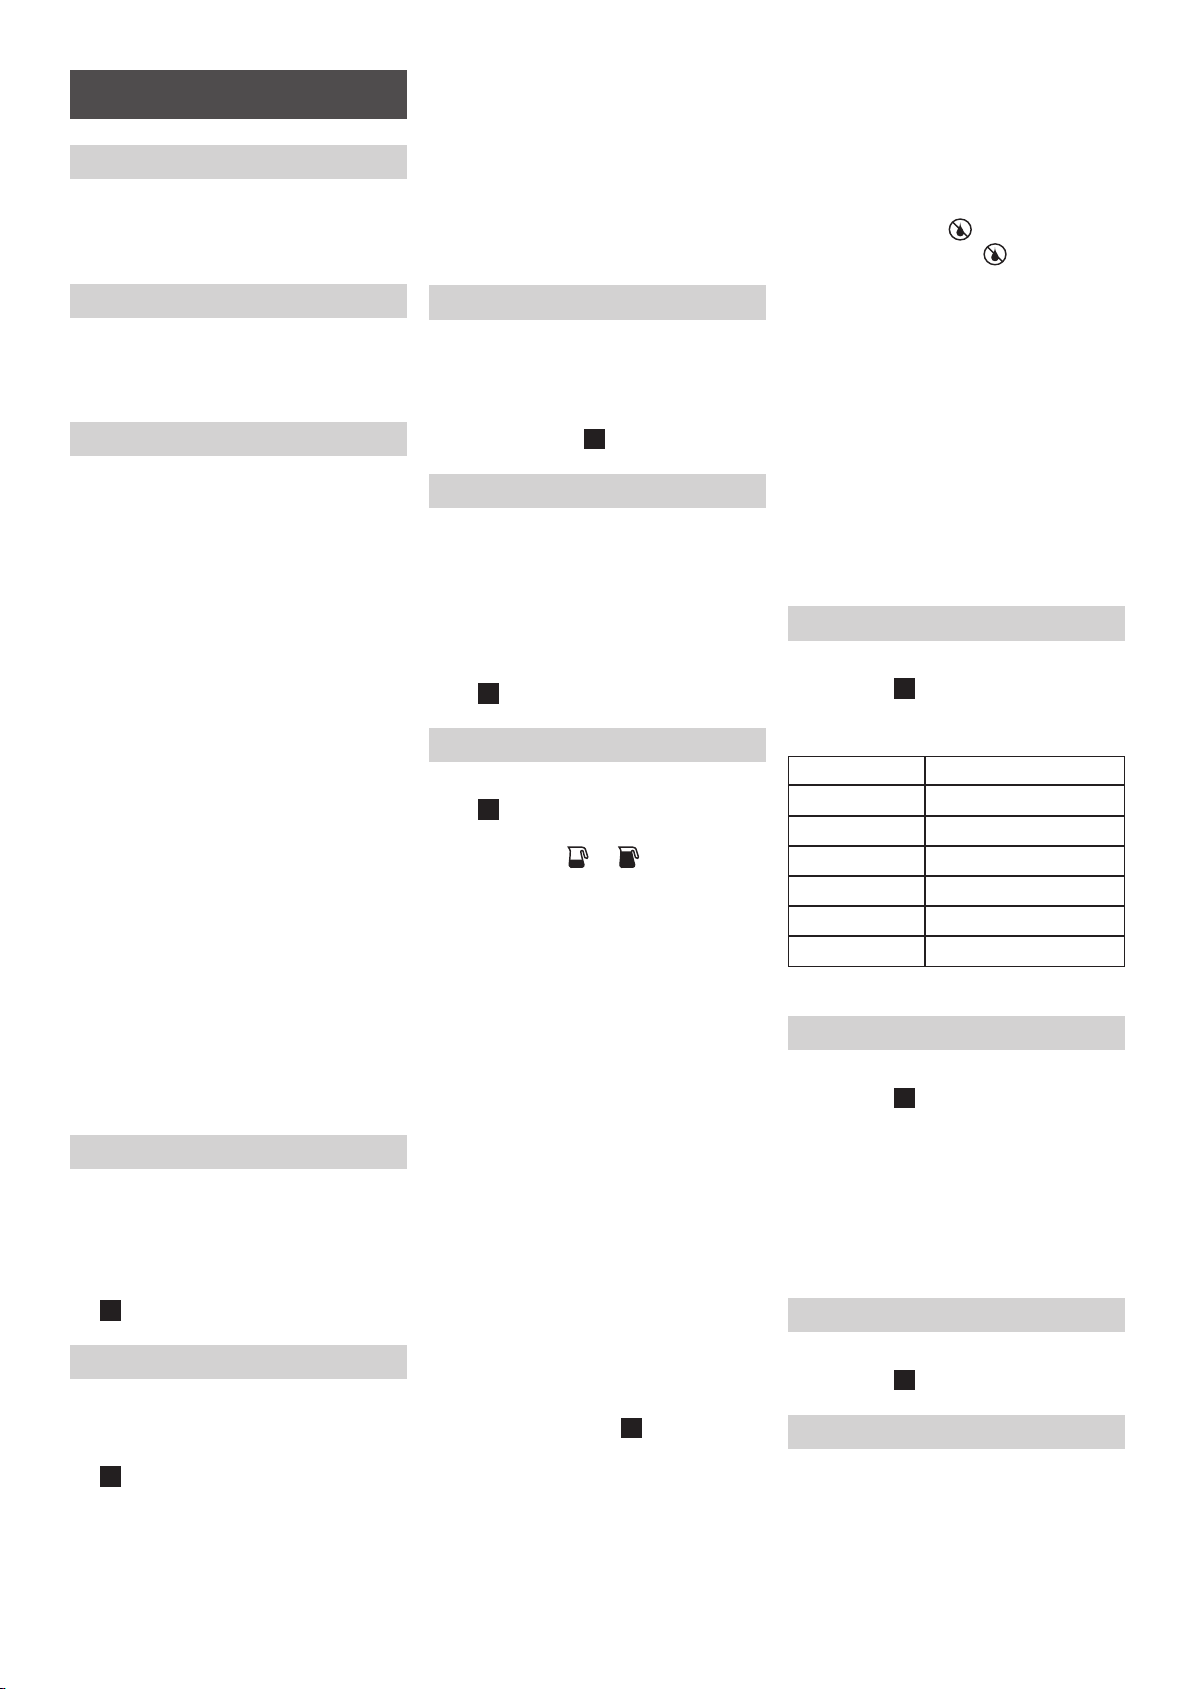
Temp Setting Recommended for
70°C White tea
75°C Green tea
80°C Jasmine tea
85°C Oolong tea
90°C Instant coee
95°C Black tea, Herbal teas
* certain models only
(G) Descaling
To descale the appliance follow the steps
shown in fig.
G
.
We recommend using the Braun Descal-
ing Solution (can be purchased in stores,
through the Braun website, or by calling
Customer Service).
Once the descaling process has started,
it is not possible to stop the program until
finished.
(H) Care and Cleaning
To clean the coee maker follow the steps
shown in fig.
H
.
Warranty and Service
For detailed information see sepa-
rate warranty and service leaflet or visit
www.braunhousehold.com
Loading ...
Loading ...
Loading ...