Loading ...
Loading ...
Loading ...
Intitial B-hyve Hub Setup
1) Power Your Wi-Fi Hub
Plug the Wi-Fi hub into an indoor outlet.
2) Pair Your Hub
The B-hyve App has a wizard that will guide you through pairing.
Choose an indoor location for your hub near the outside location of your timer
and within range of Wi-Fi.
Avoid areas where the signal must travel through more than one wall, dirt, or
thick steel barriers.
Initial B-hyve Timer Setup
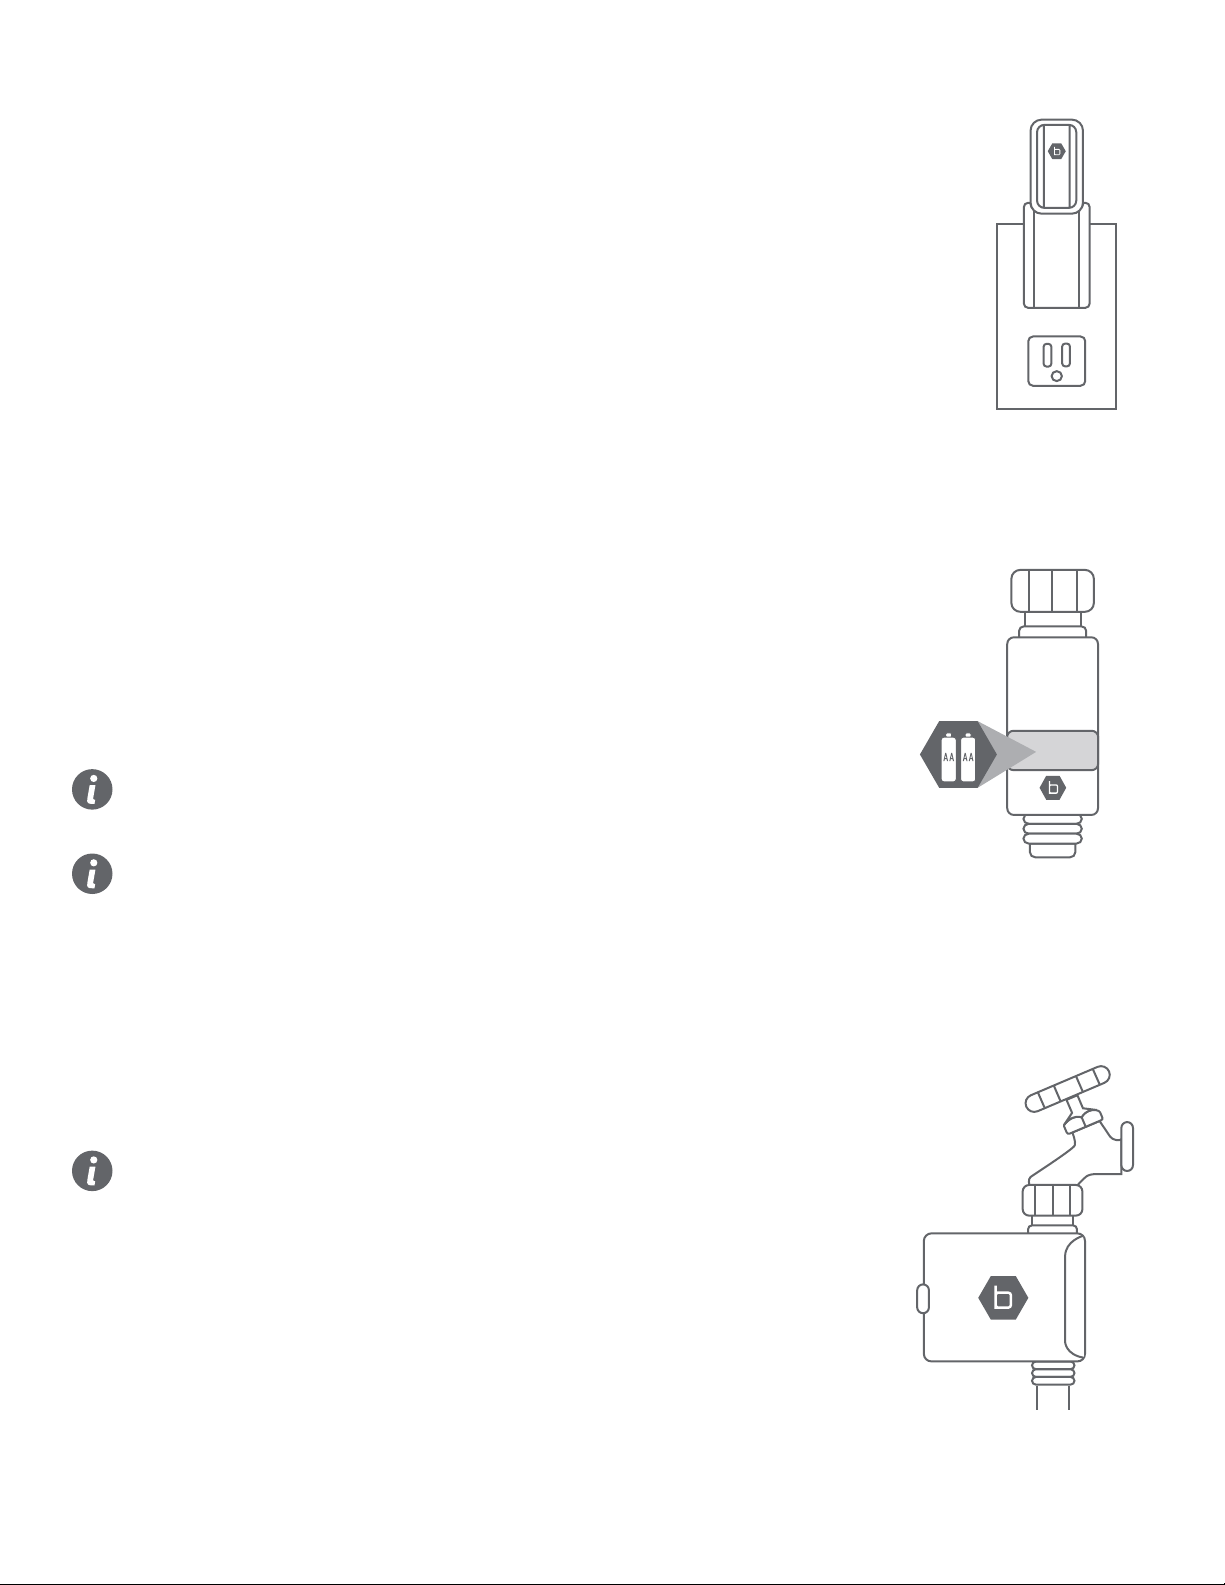
1) Insert Two AA Batteries
Batteries are not included and you will need two alkaline AA batteries to
power your timer. Remove the battery tray and install the batteries according
to the drawings located in the tray. Firmly reinstall the battery tray back into
the timer.
Your timer is now in pairing mode and will flash a blue light every 5 seconds.
You will also hear two clicks about 6 seconds apart, this is normal and ensures
the valve is closed before you turn on the water.
If at any time you need to re-pair, press the on/off button
quickly 5 times.
Replace batteries when timer flashes a red light every 5 seconds,
or when the app notifies you that batteries need replacing.
If you remove or change the batteries, you will need to reconnect to
Bluetooth to set the correct time and date.
2) Install the Timer
Connect the timer to an outdoor hose faucet. Your timer is now ready to
be used with any product that can be attached to a standard hose faucet.
Do not place the timer in an underground valve box or anywhere
your Bluetooth signal will be obstructed.
3) Turn on Your Water
The water must remain on for the timer to work properly.
on/off
Loading ...
Loading ...
Loading ...