Loading ...
Loading ...
Loading ...
7
Step 6
Calibration
Soundbar installation is now complete and ready for audio
system calibration. Using a subwoofer is recommended.
The subwoofer crossover frequency should be set to 100Hz.
We recommend the VP10SUB & Amplifier or our Cabinet
Subwoofers. The Sonance VP46R SST/SUR, VP66R SST/SUR,
and VP66 SST/SUR are perfect surround speakers to mate with
the Soundbar.
Use tests tones in the surround processor to verify Left/Center/
Right channels have been properly connected and to set levels.
Your Soundbar will sound great out of the box. However with
any high performance loudspeaker a 40 hour play period
will “break in” the drivers and enhance the overall listening
experience. This only needs to be done once.
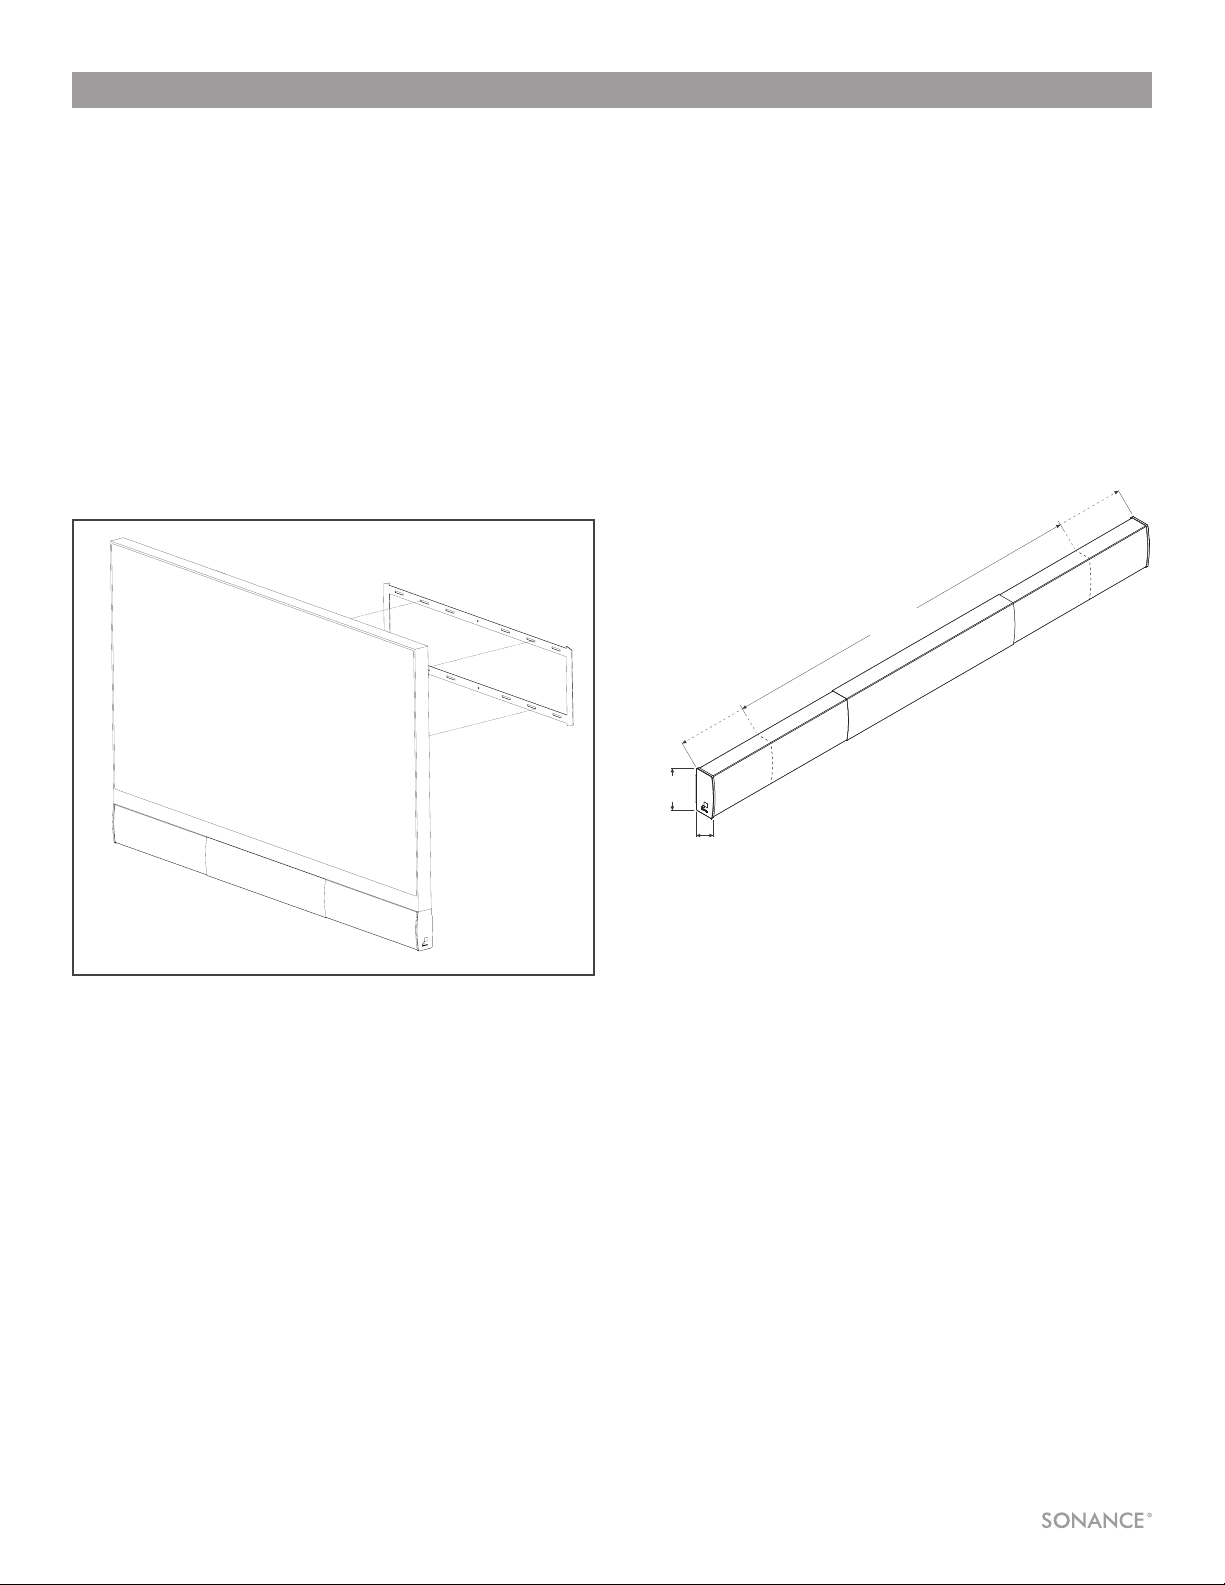
Dimensions
SB46 M
Height: 5 9/32” (134mm)
Depth: 2 9/16” (65mm)
Adjustable Width:
43 7/8” to 59 5/8” (1114mm to 1514mm)
Display Size Range: 50” to 65” diagonal (127cm to 165cm)
SB46 L
Height: 5 9/32” (134mm)
Depth: 2 9/16” (65mm)
Adjustable Width:
61 1/2” to 77 5/16” (1562mm to 1964mm)
Display Size Range: 70” to 80” diagonal (178cm to 203cm)
Height
Adjustable Width
Depth
Stereo Wiring
If you are using a 2 channel amp or stereo receiver only hook
up the left and right channels of Soundbar.
Connect AC power and video cable to display.
Proceed to Step 5 for mounting options 1 & 2
Proceed to Step 6 for mounting options 3 & 4
Step 5
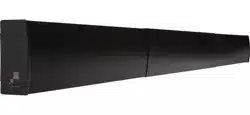
Mounting the display
Carefully mount the display and Soundbar to wall mount. This
will require two people. When lifting be careful not to place
too much pressure on, or twist, the Soundbar. This could bend
the attachment rails.
NOTE: WHEN LIFTING THE DISPLAY AND SOUNDBAR
TOGETHER BE CAREFUL NOT TO PUT TOO MUCH PRESSURE
ON THE SOUNDBAR ALONE.
SONANCE SOUNDBARS SB46 M AND SB46 L
Loading ...