Loading ...
Loading ...
Loading ...
8
3 INITIAL SETUP
Read this entire User Manual before setting up the Lifecycle exercise bike.
WHERE TO PLACE THE LIFECYCLE EXERCISE BIKE
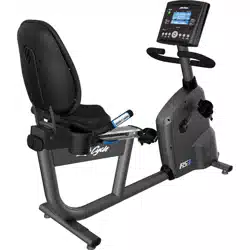
After following all safety instructions in Section 1, move the bike to the location
where it will be used. Allow a minimum clearance of 24 inches (60 cm) around
the product. See Section 6, Specifi cations, for full dimensions if needed. The
Lifecycle exercise bike is equipped with front wheels so that it is simple to move
the Lifecycle exercise bike to its fi nal destination. Simply lift the back of the Life-
cycle exercise bike to move.
CAUTION: Place the Lifecycle exercise bike in a dry place. Do not place in
highly humid areas, like near swimming pools, as rust and corrosion may occur.
HOW TO STABILIZE THE LIFECYCLE EXERCISE BIKE
After placing the Lifecycle exercise bike in position, check the unit’s stability by
attempting to rock it in all directions. Any slight rocking indicates that the unit
must be leveled. Determine which foot is not resting completely on the fl oor.
Loosen the jam nut with an open-end 17mm wrench, and rotate the stabilizing
foot to lower it. Verify that the bike is stable, and repeat the adjustment as neces-
sary until the unit no longer rocks. Lock the adjustment by tightening the jam nut
against the stabilizer bar.
HOW TO ADJUST THE SEAT TO ENSURE CORRECT BIOMECHANICAL POSITIONING
Proper seat positioning minimizes unnecessary leg muscle fatigue. To determine whether or not the seat requires adjust-
ment, sit on it and place the balls of the feet on the pedals. The knee should bend slightly when the pedal is at the furthest
point in its rotation, relative to the body. The user should be able to pedal without locking the knees or shifting in the seat.
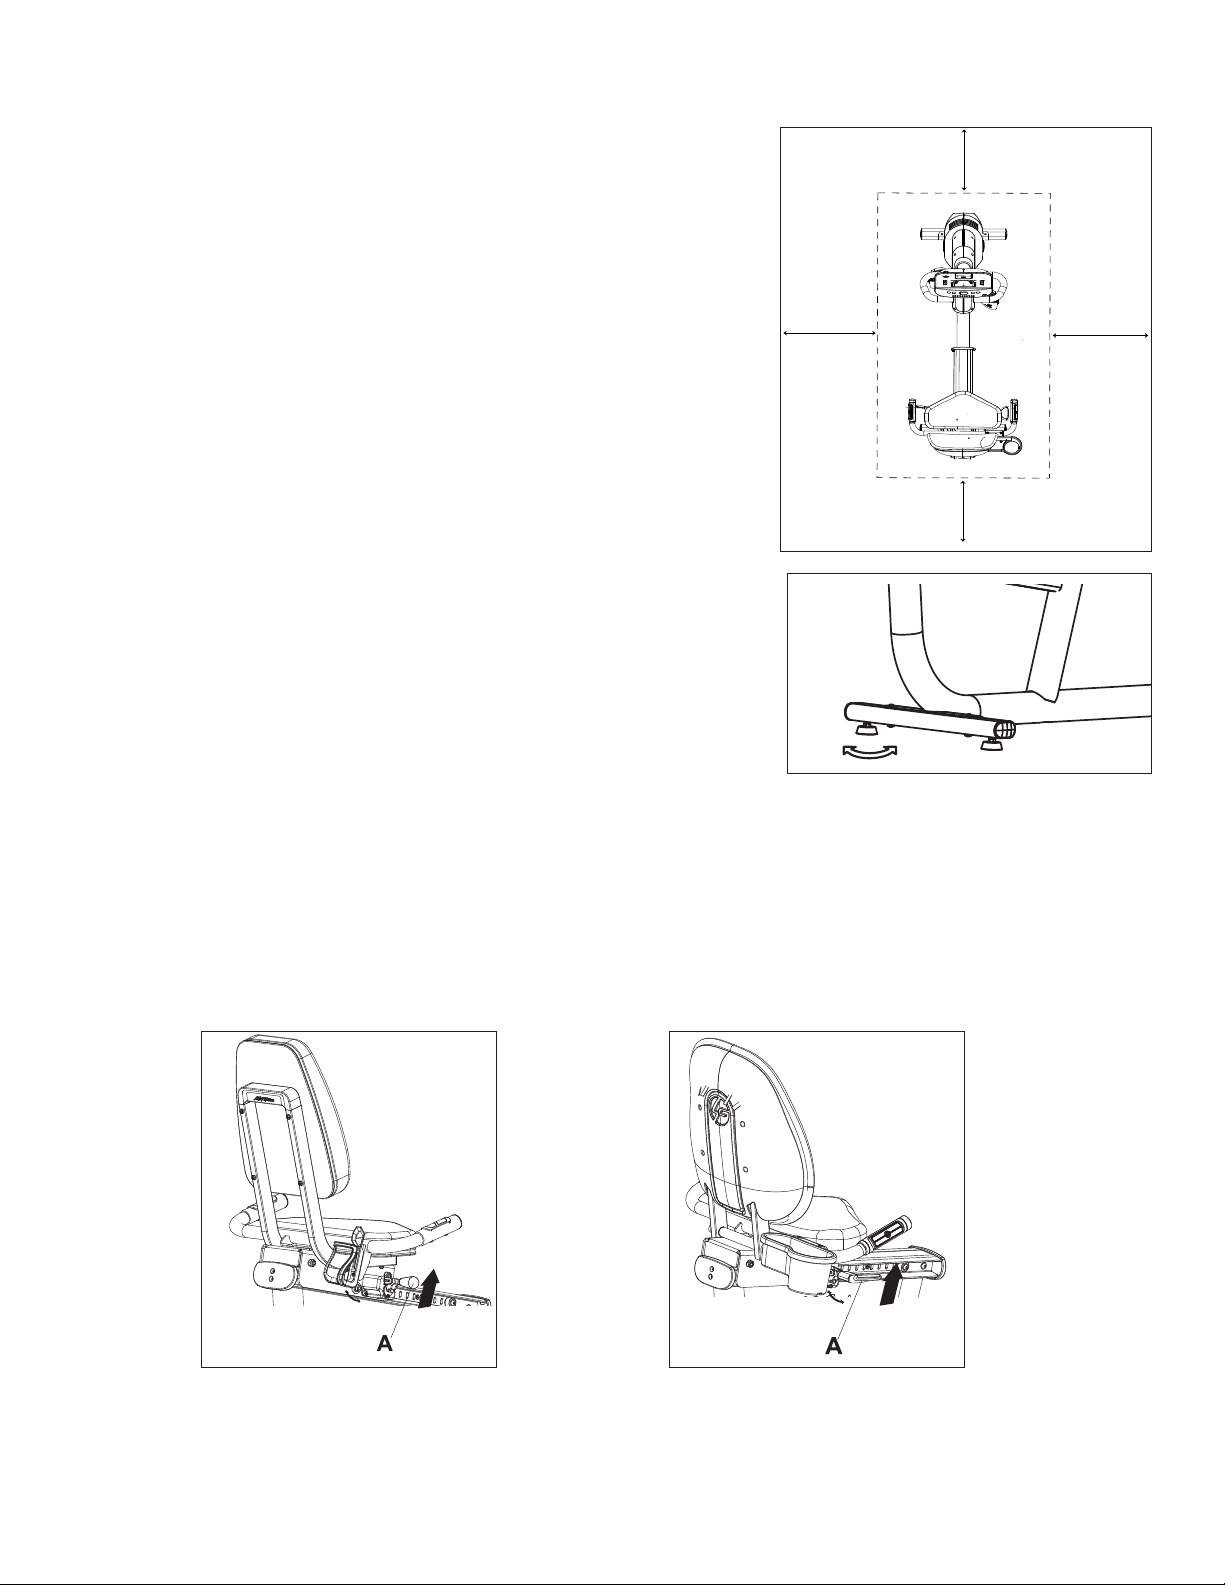
Adjusting the seat: Lift the spring-loaded adjusting handle (A) located on the right side of the seat. Slide the seat for-
ward or backward as necessary to the proper position and release the pin to complete engagement. Gently rock the seat
forward and backward to ensure that it is locked into place. Check the seat distance again and readjust it if necessary.
Note: If the seat carriage rocks excessively, use a wrench to loosen the jam nut (A) on either side of the seat carriage.
With another wrench, tighten the adjustment roller on the inside of the carriage until it is snug, but do not overtighten it.
Then, while holding the roller in place, tighten the lock nut. Repeat the procedure for the other side of the seat carriage.
CAUTION: Do not attempt to adjust the seat while pedaling the bike. Doing so, or failing to insert the seat pin completely,
may result in an uncomfortable workout or cause injury.
24” (60 cm)
24” (60 cm)
24” (60 cm)
24” (60 cm)
RS3RS1
Loading ...
Loading ...
Loading ...