Loading ...
Loading ...
Loading ...
Before Operation (Continued) - DVD part
18
Initial Settings
You can set your own Personal Preferences on the player.
To display and exit the Menu:
Press SYSTEM MENU to display the menu.Press
SYSTEM MENU again to return to the initial screen.
To go to the next level:
Press 2 on the remote control.
To go back to the previous level:
Press 1 on the remote control.
General Operation
1
Press SYSTEM MENU.
The setup menu appears.
2
Use 3/4 to select the desired option then press 2 to
move to the second level.
The screen will show the current setting for the selected
option,as well as alternate setting(s).
3
Use 3/4 to select the second desired option then press
2 to move to the third level.
4
Use 3/4 to select the desired setting then press OK to
confirm your selection.
Some items require additional steps.
5
Press SYSTEM MENU or PLAY B to exit the setup
menu.
LANGUAGE
Menu Language
Select a language for the setup menu and on-screen display.
Disc Audio / Subtitle / Menu
Select a language you prefer for the audio track (disc
audio),subtitles, and the disc menu.
Original :The original language set for the disc is
selected.
Other :To select another language, press number buttons
to enter the corresponding 4-digit number according to
the language code list on page 38.If you enter the wrong
language code, press CLEAR.
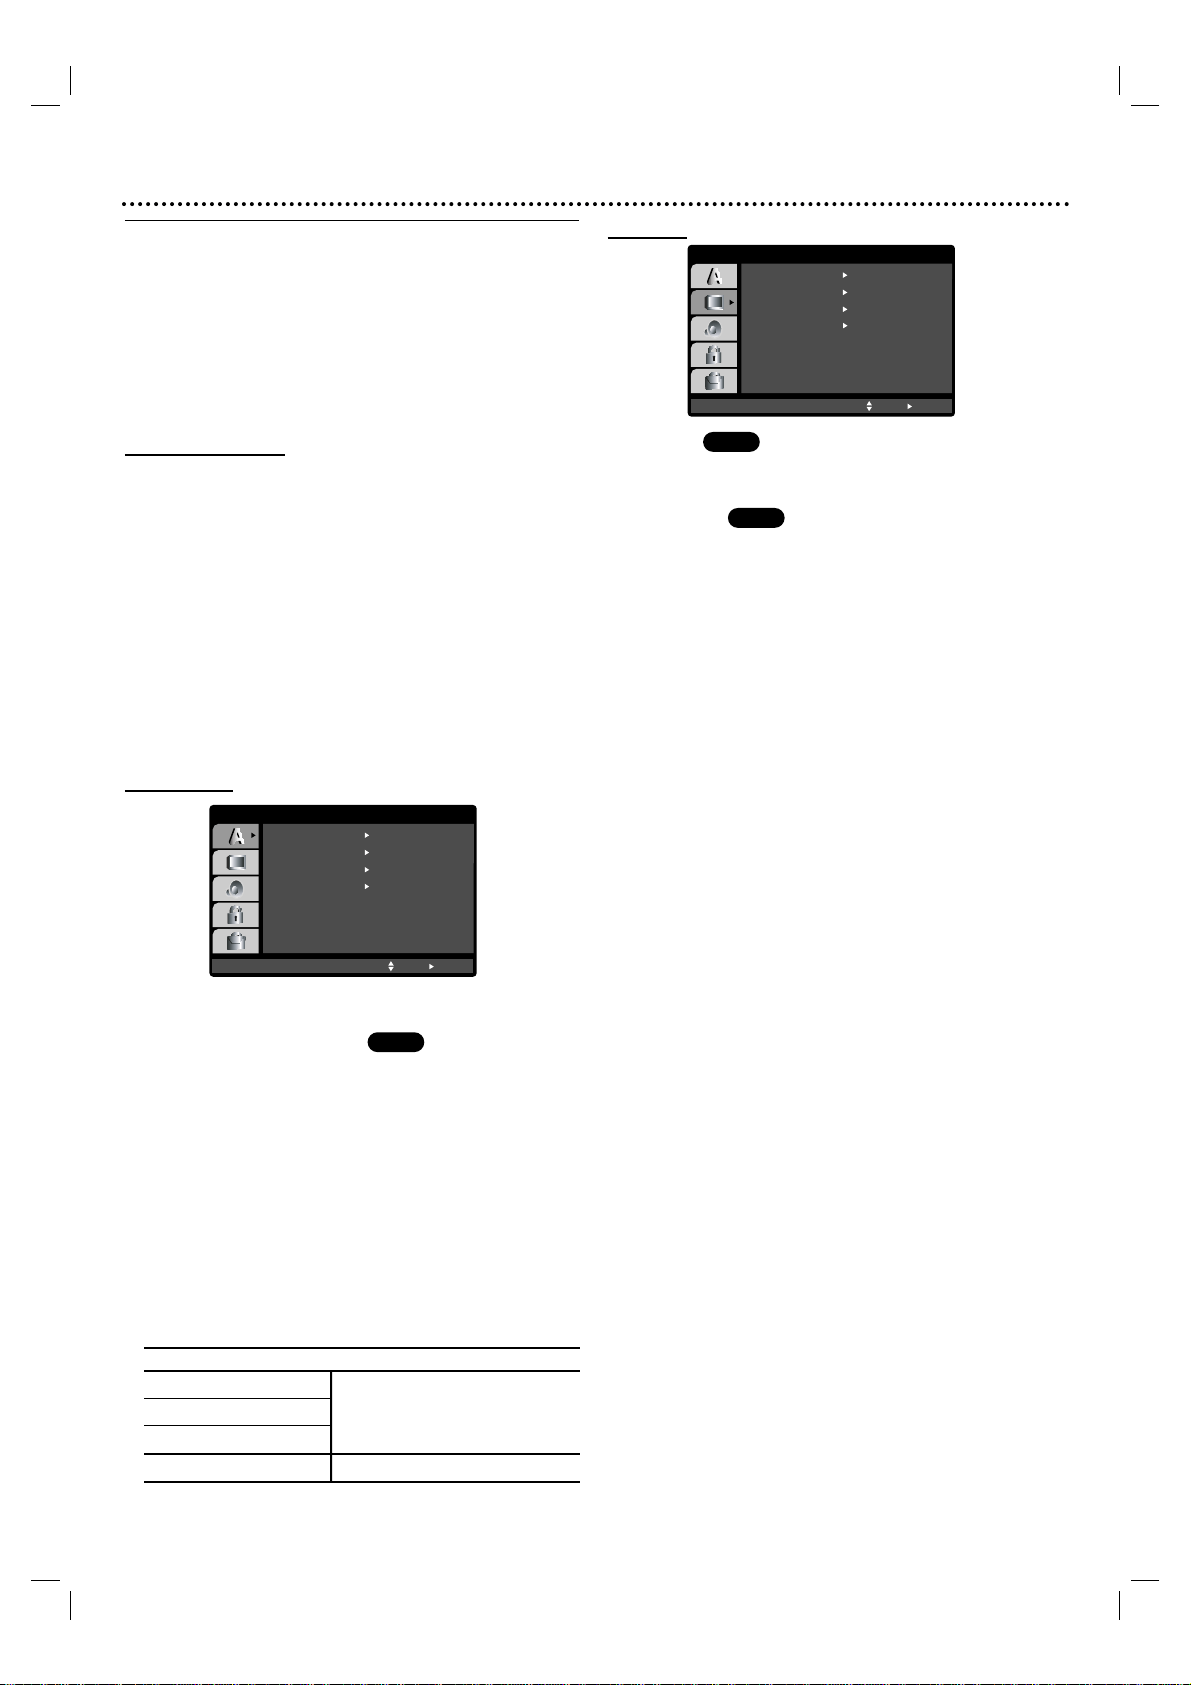
DISPLAY
TV Aspect
4:3 :Select when a standard 4:3 TV is connected.
16:9 :Select when a 16:9 wide TV is connected.
Display Mode
Display Mode settings is only available when the TV Aspect
mode is set to “4:3”.
Letterbox: Displays a wide picture with bands on the
upper and lower portions of the screen.
Panscan: Automatically displays the wide picture on the
entire screen and cuts off the portions that do not fit.
Progressive Scan
Progressive Scan Video provides the highest quality
pictures with less flickering. If you are using the
Component Video jacks for connection to a TV or
monitor that is compatible with a progressive scan signal,
set Progressive Scan to On.
To turn on progressive scan:
Connect component out of this unit to the input of your
monitor/television,set your television or monitor to
component Input.
1
Select “Progressive Scan” on the “DISPLAY” menu then
press 2.
2
Select “On” using the 3 / 4 buttons.
3
Press OK to set to progressive scan mode.
Caution
Once the setting for progressive scan output is entered,an
image will only be visible on a progressive scan compatible
TV or monitor. If you set Progressive Scan to On in error,
you must reset the unit.
1 Remove any disc from the unit and close the disc tray.
“dISC” is displayed on the display window.
2 Press and hold STOP for five seconds.
The video output will be restored to the standard setting
and a picture appear again on TV screen.
TV Output Select
Set this unit’s TV Output Select options according to the
TV connection type.
YPbPr:When your TV is connected with the
COMPONENT/PROGRESSIVE SCAN VIDEO OUT jacks
on this unit.
RGB:When your TV is connected with the SCART (RGB
signal) jack.
DVD
DVD
DISPLAY
TV Aspect
Widescreen
16 : 9
Display Mode
OffProgressive Scan
Move
Select
TV Output Select RGB
DVD
Menu Language
Original
English
Off
Original
Disc Audio
Disc Subtitle
Disc Menu
Move
Select
LANGUAGE
Please refer to following notice when the DivX subtitle
does not display properly.
Find a suitable language for the DivX subtitle on the figure
below.
Disc Subtitle Language Available DivX Subtitle
Hungarian Czech,Hungarian, Polish,
Czech Romanian,Croatian,Slovak,
Polish Slovene, Serbian
Other 8482 Western European & Turkish
Loading ...
Loading ...
Loading ...