Loading ...
Loading ...
Loading ...
72
7
When “CHANGE MEMORY
STICK” is displayed, eject the
“Memory Stick.”
“INSERT MEMORY STICK”
appears.
8
Insert another “Memory
Stick.”
“RECORDING” appears. When
copying is completed,
“COMPLETE” appears.
To end copying, select [EXIT]
with
v
/
V
, then press
z
.
To copy the image to
another “Memory Stick”
Select [CONTINUE] with
v
/
V
, press
z
, then repeat steps
7
and
8
.
To cancel copying part-way
Select [CANCEL] with
b
/
B
in step
3
or [EXIT] with
b
/
B
in step
6
, then
press
z
.
Notes
•
If you do not select [EXIT] after
“COMPLETE” appears and instead insert
a new “Memory Stick,” the same image is
copied again.
•
You cannot copy uncompressed images.
•
You cannot copy images that are bigger
than 5 MB at once. If “NOT ENOUGH
MEMORY” appears or flashes on the
INDEX screen, cancel some images to
copy and try again.
Selecting still images
to print (PRINT)
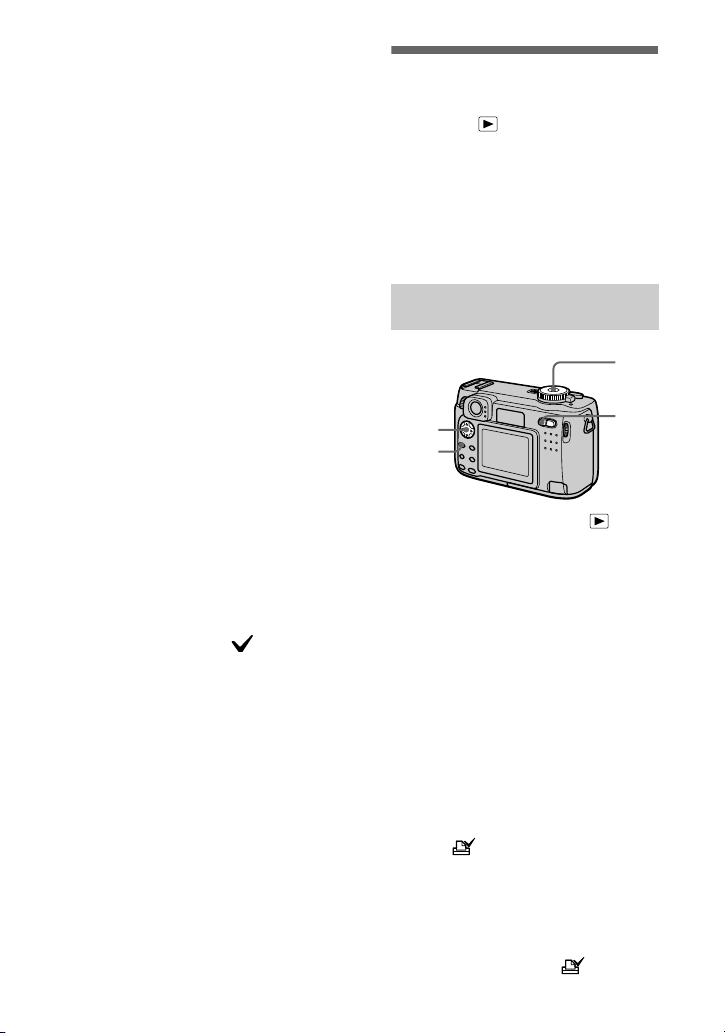
Mode dial:
You can mark a print mark on still
images recorded with your camera.
This mark is convenient when you
have images printed at a shop that
conforms with the DPOF (Digital Print
Order Format) standard.
.
1
Set the mode dial to .
2
In single-image mode
Display the image you want to
print with
b
/
B
.
In triple-image mode
Press the zoom W button twice to
turn to the triple-image mode.
Display the image you want to
print with
b
/
B
.
3
Press MENU.
The menu appears.
4
Select [PRINT] with
b
/
B
in
single-image mode, or with
v
/
V
in triple-image mode,
then press
z
.
The (print) mark is marked on
the displayed image (or the
middle-positioned image in triple-
image mode).
To unmark the print mark
Press
z
again in step
4
. mark
disappears.
In single-image or triple-
image mode
2,4
3
1
W
Loading ...
Loading ...
Loading ...