Loading ...
Loading ...
Loading ...
en Cleaning functions
24
Setting the cleaning function
Ventilate the kitchen while the cleaning function is run-
ning.
WARNING‒Risk of harm to health!
The cleaning function heats up the cooking compart-
ment to a very high temperature so that food left over
from roasting, grilling and baking will burn off. This pro-
cess releases vapours, which can irritate mucous mem-
branes.
▶
Keep the kitchen well ventilated while the cleaning
function is running.
▶
Do not remain in the room for long periods.
▶
Keep children and pets away.
WARNING‒Risk of burns!
The cooking compartment gets very hot when the
cleaning function is in progress.
▶
Never open the appliance door.
▶
Allow the appliance to cool down.
▶
Keep children at a safe distance.
The outside of the appliance gets very hot when the
cleaning function is in progress.
▶
Never touch the appliance door.
▶
Allow the appliance to cool down.
▶
Keep children at a safe distance.
Note:The oven light does not come on during the
cleaning function.
Requirement:Prepare the appliance for the cleaning
function. →Page23
1.
Use the function selector to set the cleaning
functions .
a The symbol and the cleaning functions appear in
the display. The first cleaning function is highlighted.
2.
Press the or button repeatedly until the symbol
is highlighted.
a appears in the display.
3.
Use the temperature selector to set the cleaning set-
ting.
Cleaning set-
ting
Cleaning
level
Duration in hours
1 Lightly soiled Approx. 1:15
2 Medium Approx. 1:30
3 High Approx. 2:00
Select a higher cleaning setting for very heavy or
older soiling.
The duration cannot be changed.
a The cleaning function starts after a few seconds and
the time counts down.
a For safety reasons, the appliance door locks auto-
matically once a certain temperature is reached in
the cooking compartment. appears in the display.
a Once the cleaning function has ended, an audible
signal sounds and the display shows the duration
as zero.
4.
Switch off the appliance.
Once the appliance has cooled down sufficiently,
the appliance door unlocks and goes out.
5.
Prepare the appliance for use. →Page24
Preparing the appliance for use following the
cleaning function
1.
Allow the appliance to cool down.
2.
Wipe off any ash that has been left behind in the
cooking compartment and around the appliance
door with a damp cloth.
3.
Remove white residues with lemon juice.
Note:White residues on the enamel surfaces may
be caused by heavy soiling. These food residues
are harmless. The deposits do not compromise the
functionality of the appliance.
4.
Attach the shelf supports.
→"Shelf supports", Page25
16.2 Descaling
To ensure that your appliance continues to operate cor-
rectly, it must be descaled regularly.
The frequency with which the appliance must be de-
scaled depends on the hardness of the water used.
The symbol reminds you to run the descaling pro-
gramme.
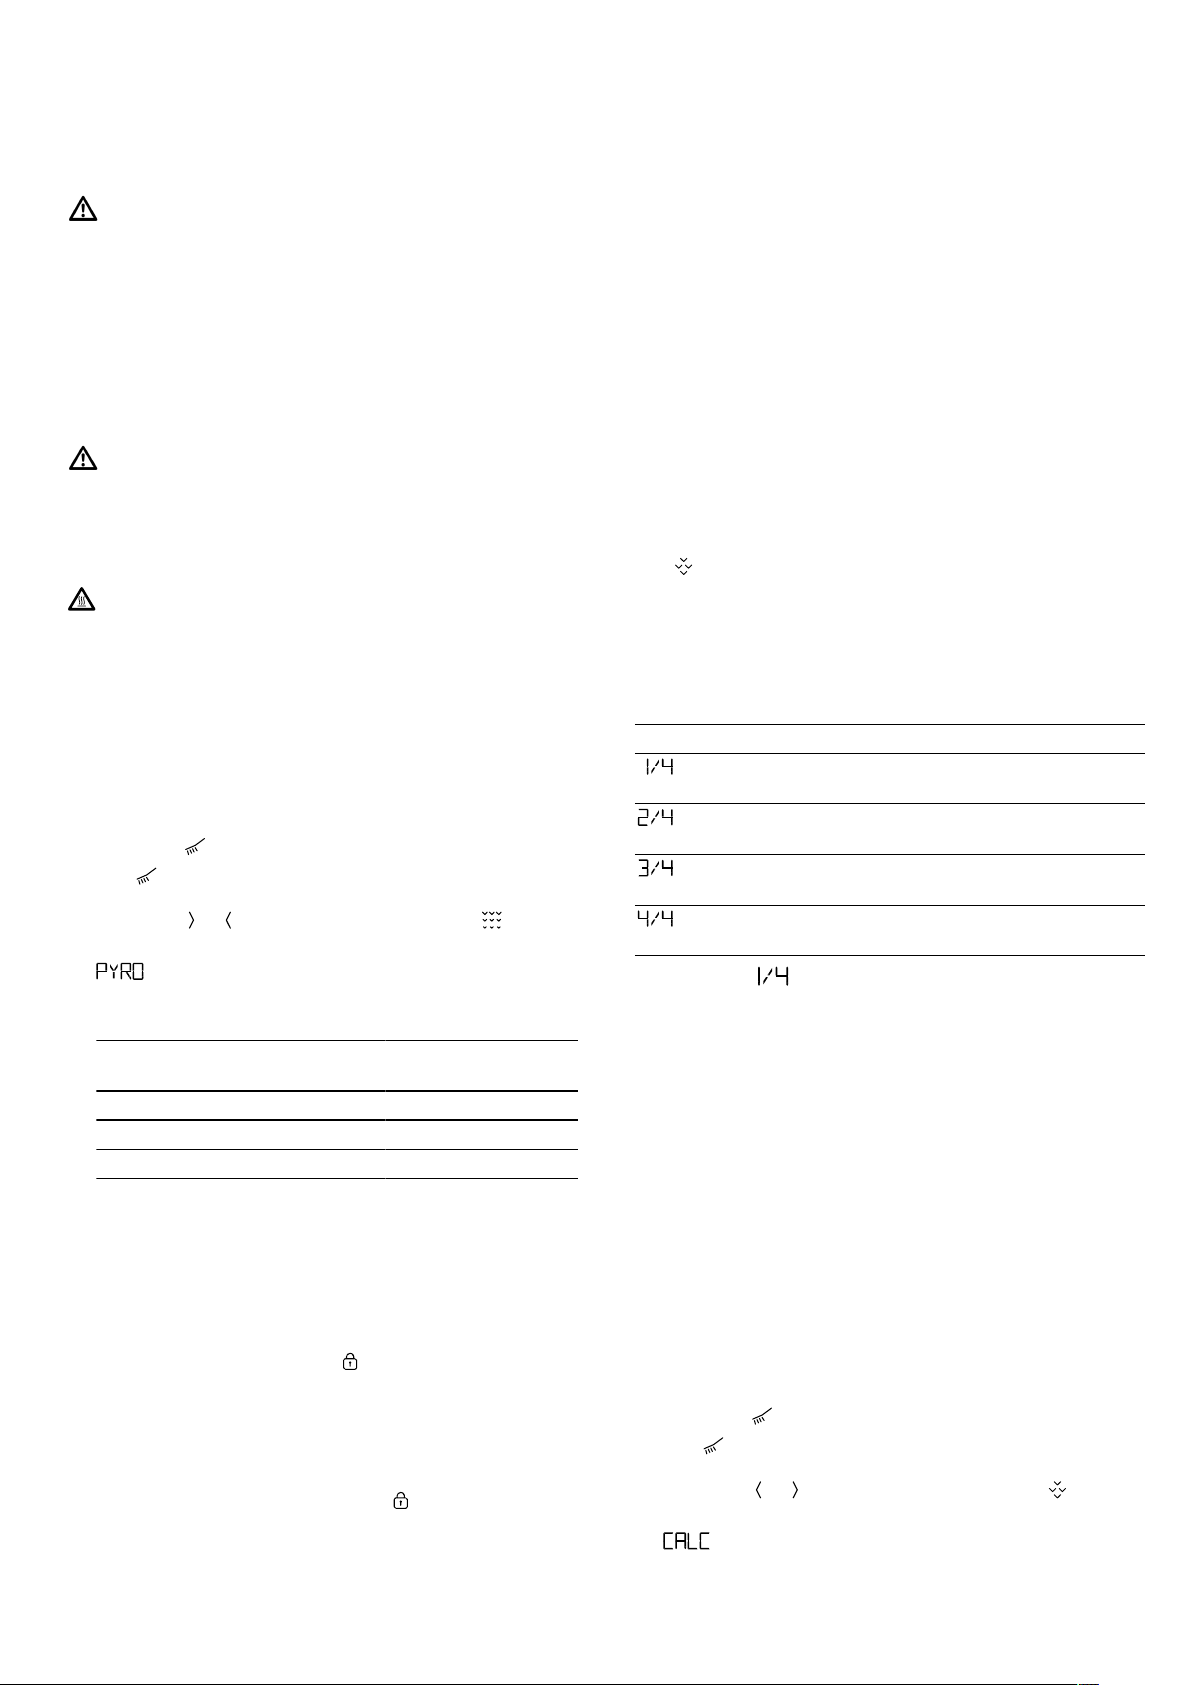
There are four steps in the descaling programme. For
hygiene reasons, the descaling programme must be
run through completely so that the appliance can be
ready for operation again. Descaling takes around 90–
110minutes in total:
Display Step
First step: Descaling
Approx. 65 min
Second step: Rinse cycle
Approx. 9 min
Third step: Rinse cycle
Approx. 9 min
Fourth step: Rinse cycle
Approx. 9 min
First step ( )
ATTENTION!
The length of time for which the descaler is left to work
is based on the recommended, liquid descaler. Other
descalers may damage the appliance.
▶
Only use the liquid descaler recommended by us
for the descaling programme.
If descaling solution comes into contact with the control
panel or other delicate surfaces, it will damage them.
▶
Remove descaling solution immediately with water.
Note:Do not pour more than 150 ml of liquid into the
water tank throughout the descaling process.
1.
Mixing a descaling solution:
– 50ml liquid descaler
– 100ml water
2.
Pour the descaling solution into the water tank and
insert the water tank.
3.
Use the function selector to set the cleaning
functions .
a The symbol and the cleaning functions appear in
the display. The first cleaning function is highlighted.
4.
Press the or button repeatedly until the symbol
is highlighted.
a appears in the display.
5.
Turn the temperature selector.
Loading ...
Loading ...
Loading ...