Loading ...
Loading ...
Loading ...
8 - EN
DESCRIPTION OF THE
APPLIANCE (Fig.1)
1 Motor base
2 Jug
3 Notched whisk (for frothing milk or
chocolate)
3a Smooth whisk (for hot milk function)
4 Lid
5 Measuring cap
6 START/STOP button
7 Program selection knob
8 LEDs
IDENTIFICATION PLATE
The identification plate states the technical
data, serial number, and marking. The identi-
fication plate must never be removed.
BEFORE FIRST USE
(Fig.1)
• Carefully unpack the appliance and remove
all packing materials and any labels and
stickers.
• Clean the motor base (1) with a damp cloth.
Wash all the components and dry thorough-
ly (see par. “Cleaning and Maintenance”)
Before use, check that all the com-
ponents are intact.
ASSEMBLY OF COMPONENTS
(Fig. 1)
• Place the jug (2) on the motor base (1).
• Place the whisk (3) inside the jug (2) by
inserting it into the pin.
• Place the lid (4) on the jug (2) and press it
downwards.
DESCRIPTION OF CONTROLS
(Fig. 1)
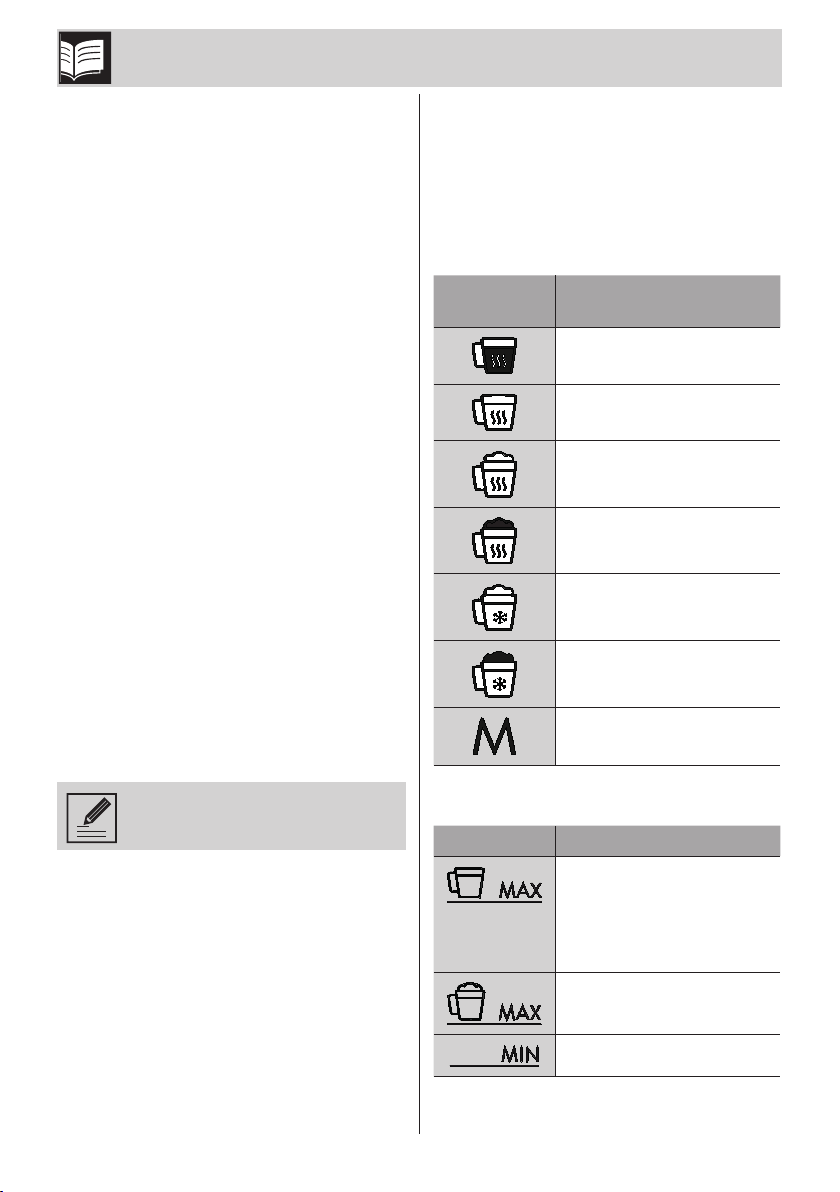
Program selection knob (7)
The appliance is equipped with 6 preset pro-
grams and a manual function, which can be
selected using the knob (7).
Knob
icon
Program
Hot chocolate
Hot milk
Hot milk with light froth
Hot milk with thick froth
Cold milk with light froth
Cold milk with thick froth
Manual
Liquid level indications
Symbol Description
Maximum milk filling level
for heating function and
chocolate preparation
(including the amount of
chocolate)
Maximum milk filling level to
be mounted.
Minimum level
Description / Assembly
Loading ...
Loading ...
Loading ...