Loading ...
Loading ...
Loading ...
6 49-1000418 Rev. 6
Installation Requirements
CAUTION
Lifting Hazard: It is recommended to have two people move and install the ice maker in
order to prevent injury.
■Productisdesignedtobeinstalledindoors.Donot
use your ice maker outdoors.
■Productmustbeinstalleduprightonaflat,level
surface that is able to support the total weight when
full of water.
■Ensureaminimumofthreeinches(3")clearance
around the side and back walls of the ice maker for
proper air circulation.
■Installtheproductinawell-ventilatedareawithan
ambienttemperaturebetween55°Fand90°F.
■Donotplacetheproductnearheatsourcessuchas
ovens or cooktops.
■Donotplacetheproductindirectsunlight.
Prepare Opal For Use
1.Carefullyremovepackingmaterial.Donotusesharp
toolsthatcandamagetheboxcontents.
2.Ensureallcomponentsarepresent.Ifanyitemis
missing, please contact1.866.907.6718.
3. Place the ice maker upright on a flat, level surface
and plug it in.
4.Installdriptraybyslidingitunderthefrontedgeof
Opal. The tray slots should align with the front feet of
Opal.
5.Rinsetheicemakerwithcleanwaterforfive
minutesbeforefirstuse.Startwithstep4ofcleaning
instructionsonpage6.Itisnotnecessarytouse
bleach for the first rinse.
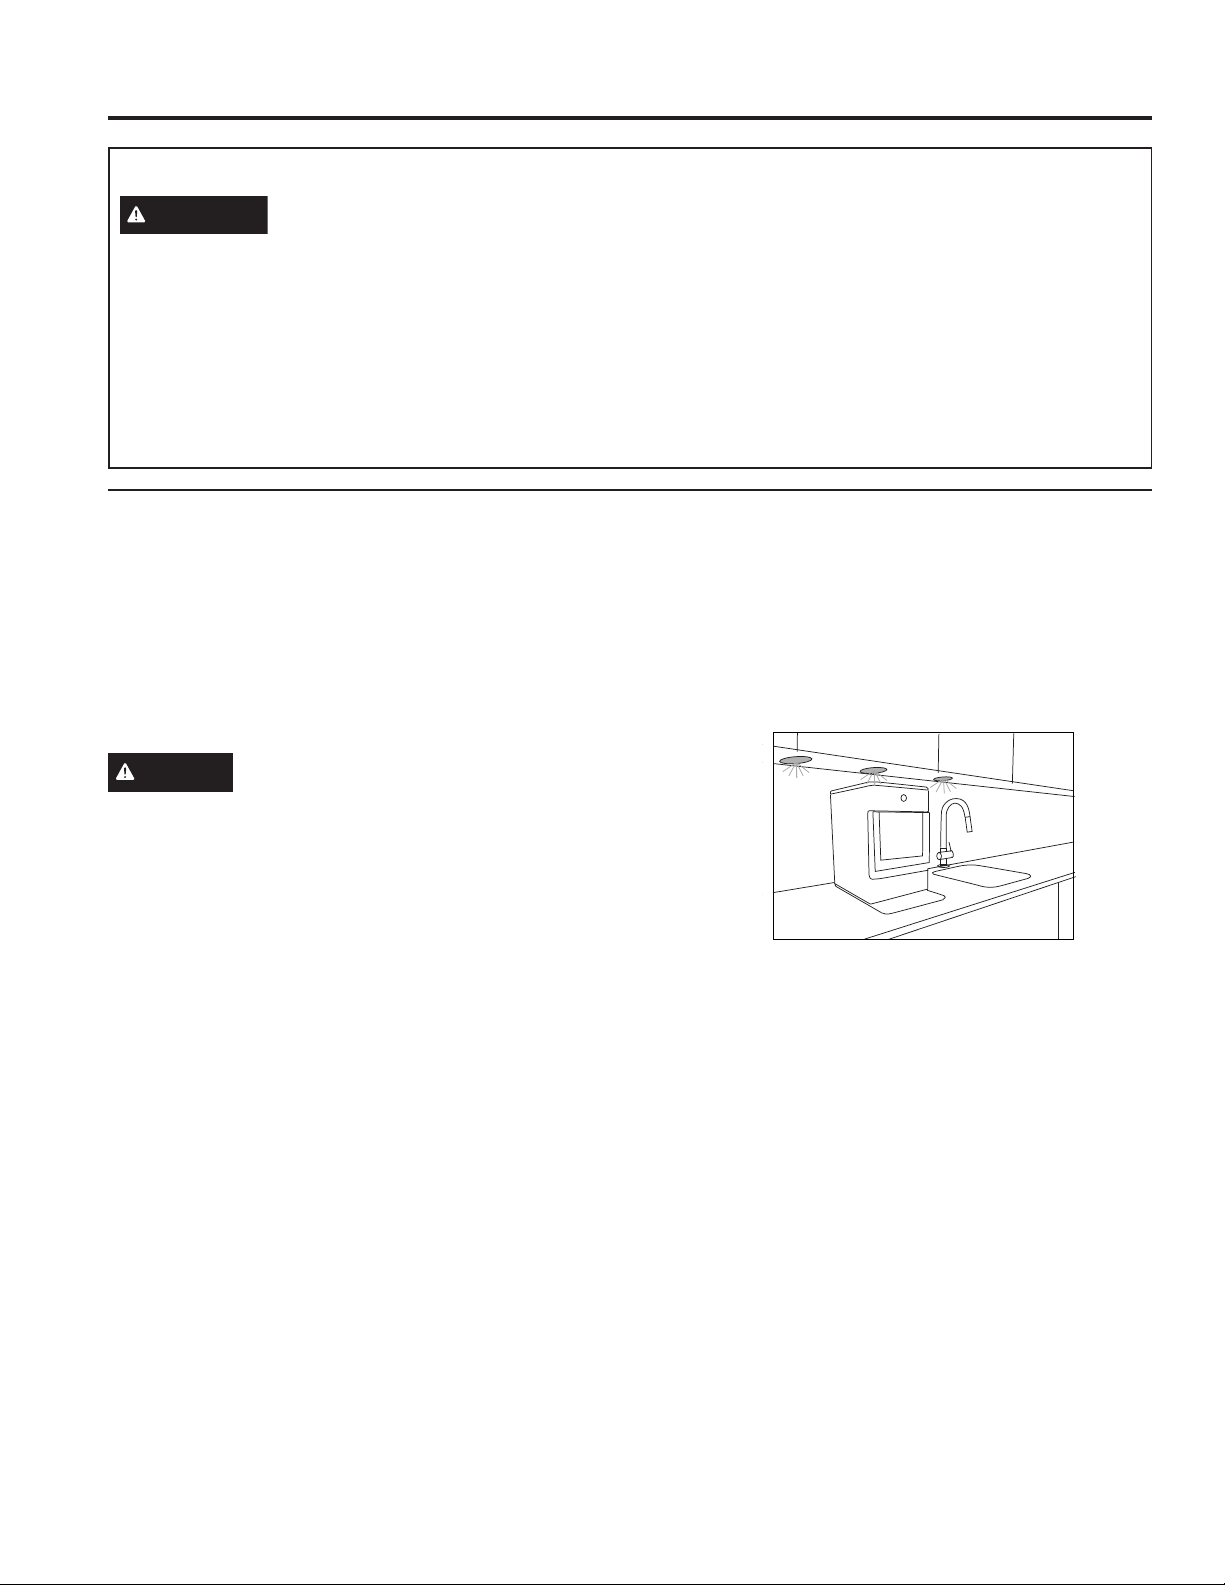
NOTICE
Sometypesofunder-cabinetlampscanbehotenough
tocausedamagetoyourOpaltop'sappearance.
Getting Started
GETTING STARTED
Loading ...
Loading ...
Loading ...