Loading ...
Loading ...
Loading ...
11
RANGE CARE
Self-Cleaning Cycle (on some models)
IMPORTANT: The health of some birds is extremely sensitive to
the fumes given off during the Self-Cleaning cycle. Exposure to
the fumes may result in death to certain birds. Always move birds
to another closed and well-ventilated room.
Self-clean the oven before it becomes heavily soiled. Heavy soil
results in longer cleaning and more smoke.
Keep the kitchen well-ventilated during the Self-Cleaning cycle to
help get rid of heat, odors, and smoke.
Do not block the oven vent(s) during the Self-Cleaning cycle. Air
must be able to move freely. Depending on your model, see
“Oven Vent” or “Oven Vents” section.
Do not clean, rub, damage or move the oven door gasket. The
door gasket is essential for a good seal.
Prepare Oven:
■ Remove the broiler pan, grid, cookware and bakeware and,
on some models, the temperature probe from the oven.
■ Remove any foil from the oven because it may burn or melt,
damaging the oven.
■ Remove oven racks to keep them shiny and easy to slide.
See “General Cleaning” section for more information.
■ Hand clean inside door edge and the 1½" (3.8 cm) area
around the inside oven cavity frame, being sure not to move
or bend the gasket. This area does not get hot enough during
self-cleaning to remove soil. Do not let water, cleaner, etc.
enter slots on door frame. Use a damp cloth to clean this
area.
■ Wipe out any loose soil to reduce smoke and avoid damage.
At high temperatures, foods react with porcelain. Staining,
etching, pitting or faint white spots can result. This will not
affect cooking performance.
Prepare Cooktop and Storage Drawer:
■ Remove plastic items from the cooktop because they may
melt.
■ Remove all items from the storage drawer.
How the Cycle Works
IMPORTANT: The heating and cooling of porcelain on steel in the
oven may result in discoloring, loss of gloss, hairline cracks and
popping sounds.
The Self-Cleaning cycle uses very high temperatures, burning soil
to a powdery ash.
The oven is preset for a 3 hour 30 minute clean cycle, but the
time can be changed. Suggested clean times are 2 hours
30 minutes for light soil and between 3 hours 30 minutes to
4 hours 30 minutes for average to heavy soil.
Once the oven has completely cooled, remove ash with a damp
cloth. Do not wipe down any of the inside surfaces until the oven
has completely cooled down. Applying a cool damp cloth to the
inner door glass before it has cooled completely could result in
the glass breaking.
To Self-Clean:
Before self-cleaning, make sure the door is closed completely
or it will not lock and the cycle will not begin. DOOR
LOCKED/CLEANING light will flash until the door is closed.
1. Push in and turn the oven control knob to CLEAN.
The door will lock within 6 seconds, and OVEN ON and OVEN
HEATING indicator lights will come on.
If the door does not lock, it will try to lock for 1 minute. If the
door fails to lock, the self-cleaning cycle will be canceled and
an error code will be displayed.
2. Press the “up” or “down” arrow pads to select a clean time
between 2 hours 30 minutes and 4 hours 30 minutes.
During the last 30 minutes of the self-cleaning cycle the oven
will start to cool down. The OVEN HEATING light will turn off
and “COOL” appears in the display.
Once the oven goes below the locked temperature, the OVEN
ON light flashes and DOOR LOCKED/CLEANING light turns
off when door unlocks.
3. Turn the oven control knob to OFF when finished cleaning.
The OVEN ON light turns off, and the time of day appears in
the display.
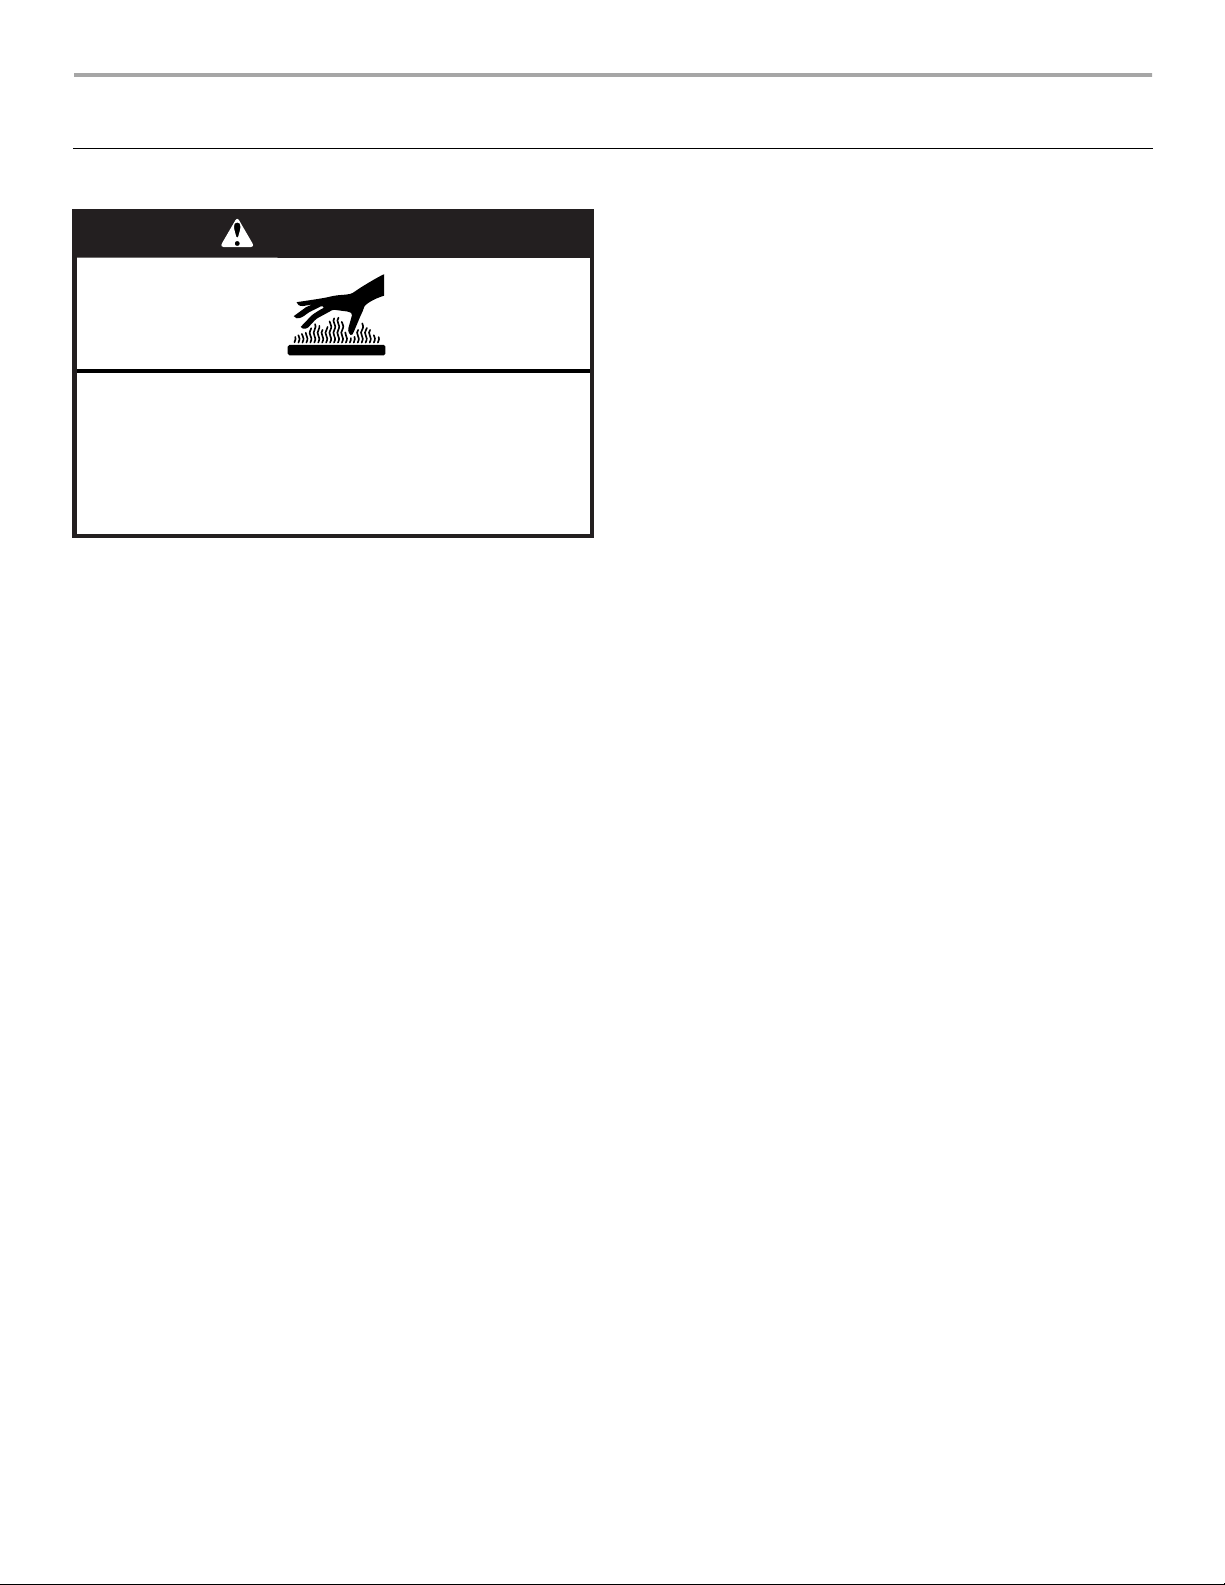
WARNING
Burn Hazard
Do not touch the oven during the Self-Cleaning cycle.
Keep children away from oven during
Self-Cleaning cycle.
Failure to follow these instructions can result in burns.
Loading ...
Loading ...
Loading ...