Loading ...
Loading ...
Loading ...
16 17USING THE ELECTRIC ELEVATED COOKER
USING THE ELECTRIC ELEVATED COOKER
USING THE ELECTRIC ELEVATED COOKER
Ceramic Hotplates
WARNING
WARNING
If the surface is cracked, switch off the appliance to
avoid the possibility of electric shock.
• The ceramic cooktop is made from ceramic glass, a
tough, durable material that withstands heating and
cooling without breaking. However, it must be noted
that as it is glass, it may break, and must therefore be
treated with care. Should you have any questions
about the glass in your new appliance, please contact
the service centre by dialling 13 13 49.
• The smooth glass surface has a pattern to show
where the elements under the glass are located.
• When a hotplate is on, the hot surface warning
light will come on. After switching off, this light
will continue to glow until the temperature of the
hotplate drops below 60°C.
• If the ceramic knob is accidentally cracked, switch off
the appliance to avoid electric shock.
Solid hotplates
The strong solid-cast hotplates give wide contact for fast
efficient cooking.
Hotplates are sealed to prevent spilt liquids from running
under the hotplates.
If there is a red dot present in the centre of hotplate,
this indicates it is a high power hotplate.
When necessary, apply a coating of hotplate protector to
solid plates to maintain them.
Electric oven fan forced baking
In a fan forced electric oven the heat comes from the
rear oven element. Hot air is distributed by a fan behind
the rear wall of the compartment, providing an even
temperature on all shelf levels. This means, batches
of food can be baked using multiple shelf positions
simultaneously.
Fan forced operation can be used for single food baking
with equal success.
Fan Forced baking generally requires lower temperatures
than conventional baking. Most recipe books, unless
stated, are typically for conventional oven temperatures.
It is recommended that when using the fan forced mode,
reduce the oven temperature by 10 degrees (refer to
‘Oven Guide’).
For best baking results preheat oven for 30 minutes.
Cookware
For best cooking results with electric ovens, silver or shiny
trays are recommended.
NOTE: Three button timer models MUST have clock set
after a power outage to operate oven.
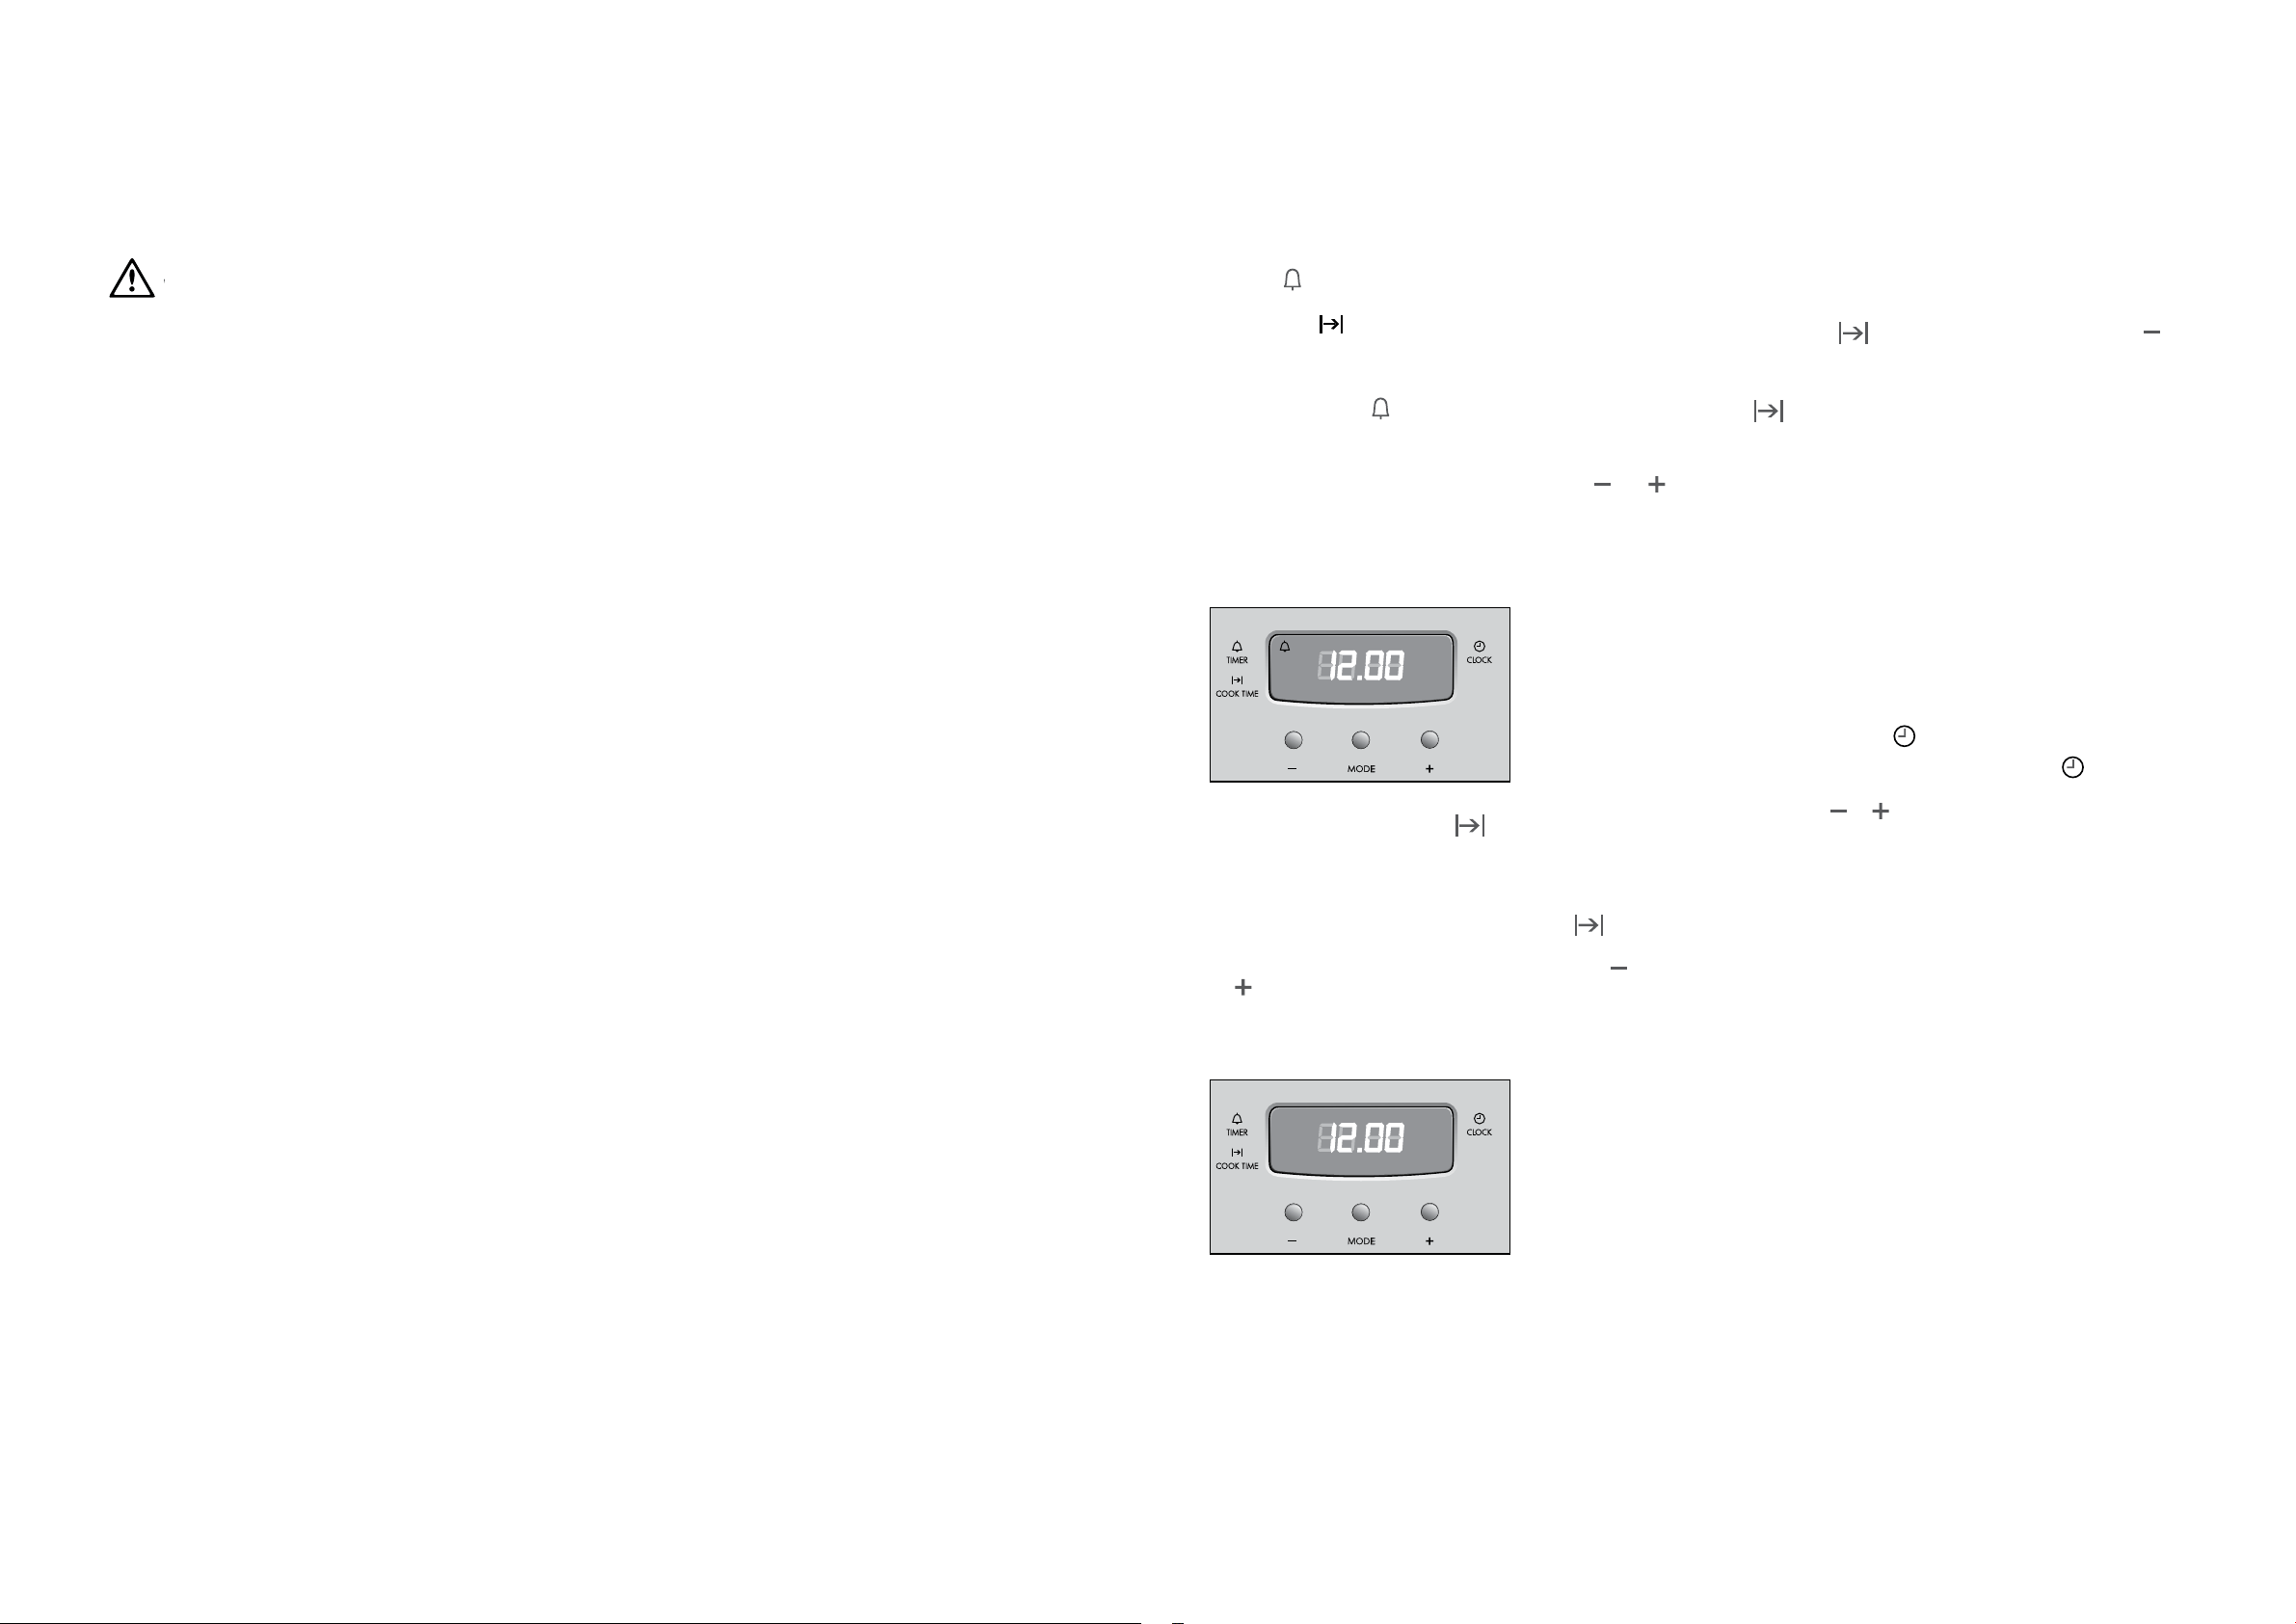
Your oven is equipped with a 3 button timer that has
the following features:
• Timer – you can set a countdown time that will beep
when the set time has elapsed.
• Cook time
– you can set cooking duration. A timer will
count down the preset cooking time, beep when the time
has elapsed and turn the appliance off
Selecting the timer
• Press the MODE button until the timer ‘indicator’
begins flashing.
• Set the countdown time you want by using the and
buttons. 5 seconds after the last change the timer ‘indicator’
will stop flashing and the countdown will start in minutes.
• To stop the beeper, press any button.
• Maximum countdown time is 2hrs 30mins.
Setting the cooking duration
• Select the desired oven function and temperature.
• The oven indicator light will glow and the heating source
will come on.
• Press the MODE button until the cook time
‘indicator’
begins flashing.
• Set the cooking duration you want by using the
and
buttons. 5 seconds after the last change the cook time
‘indicator’ will stop flashing, and the time of day will
be displayed.
NOTE: Remember to add pre-heating time if necessary.
To check or cancel settings
• To check your settings, press the MODE button until the
indicator you want is flashing.
• To cancel ‘auto shut off’ press the mode button until the
‘cook time’
indicator flashes. Press and hold the
button until the clock no longer reverses (at 0:00 you will
hear a beep). If you have left the temperature and function
knobs at a setting, the oven will start once the ‘cook time’
indicator stops flashing. Because you have cancelled
‘auto off’ the oven will continue to heat until you manually
turn it off.
On completion of cooking
• The heat source will turn off, the timer will beep and cook time
indicator will flash.
• Even though the heating element turns off the oven will still
retain substantial heat. This will continue to cook the food until
it is removed or the oven cools down. If you do not plan on
being present when the oven turns off, you should take this
extra heating time into account.
• Turn the function and temperature controls to the off position.
• Press any button to stop the timer beeping.
Adjusting the clock
• Press the MODE button until the clock ‘indicator’
begins flashing.
• Press the
or buttons to change the time of day.
5 seconds after the last change, the clock ‘indicator’
will disappear, confirming the time has been adjusted.
3 BUTTON PROGRAMMABLE CLOCK
Loading ...
Loading ...
Loading ...