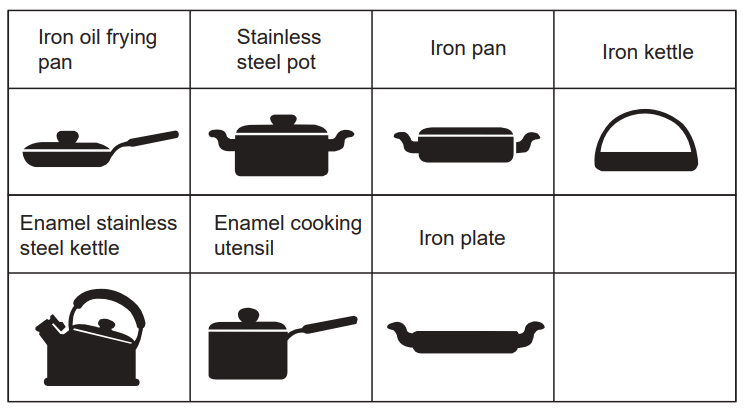
It's necessary to use suitable pots and containers. Test the pan cookware with a magnet: if the magnet “attracts“ to the base of the pan, then it is suitable for induction cooking. Refer to the following description for suitable pots and containers.
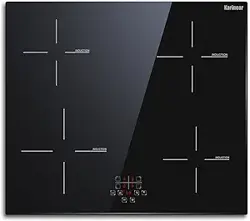
Shape requirement: You can use a pot that has a diameter between 6 and 9 inches.
OPERATION
Starting your appliance
Place unit on a flat surface.
When burner is powered on, the buzzer will sound and the screen will display "-- --“, blinking indicator light will illuminate.
Your burner is now ready for use.
Never put an empty container on the ceramic plate before switching on the appliance.
Note: When the cooktop is working and the pot is removed, the induction cooker will switch off automatically within a few seconds (no more than 60 seconds).
Preparation
Preparation Work
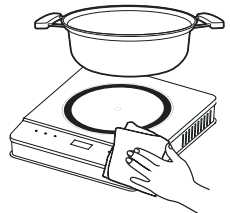
① Clean the cookware and the induction cooker
Please make sure there are no foreign substances such as water and rice grains left at the bottom of the cookware and on the induction cooker.
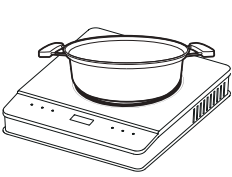
② Place the cookware on the central position of the heating area of the induction cooker.
Cookware should contain the water or prepared food you are planning to cook.
③ Plug in the power cord to the wall power supply outlet, and the display will show "-- --".
Cooking Steps
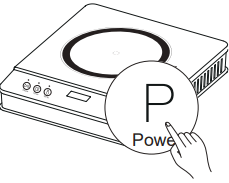
① Select Your Function
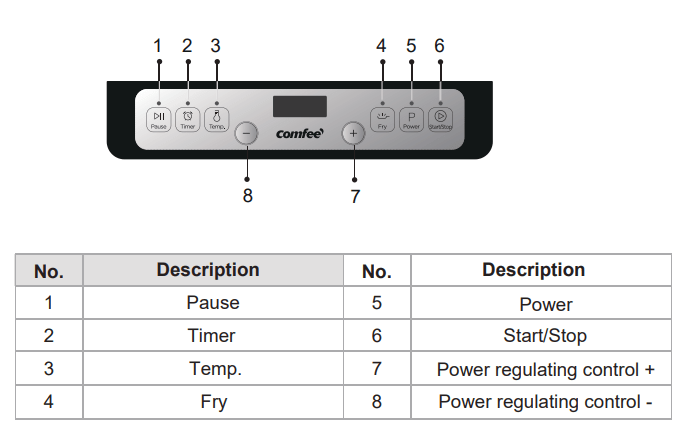
Select one of the three functions (Power, Fry, or Temperature).” Indicator light will light up.
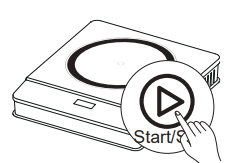
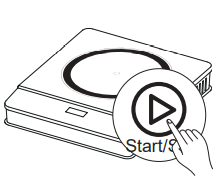
② Press Start/Stop button to start
After selecting the function, press down the “Start/Stop” button, the corresponding lights will be displayed on the control panel and the unit will start heating up.
Note:
1.Dry burning is strictly forbidden
2.When there is no cookware pot detected, the digital display shows “ ” and “ ” flashes for notification.
③ Power adjustment
Adjust the power level if using Power or Temp. functions. (Fry stays at 360 F) by pressing the “+” and “-“ buttons.
④ After the cooking complete, press the “Start/Stop” button and the corre sponding indicator light turn off and the function will stop. When done cooking, unplug the power cord from the power outlet.
Other Functions
① Pause Function
During the cooking process, press the “Pause” button to stop heating and the timer, and the corresponding lights will be displayed on the control panel.
② Cancel the pause
Press the "Pause" button again to restart the heating and timer again.
③ Automatic Shut-Off
The device will automatically switch to standby mode after it stops heating in the pause state and no operation has been selected in 10 minutes.
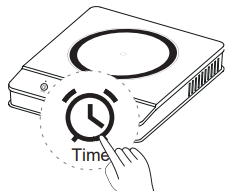
① Start The Timer
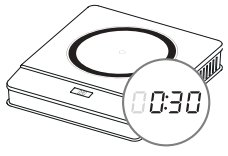
Press the “Timer” button, the digital display shows 00:00.
② Timer adjustment
Press the “+” and “-” buttons to adjust the time accordingly. Short press to fix the regular time at 1 minute. Long press to fix the regular time at 10 minutes.
③ Timer confirmation
After the digital screen flashes for 5 seconds, the timer is confirmed, and the device enters countdown state
④ Cancel the timer
Press the "Timer" button a second time to cancel the current timer.
Please, refer below table for wattage:
CLEANING AND MAINTENANCE
Cleaning the Induction Cooker
Switch off and unplug the appliance. Let it cool down before cleaning.
Regarding the glass-ceramic and the control panel:
Never use harsh abrasives or steel wool pads on any part of the burner as they may scratch the surface or damage the unit.
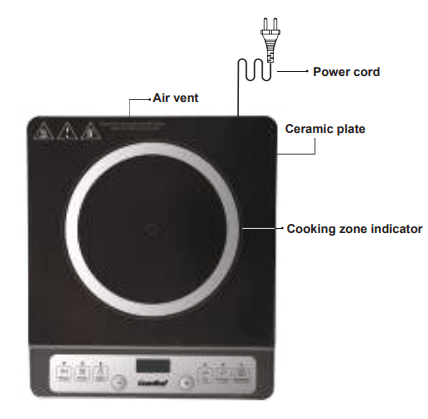
Regarding the air entry and the air vent
After a long time of use, some dust or other dirt may be accumulated at the air entry or air vent. Use a flexible brush or a detergent to clean it. The body of the appliance can be cleaned with caution with a dry cloth.
TROUBLESHOOTING
Here are the recommended inspections of common failures:
Problems
Points to check
After the plug in the socket, the indicator (1) and the screen do not light up.
Make sure that the plug is inserted tightly.
Make sure that the switch, socket, fuse and power line are in good condition.
The button (1) lights up but heating does not start.
Make sure that the containers are suitable for induction cooker.
Sent it to service facility to repair
Heating stops suddenly during operation.
Let the appliance cool down
Let air entry and air vent free
Set again the timing - Refer to failure codes
Failure codes
E6
After a moment, temperature inside the cooker returns to normal. The unit can restore its work once the «Start/Stop» button is pressed.
E7, E8
After adjusting the voltage, the unit restores its work.
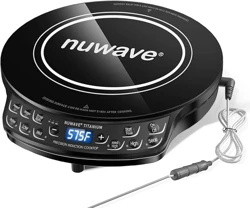
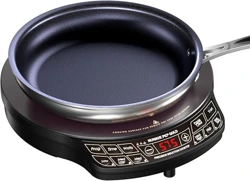
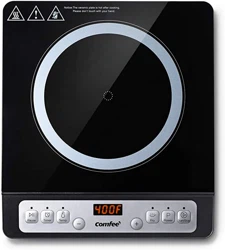
I live by myself and have limited space. This cooktop is around the size of a 13 inches laptop I think, but thicker for sure. Suits well even if you have a small kitchen. And it's easy to move!
I just bought this induction burner 3 days ago and have been using it a few times and it seemed fine. The fan runs to cool down the heat inside the machine, so it would be a little noisy as it works longer. But when you start frying, fans noise doesn't seem to bother and it's all about your cooking noise actually.
The thing about induction burner is that it only works with pan with a bottom that sticks to a magnet (I know… ). But it cooks really fast. When you shop for pots and pans you might want to buy the ones with a piece of magnet handy.

 ” and “
  ” flashes for notification.