Loading ...
2
Installation Instructions
STEP 1
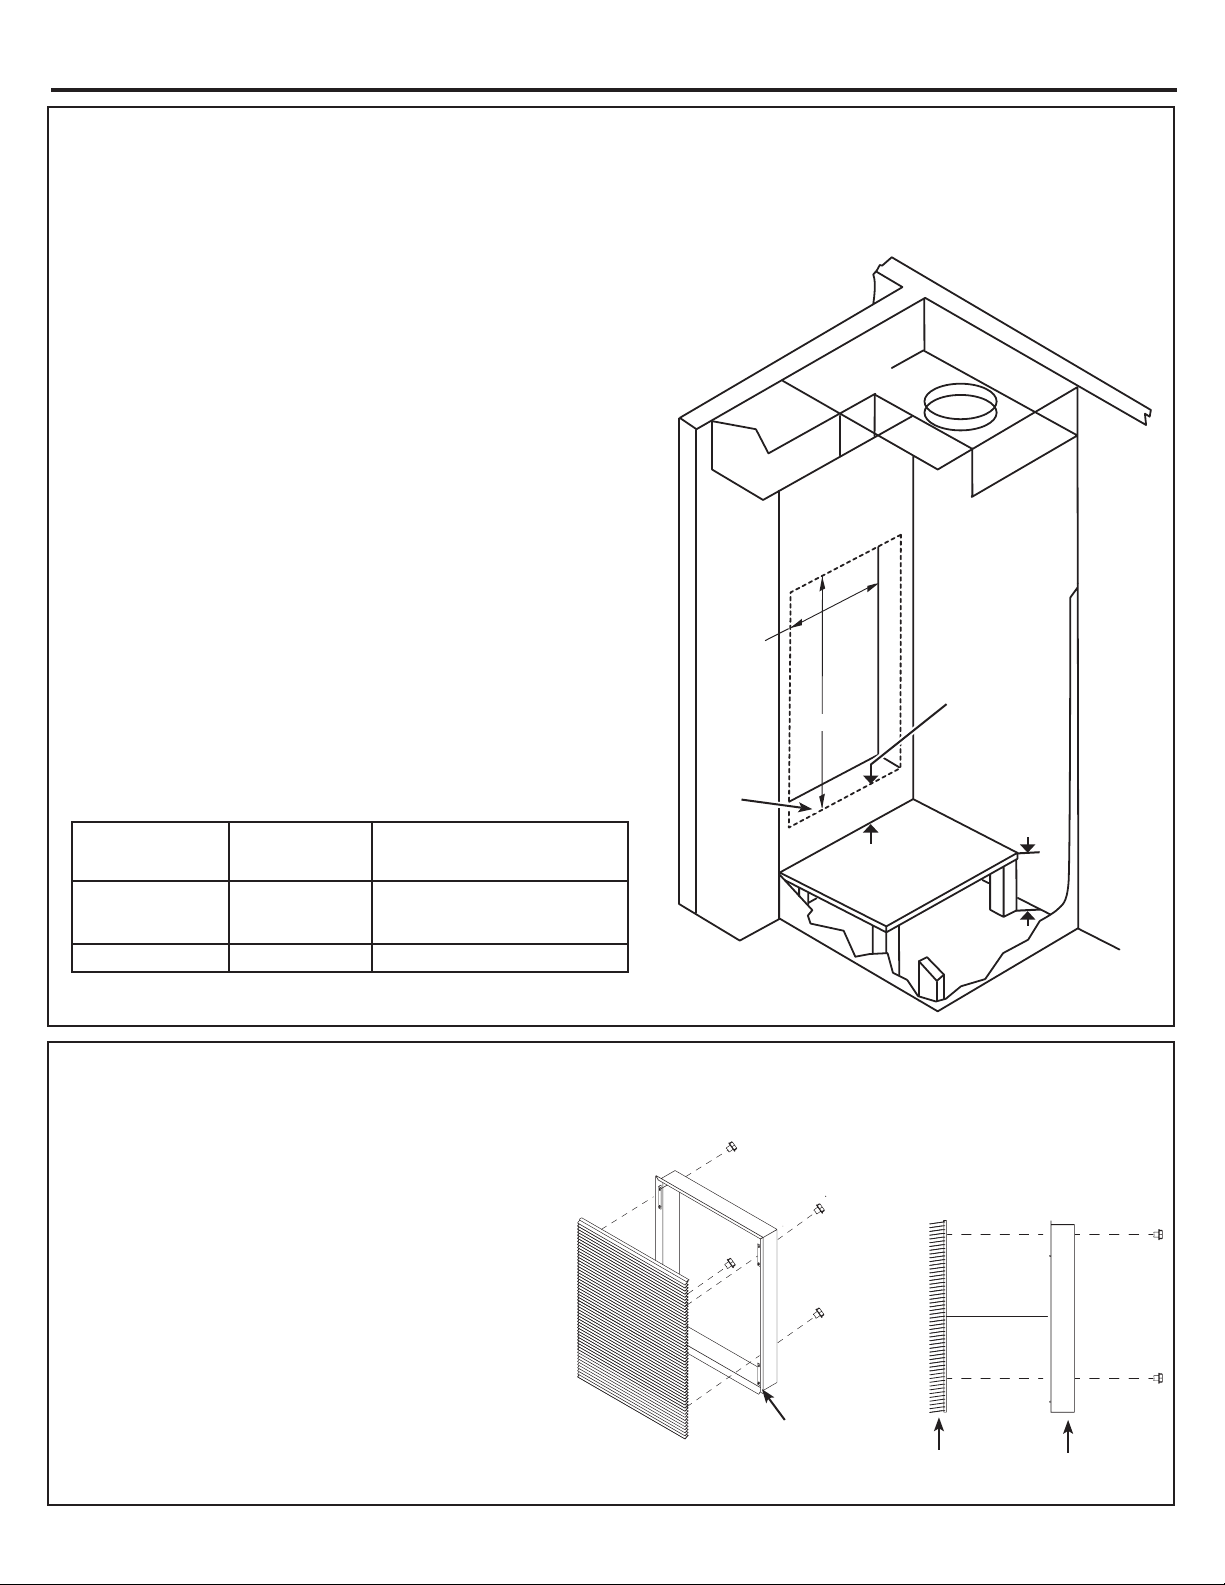
Measure, Cut, and Frame out the Outside Wall Plenum Opening
IMPORTANT: The dimension from the top of the sill (bottom framing of rough opening) to the platform surface
changes depending on what model is to be installed. See Table A to determine the proper dimension for a specific
model.
NOTE: A minimum platform height of 8 inches is recommended to
access drain connections.
Measure and mark on the inside of the external closet wall the
plenum cutout dimensions as shown. Cut, frame, and square rough
opening. The wall plenum has a 3/4” flange all the way around to
cover the rough cut opening
9,000, 12,000, and 18,000 BTU/hr - Chassis Height 32”
The plenum cut out dimensions are 24-5/8” wide x 30-7/8” high.
The top of the sill must be 3/4” from the platform surface the unit
will sit on.
18,000 BTU/hr - Chassis Height 47”
The plenum cut out dimensions are 24-5/8” wide x 30-7/8” high.
The top of the sill must be 1-1/2” from the platform surface the unit
will sit on.
IMPORTANT: The wall plenum is not designed to carry
structural loads. A proper header opening must be built into the
rough opening. The plenum requires flashing, shim, and caulk for a
weather-resistant installation.
It is the responsibility of the contractor to properly install the
plenum and meet building code requirements.
Model Chassis Height Dimension from top of sill to
the top of the platform surface
the unit is sitting on
9,000, 12,000,
and 18,000 BTU/
hr
32 inches 3/4 inches
18,000 BTU/hr 47 inches 1-1/2 inches
Table A
STEP 2
Install Grille Kit RAVAL2 (not included) on the Outside Plenum
NOTE: The Grille Kit RAVAL2 is best installed
onto the Outside Plenum (Part A) prior to the
wall plenum being installed in the building. Grille
installation is easier at this point, and it will help
keep the wall plenum square during installation.
If you are not installing the grille at this time be
sure the plenum is square when installed in the
opening.
NOTE: Refer to instructions included in the
Grille Kit RAVAL2 for proper installation
procedure.
Attach grille
with 4 screws
Grille
(not included)
Louver
Wall Plenum
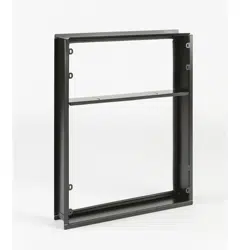
Part A
45° Drip Ledge
See Table A
for proper
dimension
Sill
(Bottom
Framing)
Side View
24-5/8”
30-7/8”
8”min.
Platform
Surface
Minimum
8” Platform
Recommended
Loading ...
Loading ...
Loading ...