Loading ...
Loading ...
Loading ...
masterpage:Right
specdef v20060111
filename[G:\F\FM\Sony\E\0628\DAVIS10_DMa\3276977111\3276977111DAVIS10\gb04gsb.fm]
model name [DAV-IS10]
[3-276-977-11(1)]
19
US
Getting Started – BASIC –
Follow the steps below to make the minimum
number of basic adjustments for using the
system.
1 Turn on the TV.
2 Press [/1.
The system turns on.
3 Switch the input selector on your TV so
that the signal from the system
appears on the TV screen.
[Press [ENTER] to run QUICK SETUP.]
appears at the bottom of the TV screen. If
this message does not appear, recall the
Quick Setup display (page 21) and perform
again.
4 Press without inserting a disc.
The Setup Display for selecting the
language used in the on-screen display
appears on the TV screen.
5 Press X/x to select a language.
The system displays the menu and subtitles
in the selected language.
6 Press .
The Setup Display for selecting the aspect
ratio of the TV to be connected appears.
7 Press X/x to select the setting that
matches your TV type.
x If you have a wide-screen TV or a 4:3
standard TV with a wide-screen mode
[16:9] (page 88)
x If you have a 4:3 standard TV
[4:3 LETTER BOX] or [4:3 PAN SCAN]
(page 88)
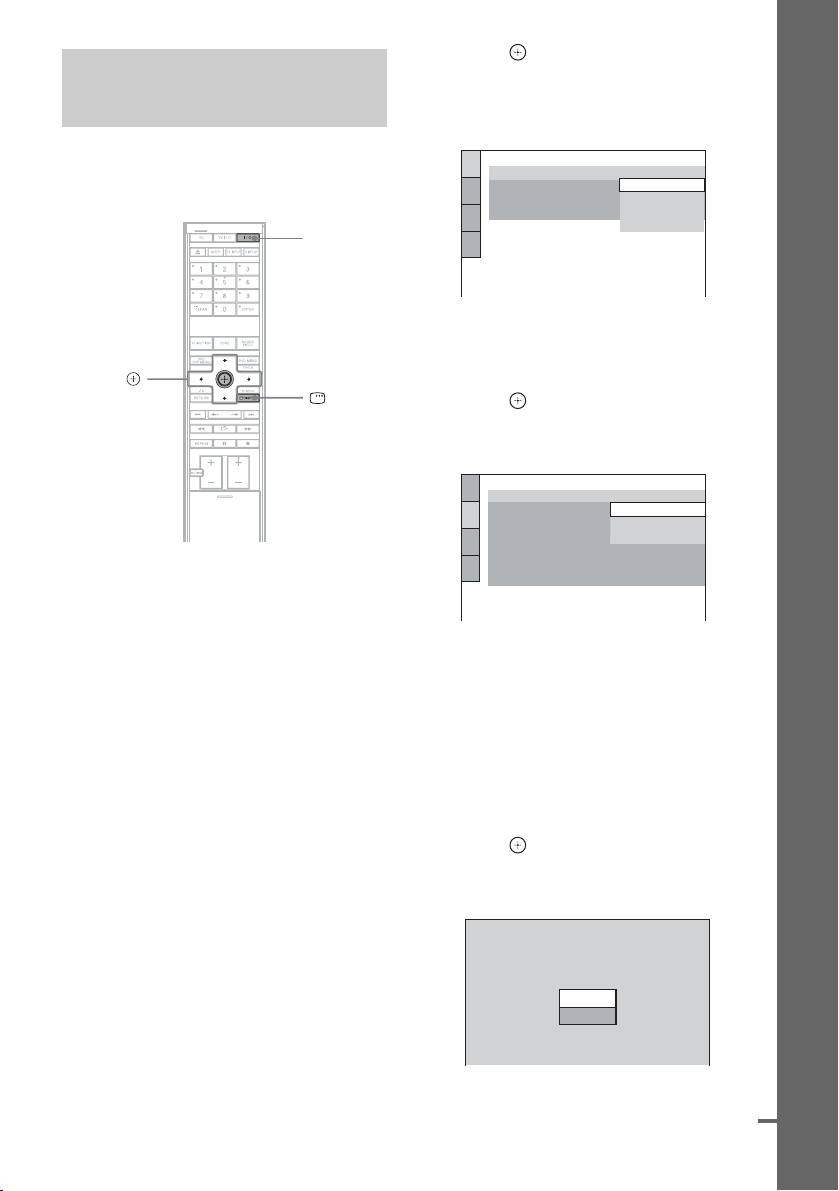
8 Press .
The [AUTO CALIBRATION] display
appears.
Step 4: Performing the
Quick Setup
"/1
C/X/x/c,
DISPLAY
LANGUAGE SETUP
OSD:
MENU:
AUDIO:
SUBTITLE:
PORTUGUESE
FRENCH
ENGLISH
ENGLISH
SPANISH
SCREEN SETUP
TV TYPE:
16:9
4:3 PAN SCAN
4:3 LETTER BOX
ON
OFF
FULL
YC
B
C
R
/RGB (HDMI):
BACKGROUND:
SCREEN SAVER:
BLACK LEVEL:
BLACK LEVEL
(COMPONENT OUT)
:
4:3 OUTPUT:
16:9
Connect calibration mic. Start
measurement?
YES
AUTO CALIBRATION
NO
cont
i
nue
d
Loading ...
Loading ...
Loading ...